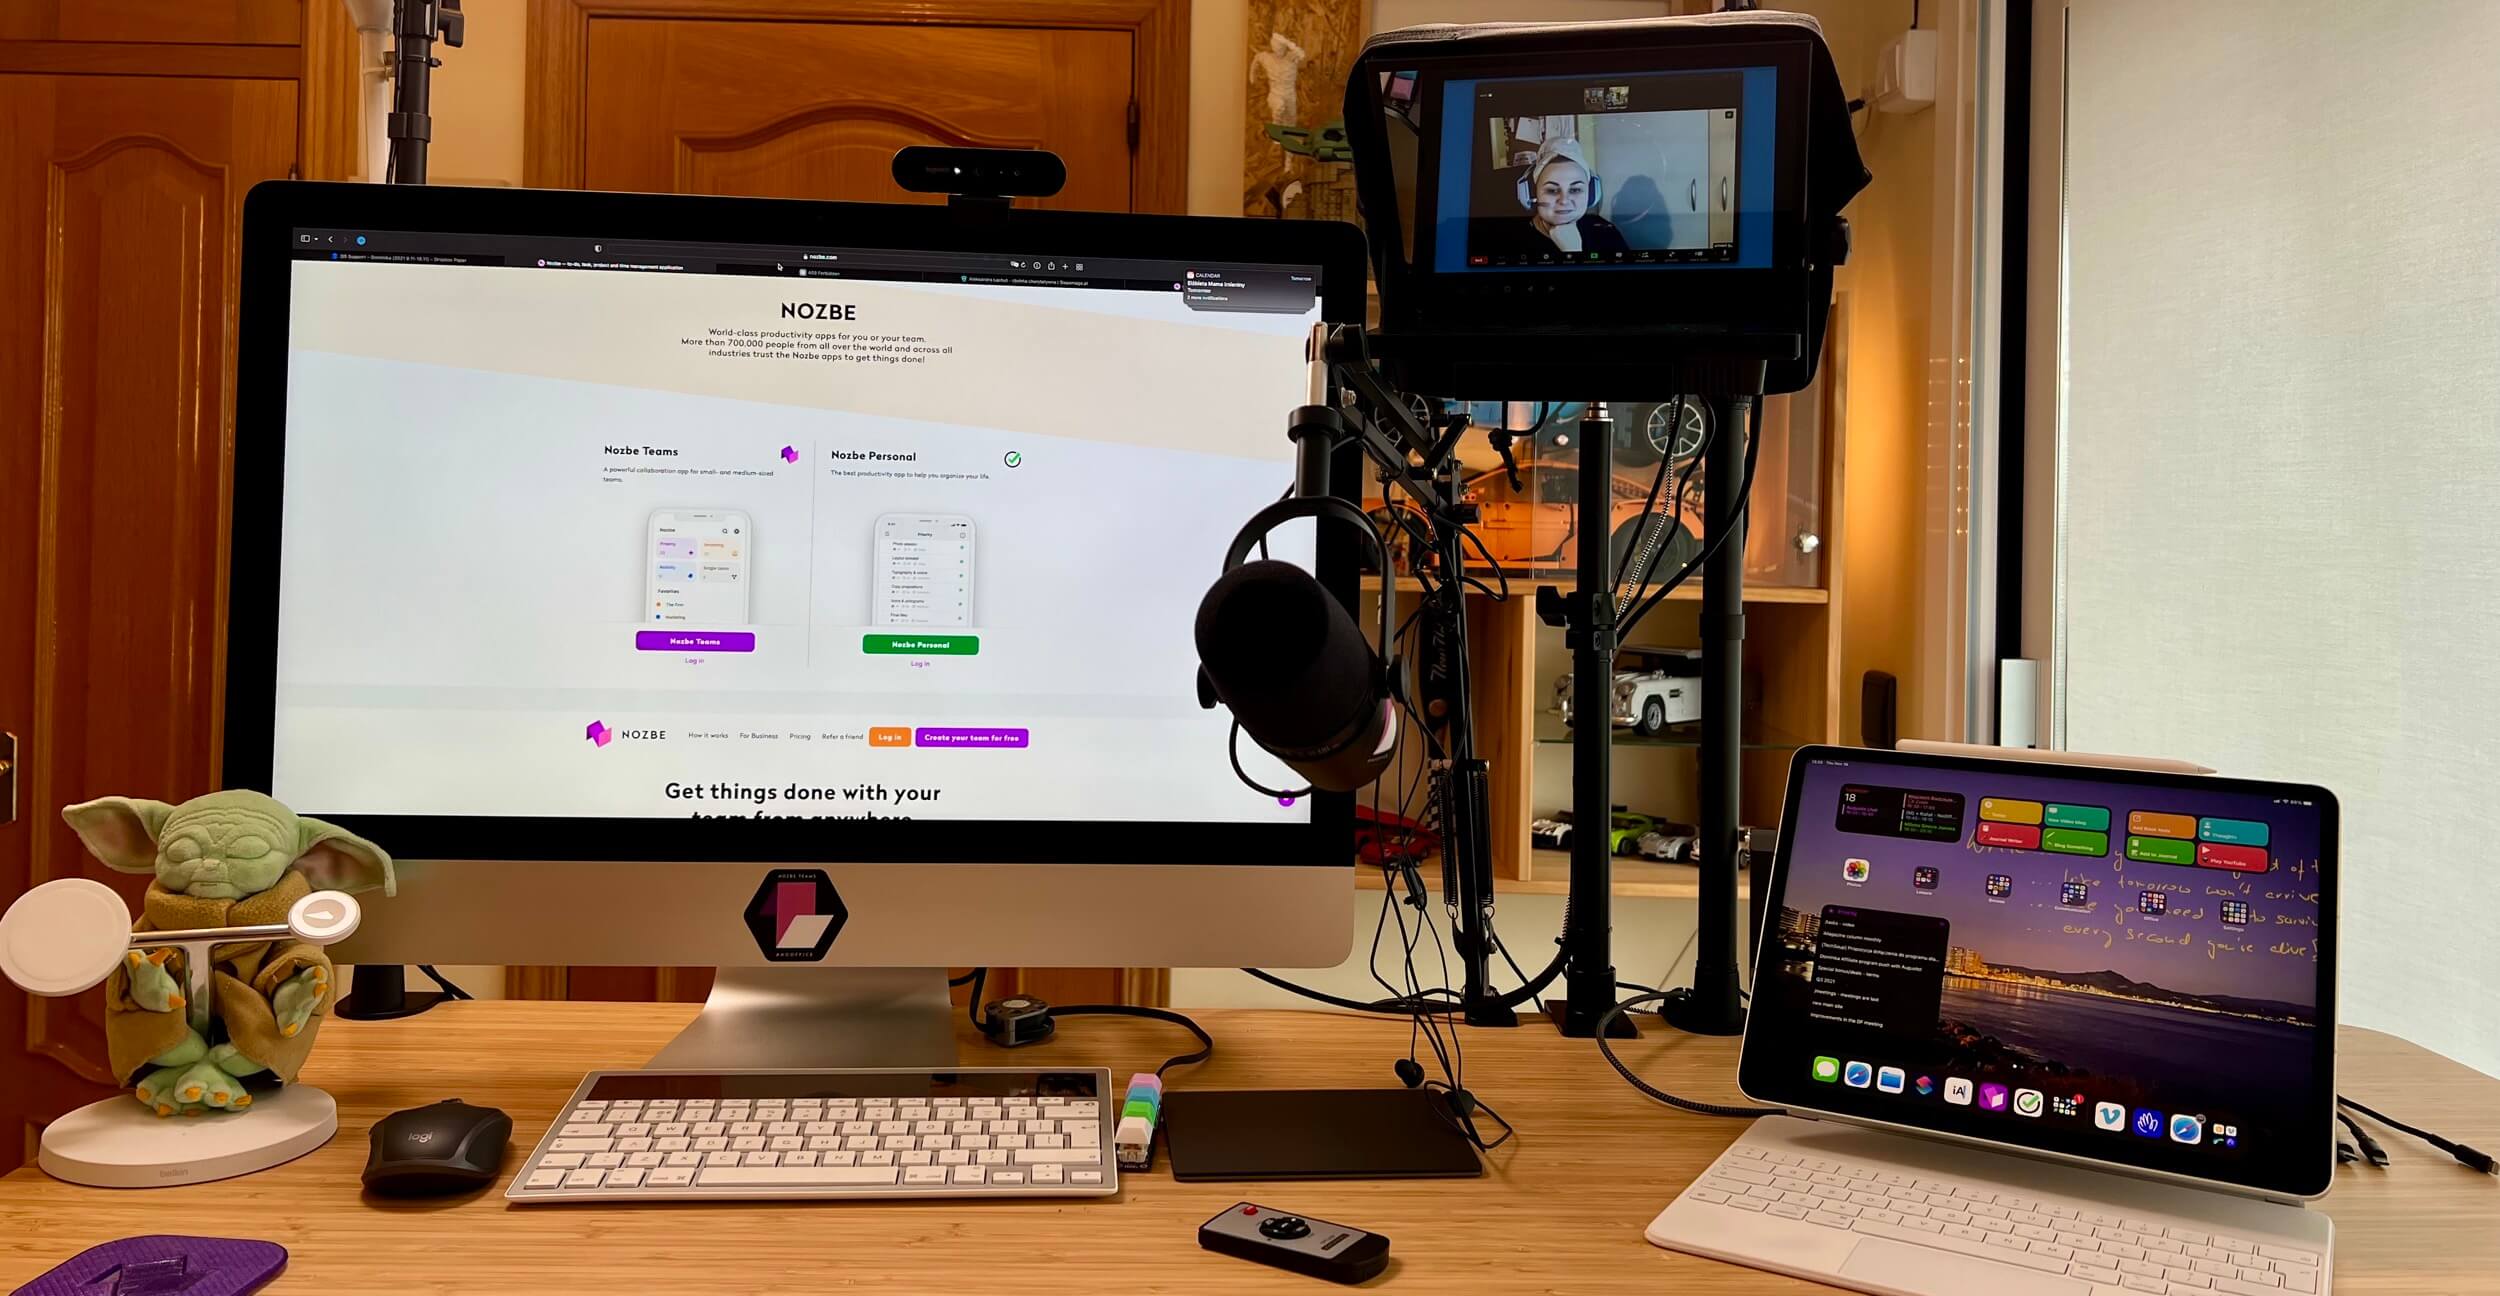
Last year I read a blog post by Matt Mullenweg - the founder of Wordpress where he explained his high-quality streaming setup - he revised this post this year with more updates. Later I read a similar post by Seth Godin. As I do quite a few interviews, record podcasts and have some zoom meetings with my Nozbe team, I decided to upgrade my setup, too. I explained some of it in my latest “office update” post but here are more details:

- Virtual meetings rule 1 - get a better microphone
- Virtual meetings rule 2 - get a better web cam
- Virtual meetings rule 3 - get better lights!
- Virtual meeting bonus tip - don’t stare at yourself!
- The result? I’m looking great!
- That’s it - enjoy your better video calls and interviews!
- Want to save money? Don’t have that many meetings!
Virtual meetings rule 1 - get a better microphone
The built-in microphones are usually poor and if you buy a simple microphone and headset combo, McDonald’s style, it’s still not gonna be great. I recommend two microphones:
- Samson Q2U if you’re on a budget (~$70), or:
- Shure MV7 if you’re also podcasting regularly (~$250).
Both microphones can be connected to any computer with a simple USB cable. No additional hardware necessary.
Virtual meetings rule 2 - get a better web cam
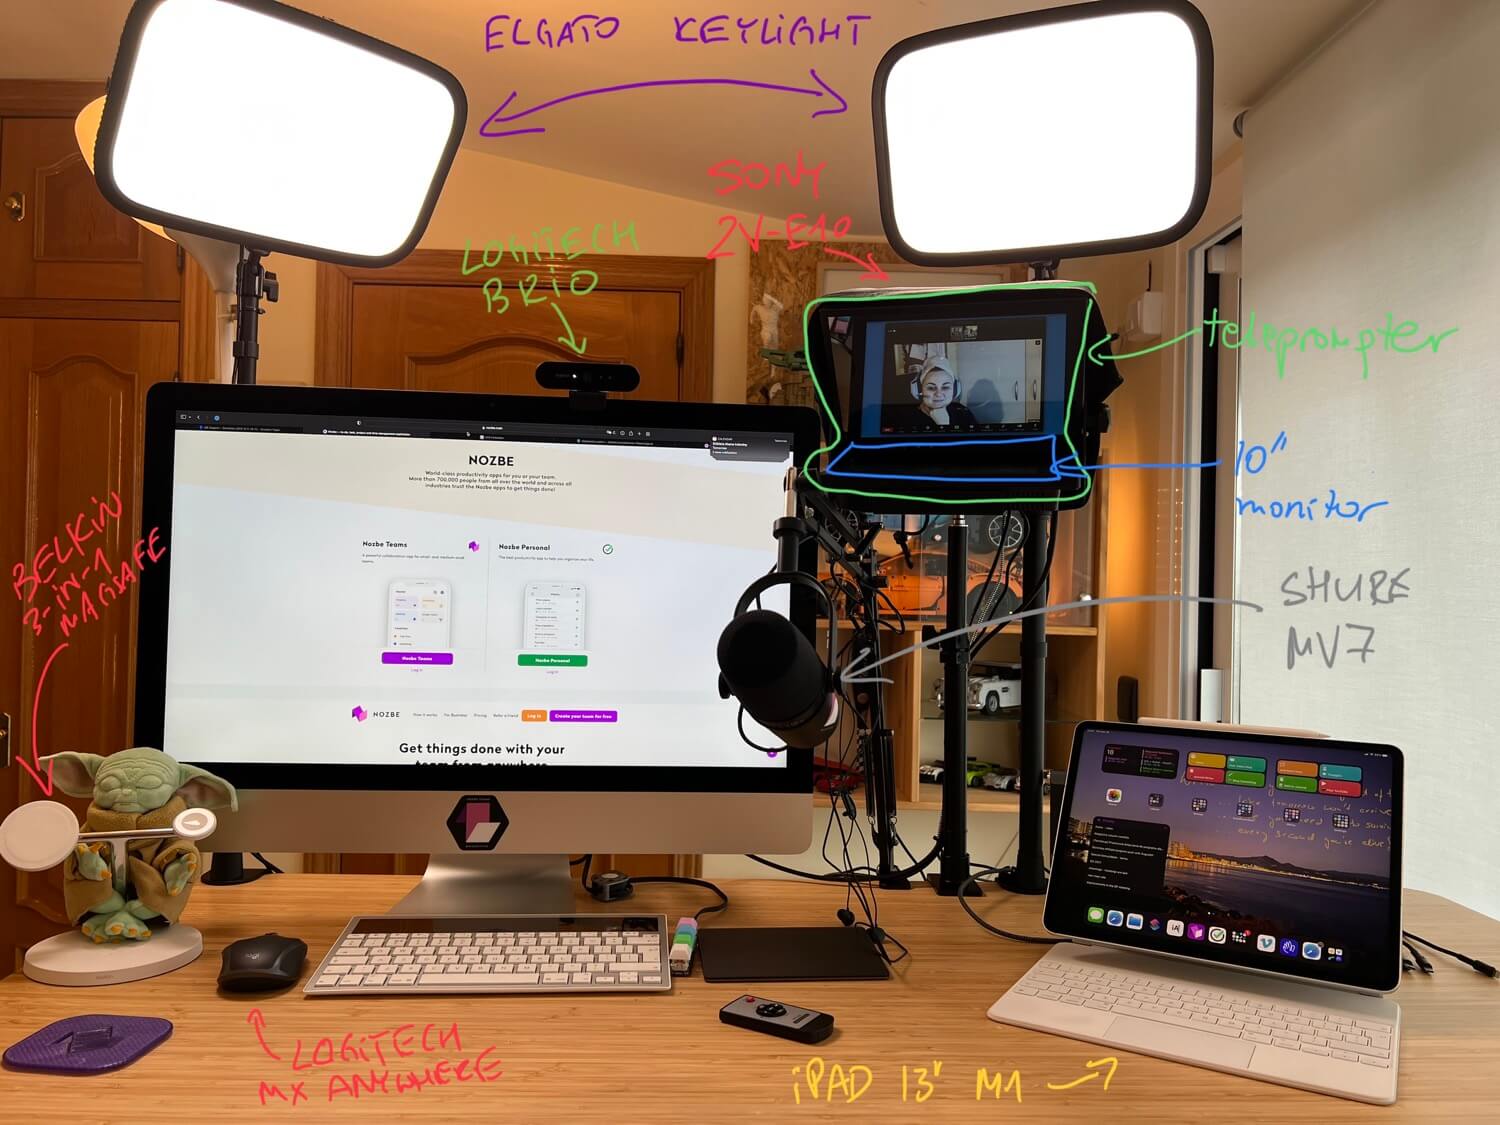
The webcams built in the modern computers are usually garbage. So the easiest way to improve this is to go out and buy a dedicated web cam. I recommend Logitech Brio 4K and the way you look will be much improved (~$150).
Taking the looks to a different level with a dedicated camera and a teleprompter.
Now, to look really great, you need a professional camera, teleprompter and an external display. Here’s the setup:

- Sony ZV-E10 camera - very good and much cheaper alternative to what Matt or Seth suggested ($650).
- Neewer 28mm lens so that I can have this camera much closer on my desk and be in focus ($70). Alternatively you can get the Sigma 16mm auto-focus lens but this one costs much more (~$400).
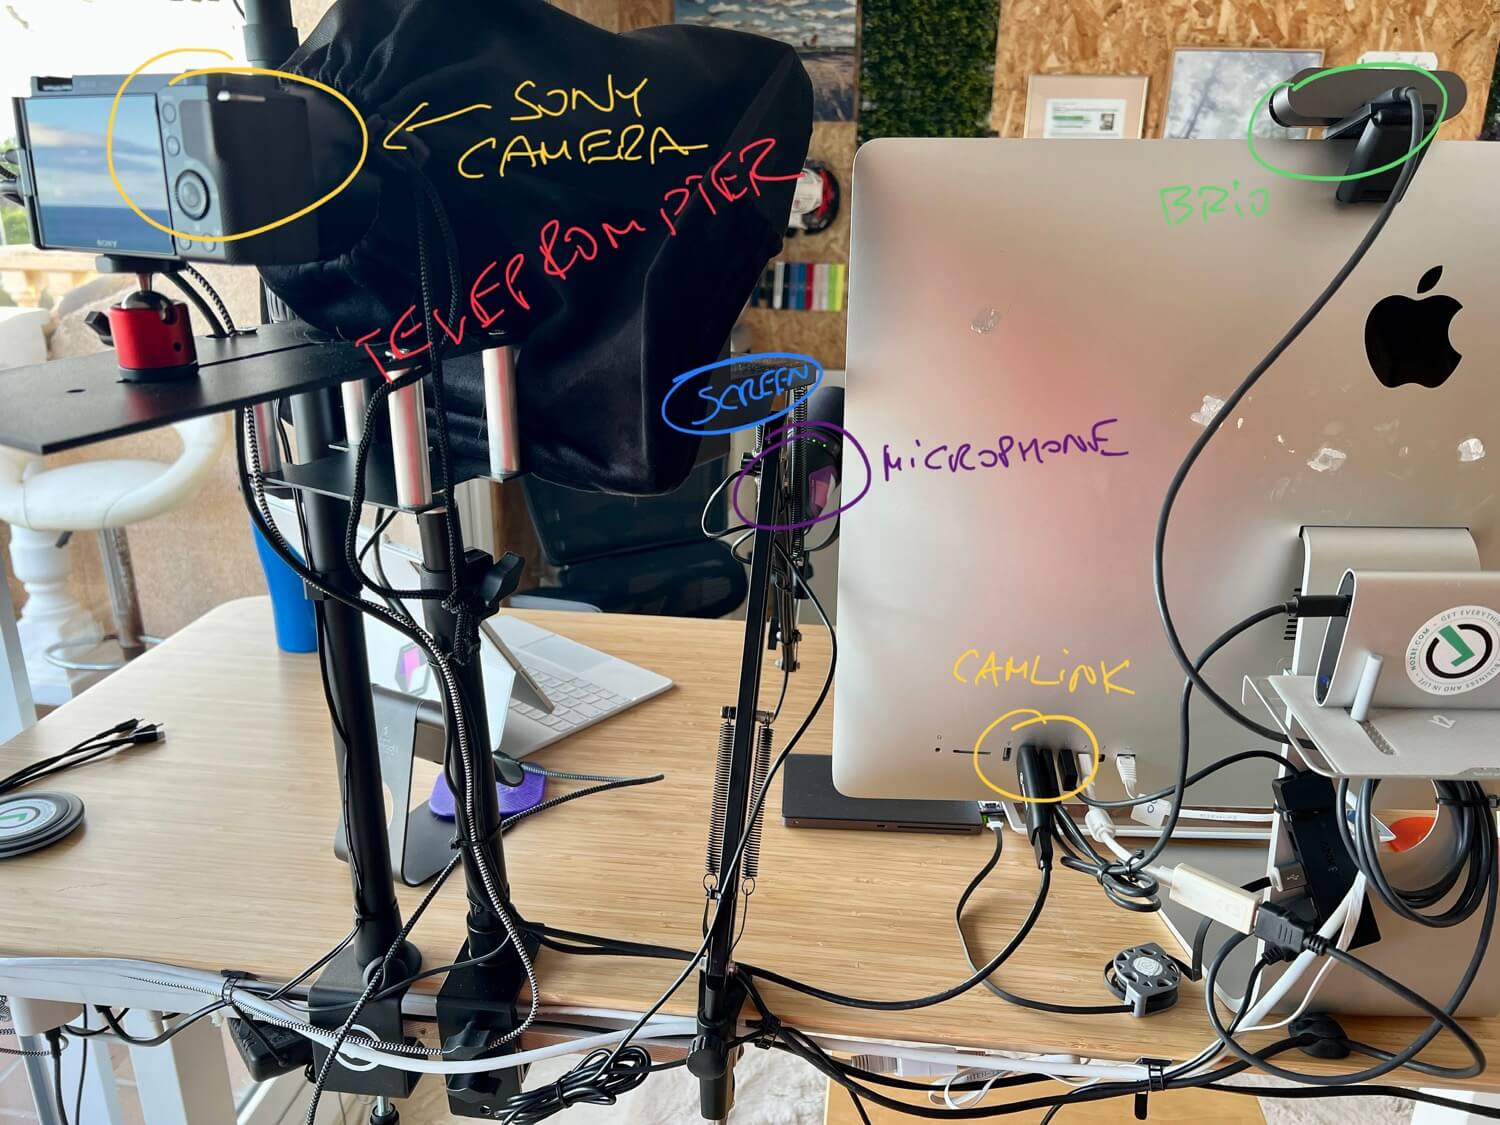
- Teleprompter PAD to mount the camera there (~$130).
- Small 10” external monitor that fits under the teleprompter (~$100).
- Elgato Camlink 4K so that you can connect the camera to your computer using HDMI (~$130).
- Micro-HDMI to HDMI cable to connect the camera to the Camlink (~$8).
That’s it. This is how this setup looks like from the back-stage:

In theory you can connect the Sony camera directly to the computer using the USB-C cable, but I found this solution to be very laggy and of poor quality. It’s much better to use the HDMI port.
Instead of the monitor you can use an iPad
Under the teleprompter you can use an iPad. Before I got the monitor I was using my wife’s 2018 11” iPad Pro and hooked it to my old iMac with Air Display app which even has a teleprompter mode. However, as the data was streamed using Wifi and not HDMI cable, everything was very laggy again.
In the end the setup with a dedicated monitor is the best. If only I knew how to “flip screen horizontally” to achieve a teleprompter mode it’d be awesome. But for normal conversations it’s not a problem.
Virtual meetings rule 3 - get better lights!
As I live in Europe and very often I get to speak to people on the other side of the pond, in the USA, I need good lights to look good when it’s evening here and day there.
I bought two sets of Elgato Key Light that work great. I have one installed right in front of my face, behind the teleprompter and the other one to the side at a 45 degree angle (~$150 each, total of ~$300).
Virtual meeting bonus tip - don’t stare at yourself!
Now that you look good, there is a pro-tip that Seth mentioned in his article - you can actually hide “self view” when on a Zoom call. Just click on the “…” icon and choose “Hide self view”.
This is glorious. We as humans are not designed to be staring at ourselves through the mirror all day.
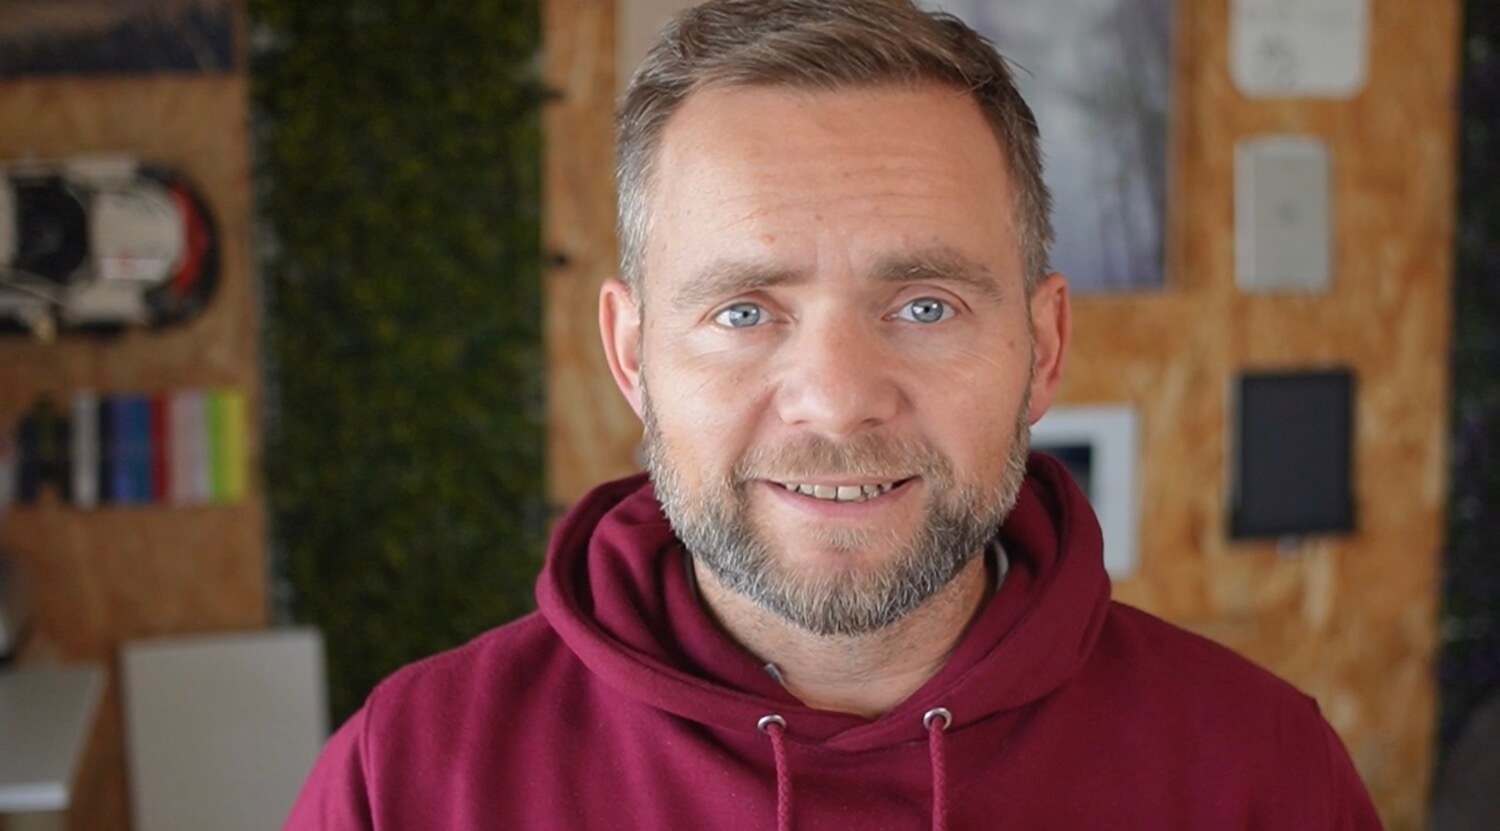
The result? I’m looking great!
As I mentioned in my Home Office ‘22 post the result is stunning and I hope people appreciate this:

That’s it - enjoy your better video calls and interviews!
This setup is not cheap, but if that’s what you’re doing professionally, it’s worth it! My version cost me:
- $250 for the microphone
- $1088 for the camera gear
- $300 for the lights
So a little over one and a half grand total.
And if you want to be able to use lots of cool backgrounds when streaming, get Elgato Green Screen (~$130).
If you’re curious about other gadgets I use daily, check out the layout of my new 2022 home office.
Want to save money? Don’t have that many meetings!
Just read the chapter of my #NoOffice book, where I explain that Meetings are optional.