How I upgraded old iMac and MacBook Pro to the latest MacOS giving them a second life!
💻Computers
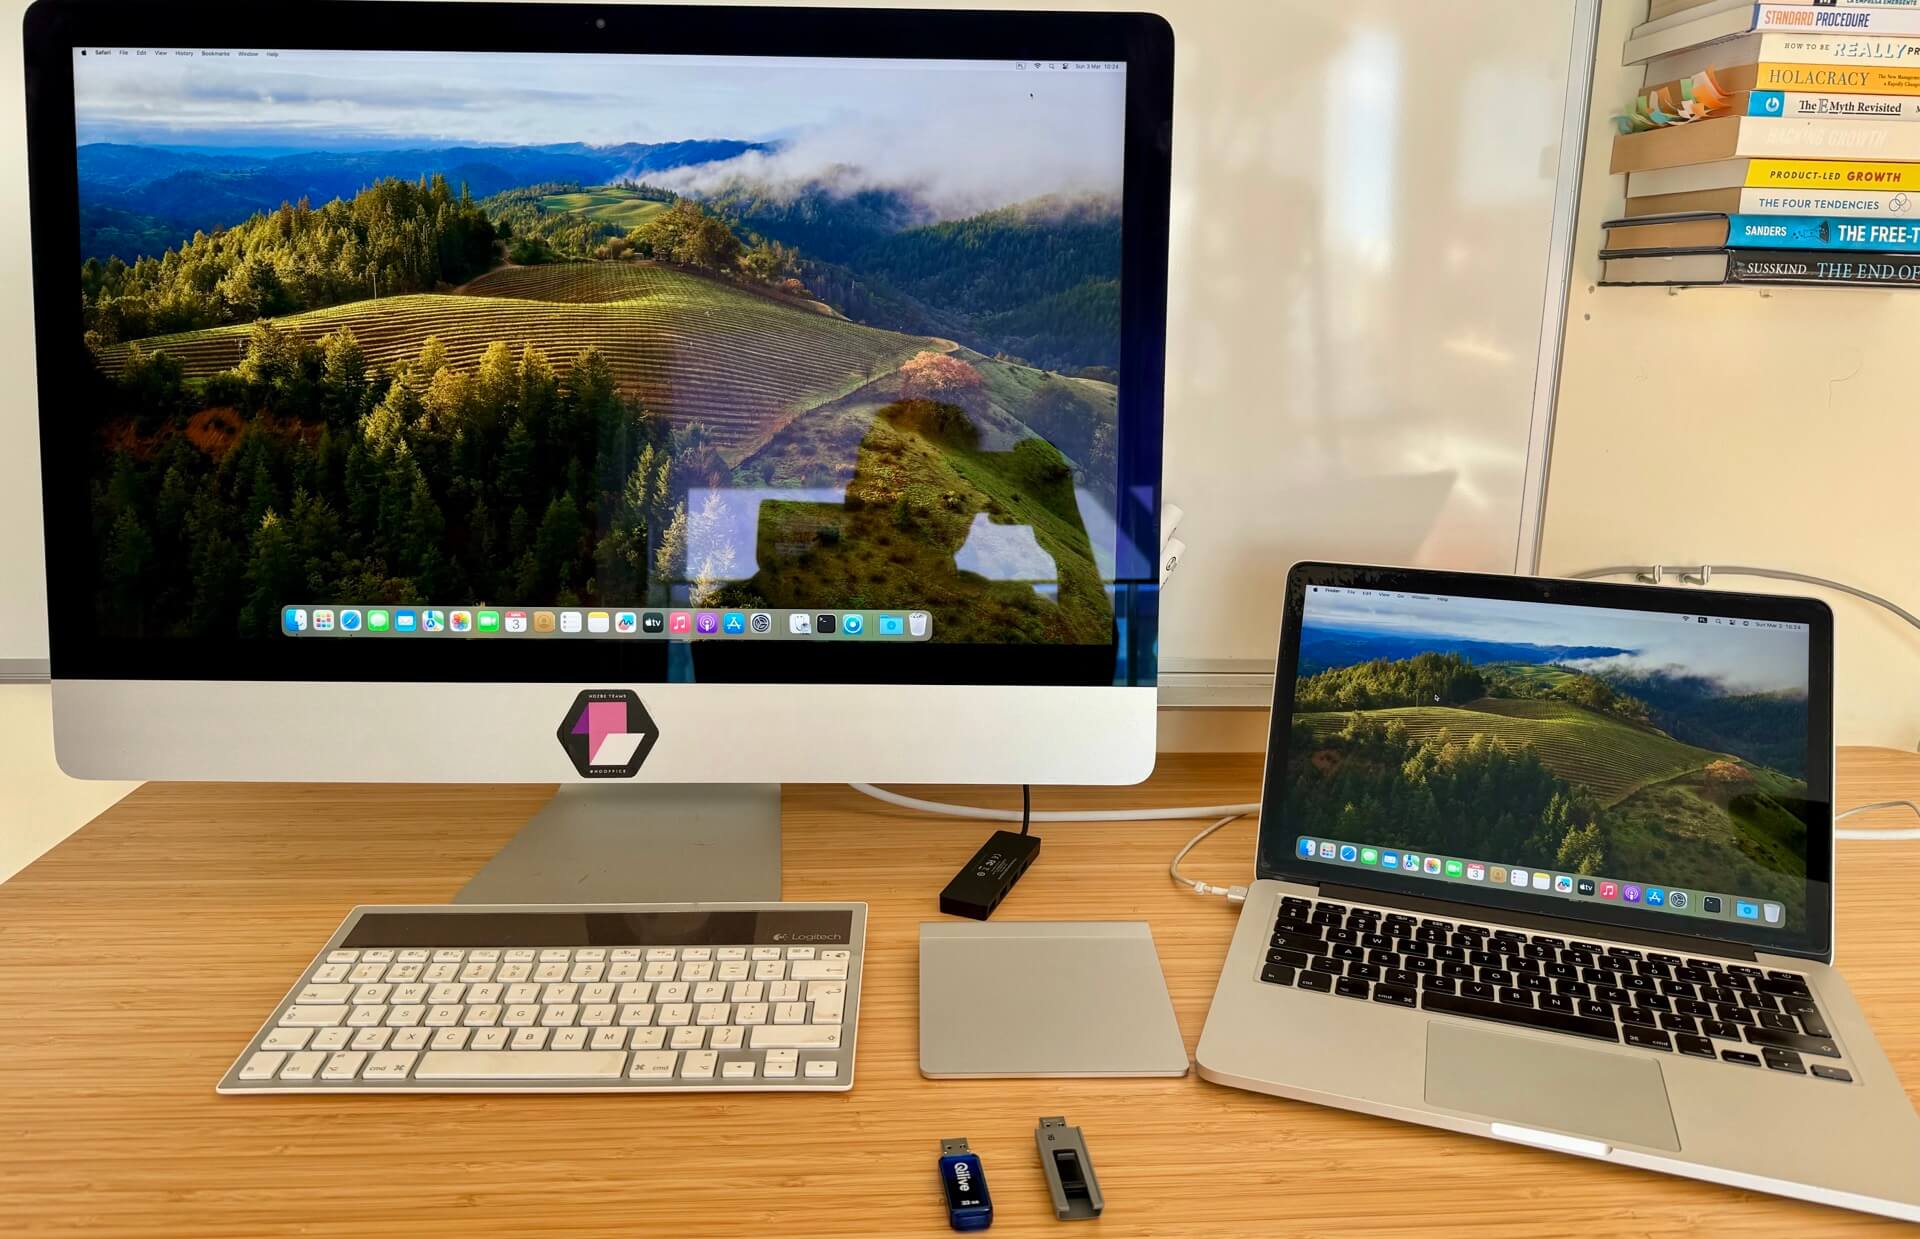
Back in December of 2013 I bought a 13” MacBook Pro which two years later in summer of 2015 I swapped by the iMac 5K which I eventually replaced in 2022 with M1 MacBook Air. As I never sold the old Macs, I decided to give them a new life by upgrading them to the latest MacOS. Turns out it was fairly easy:

- Long lived Apple hardware - 11-year old laptop and 9-year old iMac!
- Enter OpenCore Legacy Patcher to install MacOS Sonoma on old Macs!
- Old Macs run very well on Sonoma!
Long lived Apple hardware - 11-year old laptop and 9-year old iMac!
It’s amazing to me that both of these Macs are still in great shape. Both are made of aluminium and both have Retina-displays. They put to shame many of today’s Windows computers.
Moreover, back in the day I future-proofed them by speccing them very well - both have 16GB of RAM and 512GB SSDs.
To put it in the context - today in 2024 Apple is selling most of its computers with 8GB of RAM and 256GB SSD - half of what I have:
- M3 MacBook Air - starts at 8GB of RAM and 256GB SSD
- M3 MacBook Pro - starts at 8GB of RAM and 512GB SSD
- M3 iMac - starts at 8GB of RAM and 256GB SSD
- M2 Mac Mini - starts at 8GB of RAM and 256GB SSD
So my “old Macs” have on paper better specs than the current Macs available for sale. Talk about Apple being stingy with their configurations! Not much has changed in a decade, right?
That’s why I didn’t want to get rid of my old Macs as they can serve as good computers for my daughters. The only issue was that both Macs are “unsupported” by Apple and cannot officially run the latest MacOS.
Or can they?
Enter OpenCore Legacy Patcher to install MacOS Sonoma on old Macs!
By accident I learned about OpenCore Legacy Patcher which is an open-source project that adds support of the latest MacOS to the old Macs. Here’s what I did step-by-step to make it work:
Step 1 - create a bootable installer of MacOS Big Sur
The last OS that my Macs support is MacOS Big Sur, you can learn which MacOS your Mac supports here so I followed this MacWorld Guide and:
- Got a blank 16GB USB drive (which costs only few euros today)
- Downloaded MacOS Big Sur from App Store
- Used the
createinstallmediacommand to make the USB a bootable MacOS Big Sur installation disk:sudo /Applications/Install\ macOS\ Big\ Sur.app/Contents/Resources/createinstallmedia --volume /Volumes/MyVolume
Now that I had the MacOS Big Sur installer ready, I went ahead and booted from the USB drive (by holding Command key) and wiped the Mac clean and installed a fresh copy of MacOS Big Sur.
Note: I had no important data on these Macs as I already migrated from them, but if you do have data, make sure to back it up first!
Step 2 - create a bootable and patched MacOS Sonoma installer
I went to the OpenCore releases and got the latest OpenCore-Patcher-GUI.app.zip from their web site version 1.3.
I unzipped it and moved it to the Applications folder and launched it. I had another USB drive ready (for safety this time I used a 32GB thumb drive but I heard another 16GB would be enough). Then I followed these steps:
- I launched the OpenCore app and chose Create Mac OS Installer - this will download MacOS Sonoma installer and create an installer specific for this Mac. Now wait until the installer downloads…
- Once downloaded, it’ll ask you for admin password to extract the MacOS Installer. It’ll then ask you if you really want to create this installer disk and you must choose USB thumb drive so that the installer files are copied there. Now wait again for the installer to be copied to the drive.
- Once data is copied, it’ll ask you to install OpenCore to this thumb drive. You answer Yes, select the thumb drive again and the boot partition on that drive.
- Restart the Mac and hold the
Optionkey and click on theEFI Bootdisk and thenInstall MacOS Sonoma. - Since I’m installing on the same Mac that I just installed Big Sur on, I’m just choosing
Install MacOS Sonomato upgrade my Mac. I choose the internal drive and now the upgrade installation proceeds and the Mac will reboot several times. - Once the Mac has finished the installation it will boot and you’re almost done. Now you’ll see the Sonoma on your Mac and after a few seconds a popup prompting you to install OpenCore to your main drive will appear. Say OK and let it install.
- Restart and remove the thumb drive and your Mac should boot to MacOS Sonoma. You’re done!
Step 3 - enjoy MacOS Sonoma!
That’s it. I had to repeat the procedure on both Macs. Now both of them work great and hopefully will be used in my household for many years to come.
Old Macs run very well on Sonoma!
Again, I understand that Apple doesn’t want to support old Macs but I’m happy that the community does, because both of my “old” Macs are plenty powerful. Both have i5 Intel chips. Both have 16GB of RAM and plenty of SSD space. Both have Retina displays and the iMac has this gorgeous 5K screen! And now both are very useful as I can install latest software on them!
Here’s a handy video tutorial I found on the Internet that can help you with this installation: