Cable management in my home office 2011
🏠Office
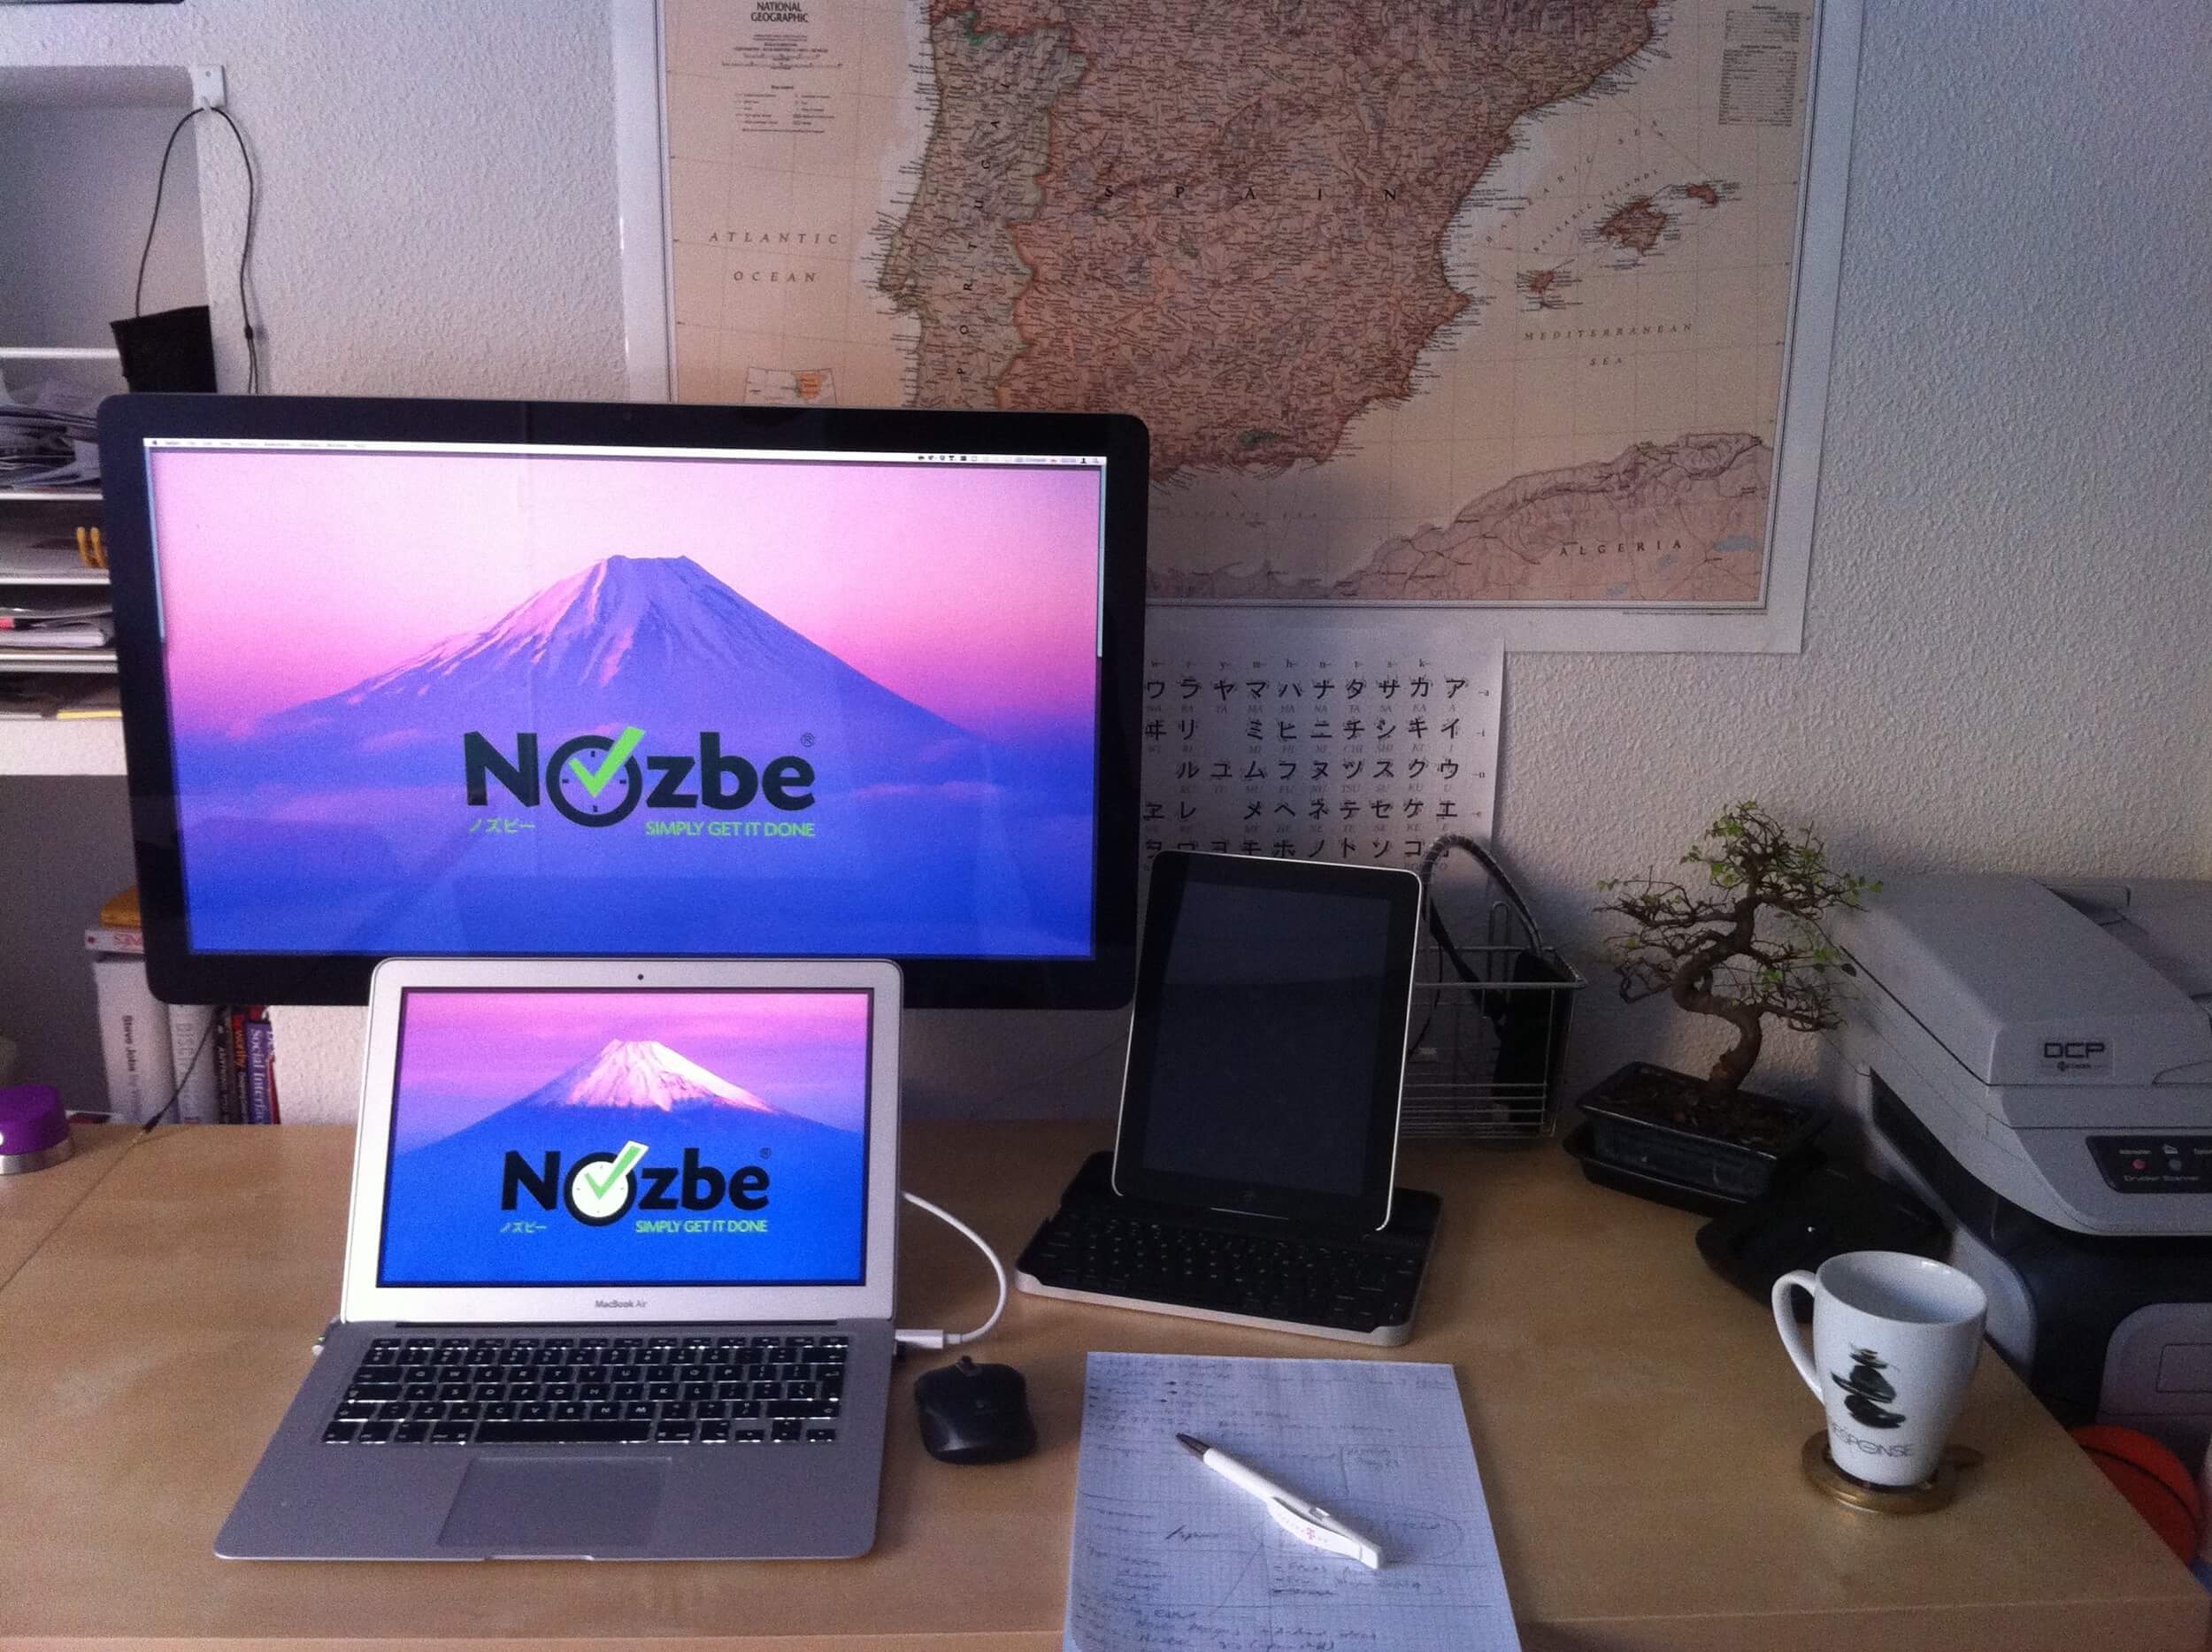
Well, last year I designed my home office and I blogged about it. Even recorded a video showcasing it… but everything can be improved. Especially that my (almost) 3-year old girl keeps visiting his daddy at the office, I decided to finally get rid of cables by optimizing the cable management even more. In my last iteration the cables were hidden under my desk but still they were hanging there without any protection. Now it’s all protected and the result is even better:
Teaming up with Tomasz
As my Nozbe CTO Tomasz visited me this month, we decided to do this one together as a man-bonding exercise :-)

Starting with the Mac Mini
One month ago I bought a Mac Mini which I hooked up to my 21-inch screen. The Mini will serve as my home server, doing backups, uploading stuff, serving as video-making machine, etc. That’s why I wanted to make sure the Mini and its cables are optimized well.
Firstly I put the mini with the two accompanying hard drives into a plastic basket I found in a chinese shop nearby:

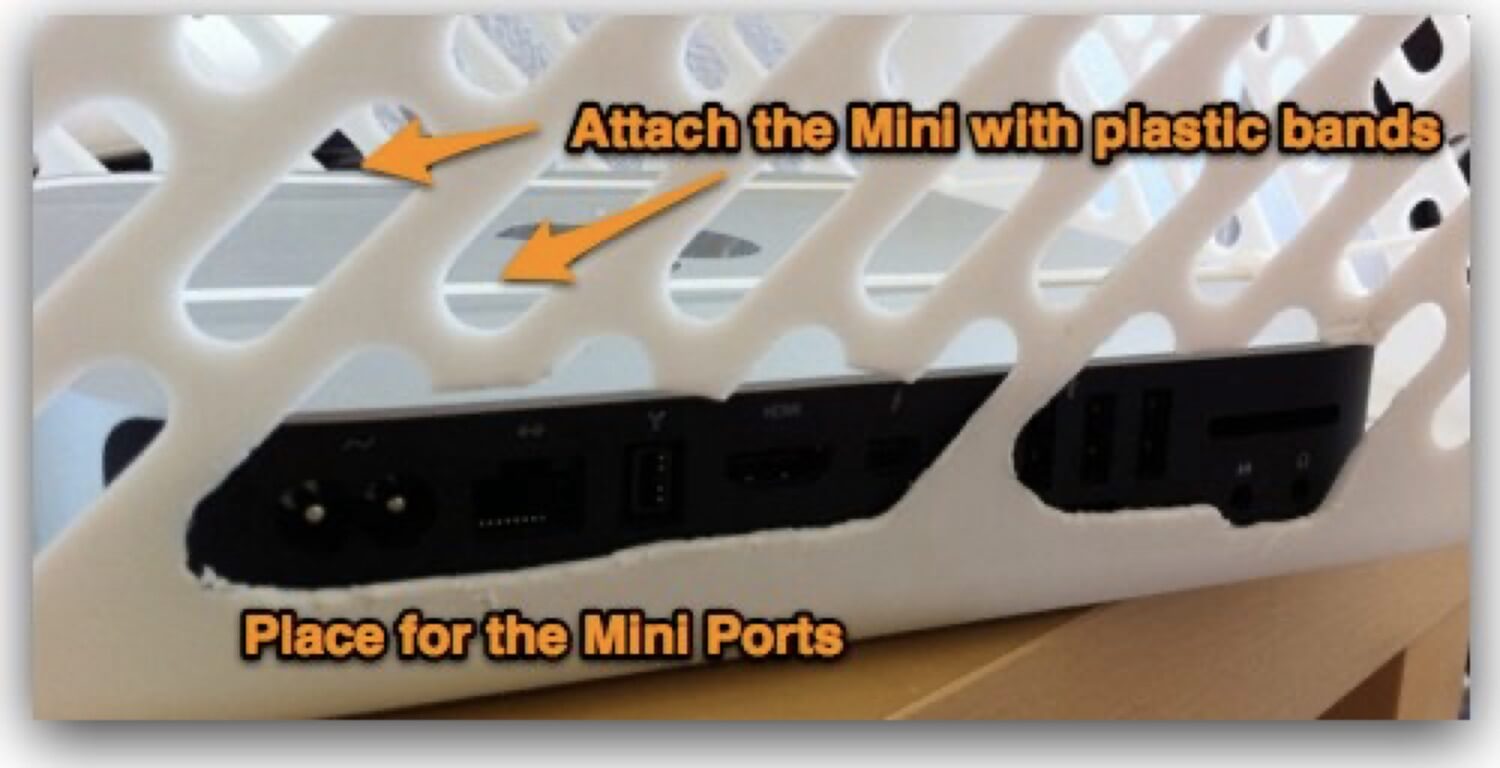
Then I had to cut out some holes for the Mini ports to make sure they are accessible from the outside for me:
I added power plugs, other cables and attached the Mini and the hard disks to the basket with some plastic bands. Later I made sure only the cables that had to go outside really did go outside the basket in an optimized fashion. Here’s the outcome:
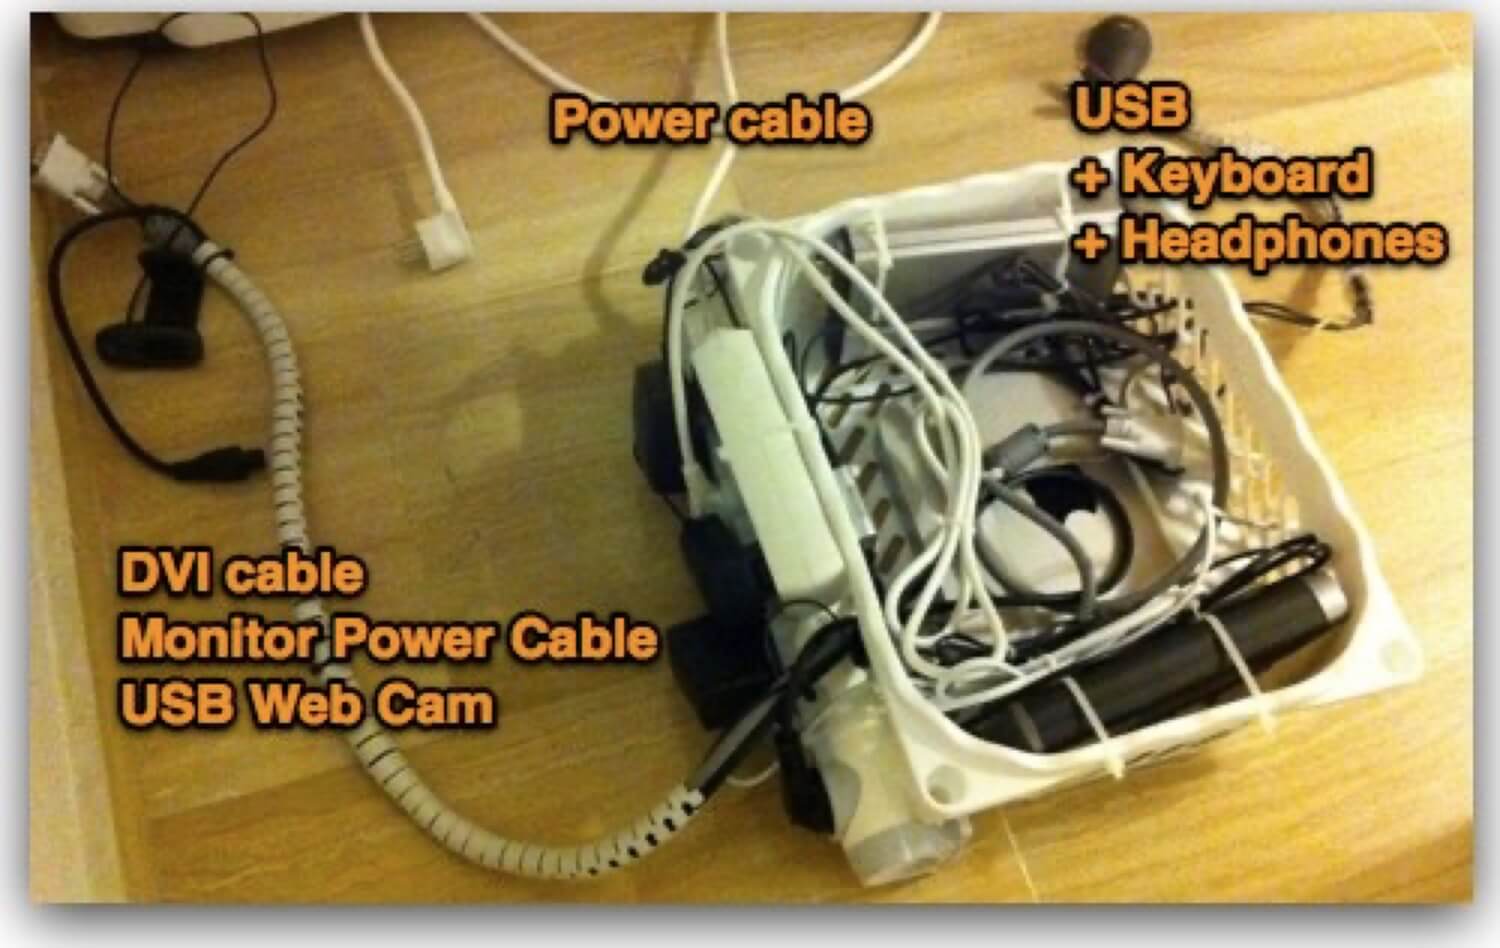
That’s it. Three cable sets going out of the basket:
1) Power cable
2) DVI cable to the monitor along with power to the monitor and USB web cam
3) USB extension, headphone jack and keyboard extensions
And when install, the Mini looks like this hanging below my desk (you can see my CTO pointing to it on the very first picture of this post):

Macbook Air and the rest of my home office gear
Second part was to put all of the other things I need for my work in the other plastic basket and hook them up to my Macbook Air. I started with this:
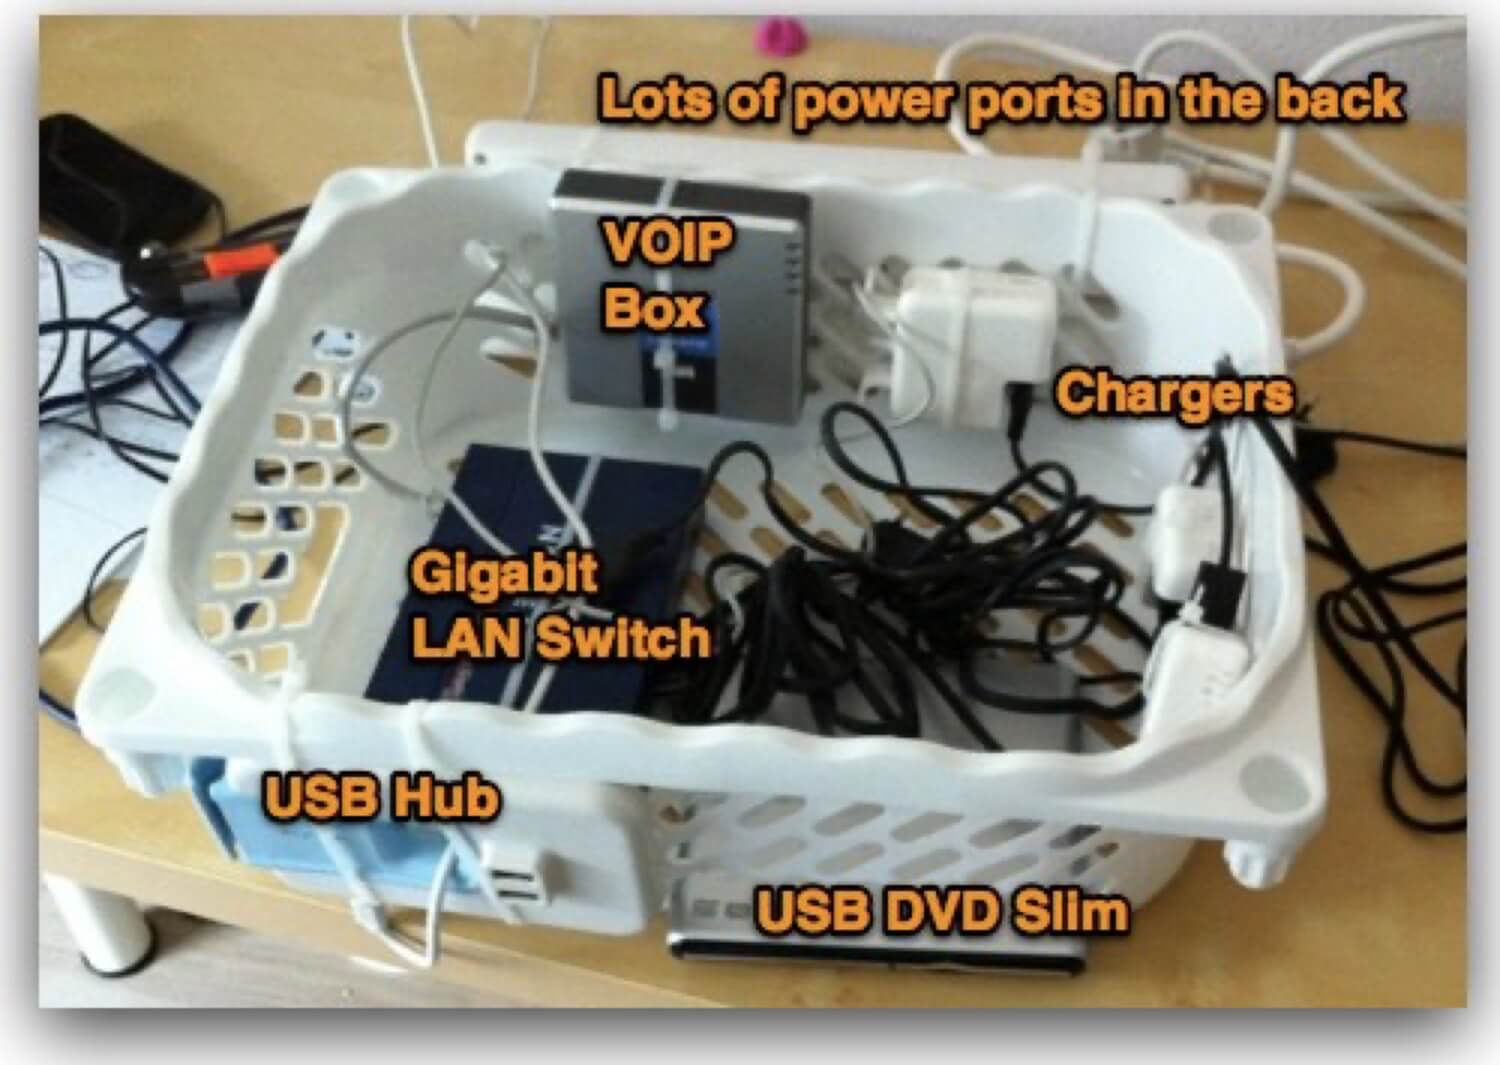
I wanted to put as much as I could UNDER my desk:
1) USB Hub
2) USB DVD burner
3) Gigabit LAN switch
4) VOIP box
5) and all the chargers and cables, all of them!
Well, I succeeded. As you can see, the cables are all inside the basket and the power strips (two of them) are behind it and there are only 5 cord groups going out of the basket:
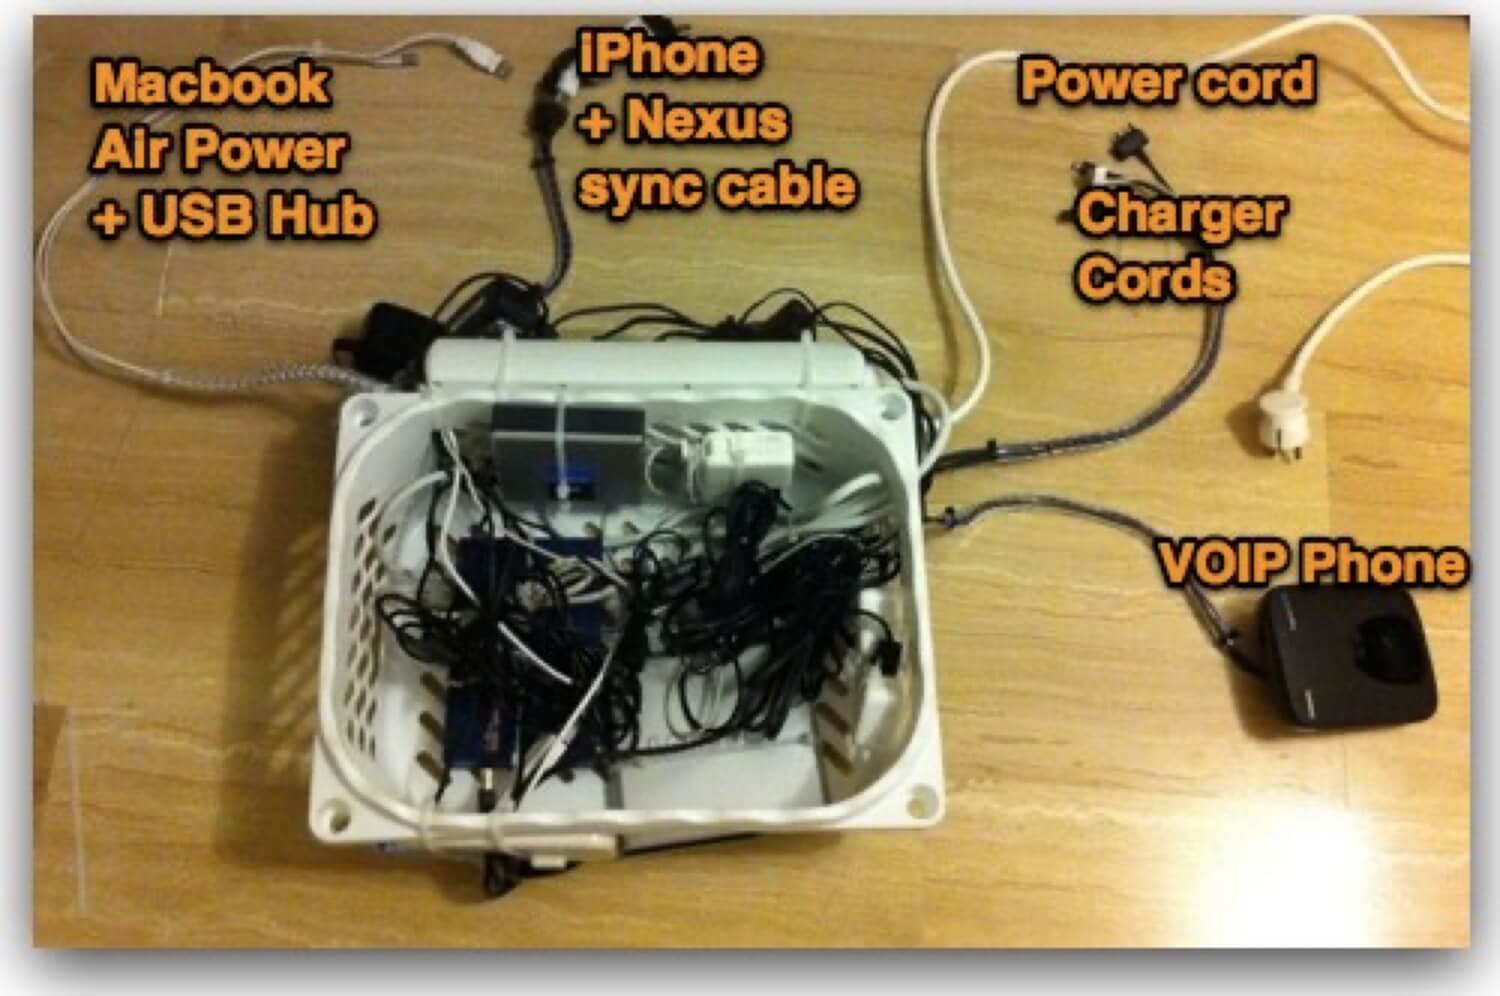
1) Macbook Air power + USB cable to the USB hub
2) iPhone and Nexus S sync cable from USB hub
3) Main Power cord
4) Different chargers for iPhone, Nexus and other devices
5) VOIP phone with power and phone cable
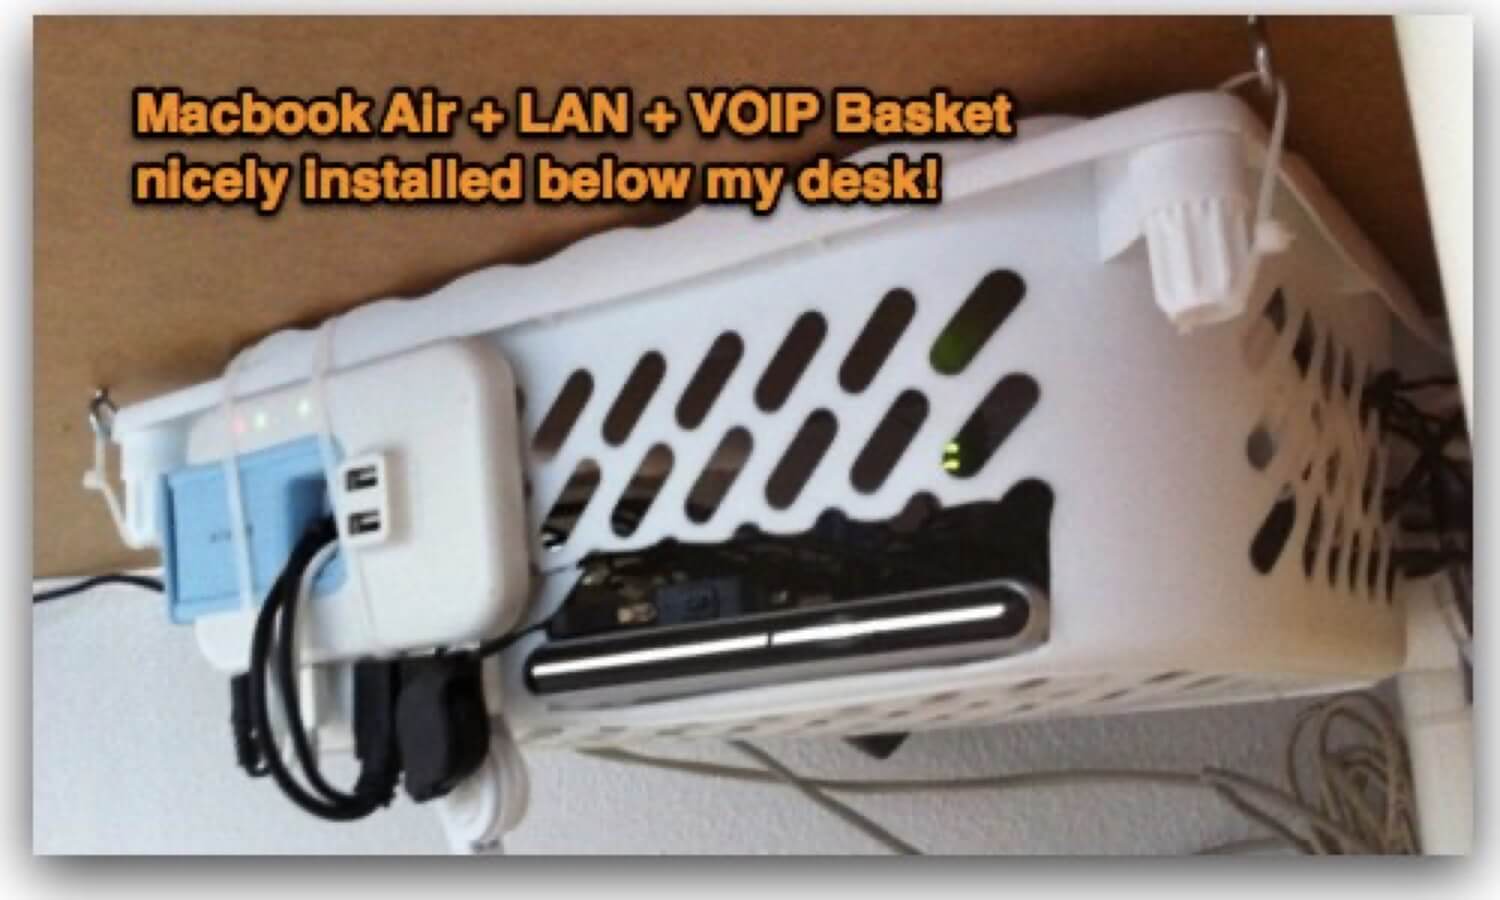
And that’s it. Now, hooked up it looks like this (with easy access to USB hub and DVD Drive):
What you don’t see
My Time Capsule is not anywhere to be found as it is in the corridor in the middle of the house. It’s connected via LAN cable with the Gigabit LAN switch in my basket. The same applies to my printer, it’s also connected via LAN to my gigabit switch and has a power cord somewhere else.
Cable management is important
It’s important to actually manage these cables well. I have less clutter than before on my desk now and less clutter below my desk, too. I’m not planning on changing my gear for quite a while now so I don’t have to remove these baskets often. When I do, it’s just cutting the plastic bands and putting them back on. Easy-cheasy.
Do you like my set-up? How did you optimize your office / home-office?