Clutter-free 2009 Productive Home Office
🏠Office
OK, so after we’ve moved to our new apartment I got my very own room to set up my very own home office where I’d be productive when at home… and I wanted a true clutter-free experience. As you know, in the past I managed to pack all of my office-related stuff into an Ikea cabinet but this time around I was aiming at an Apple-style-designed big, clean, lean and clutter-free desk. This is the outcome:
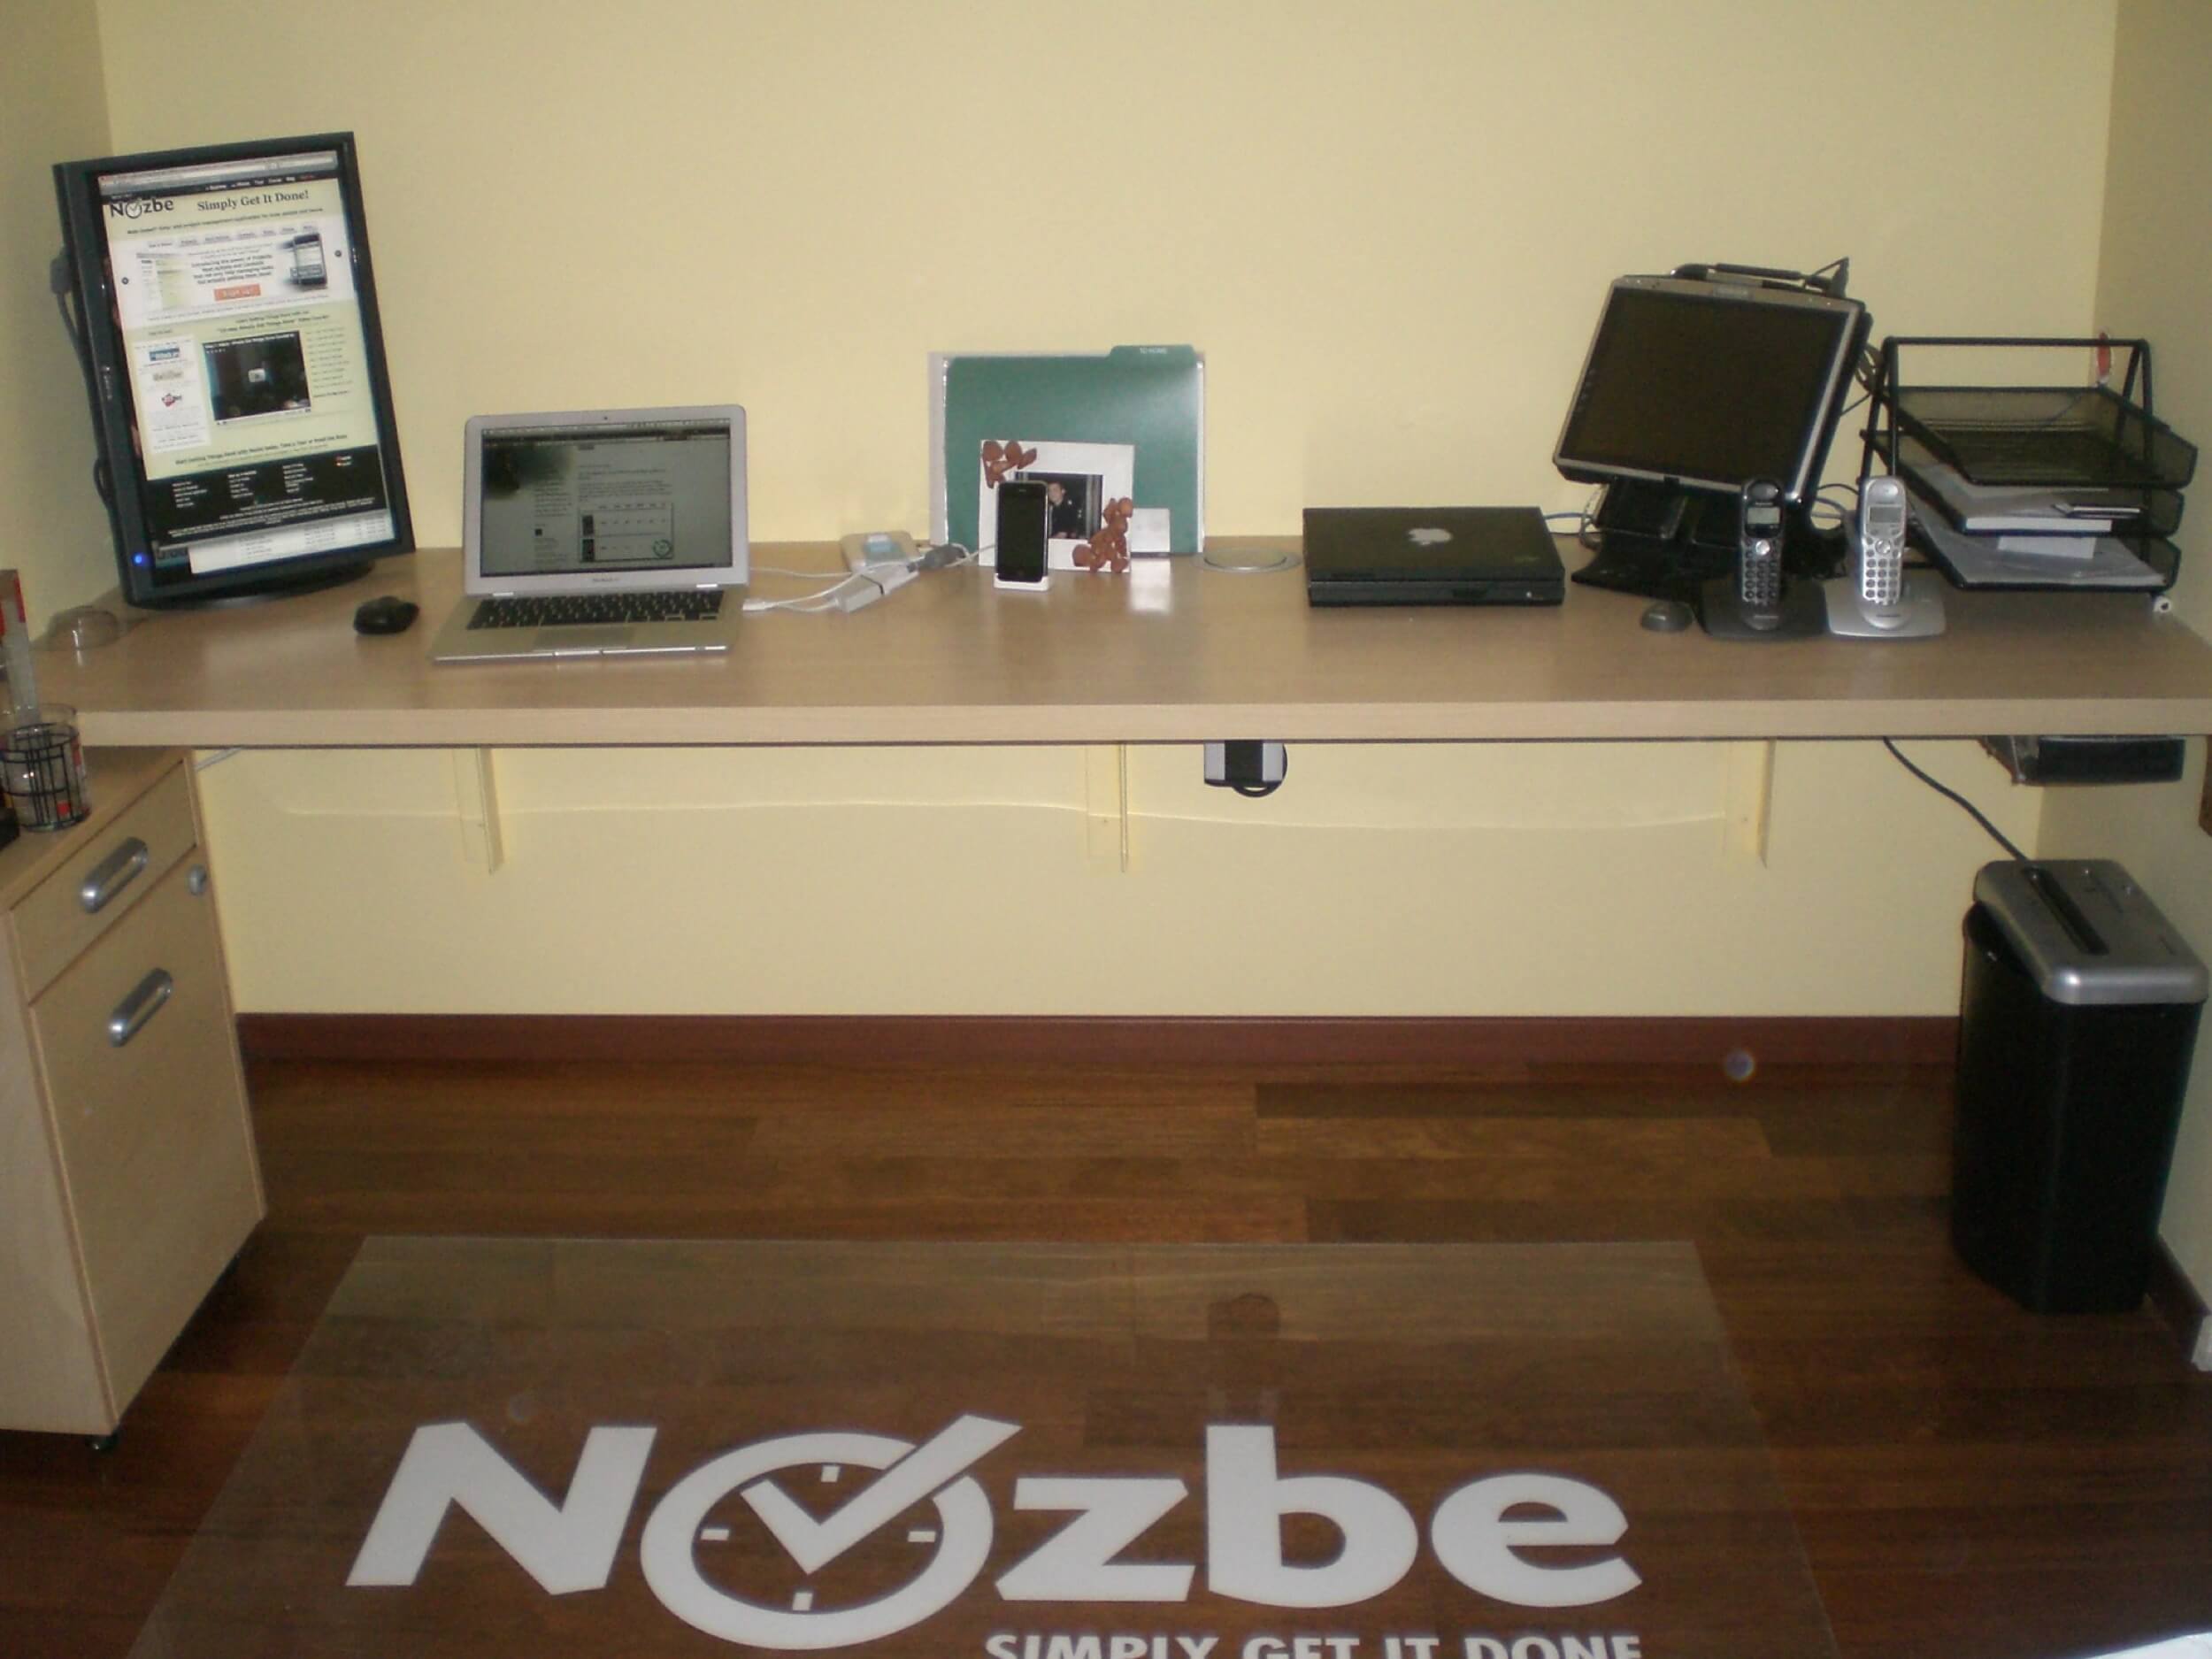
My new 2009 home office is glorious!
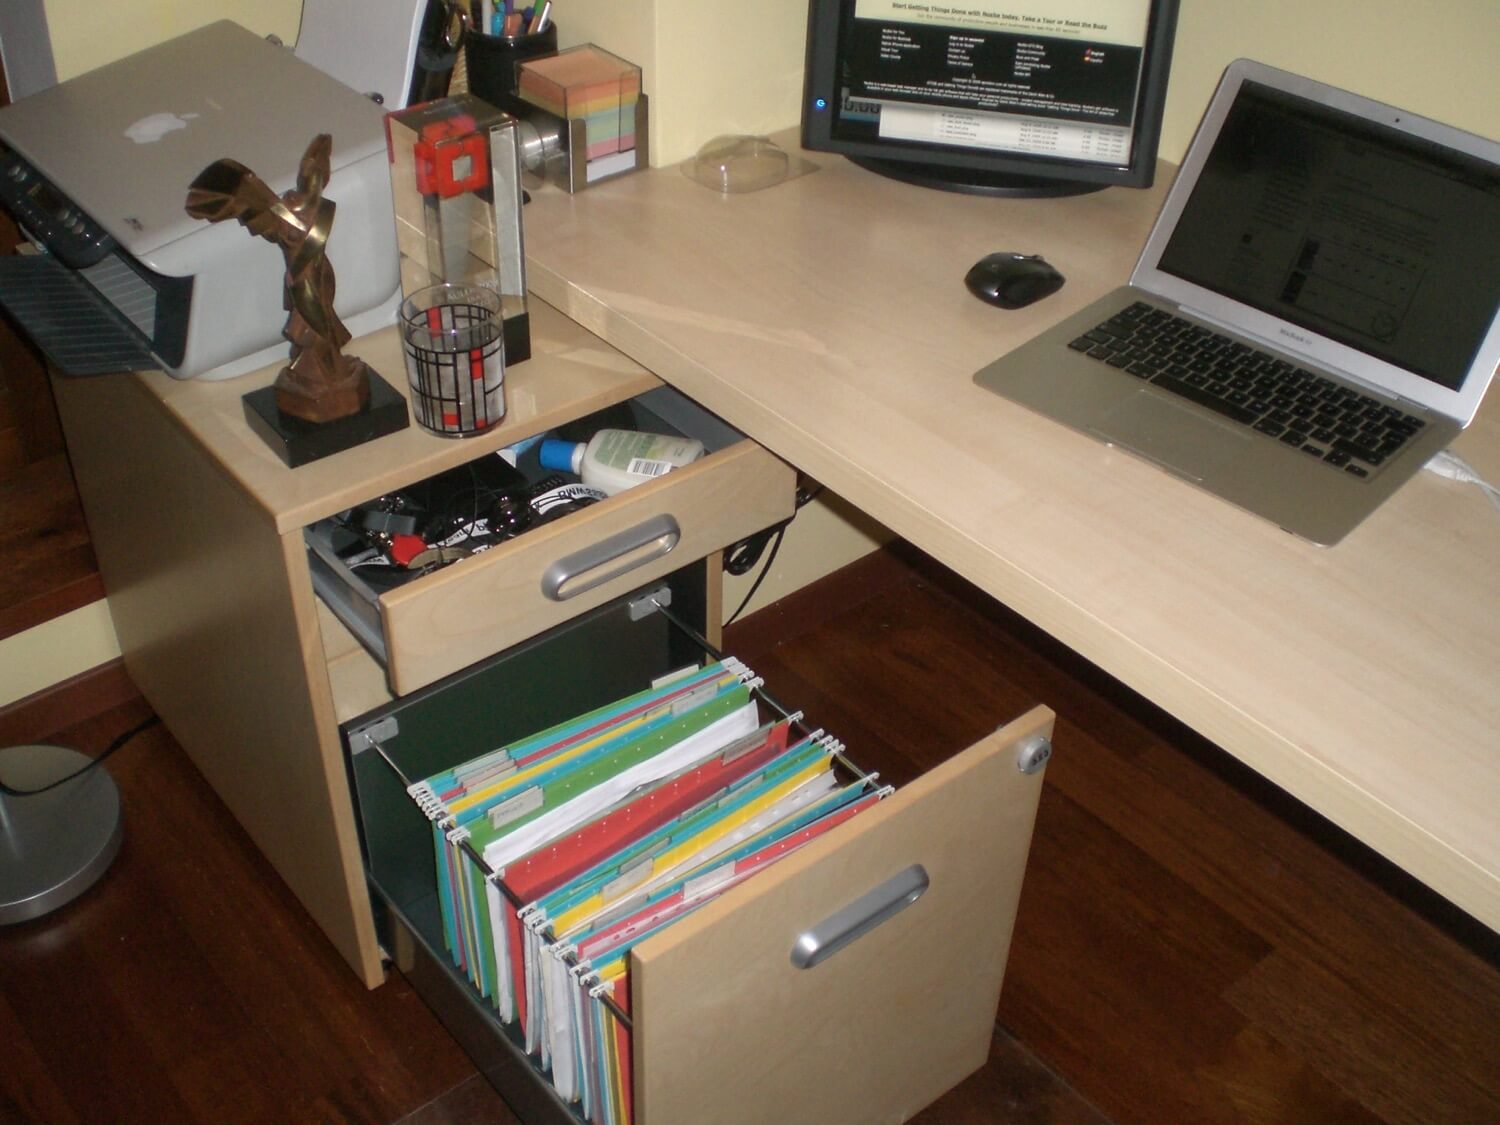
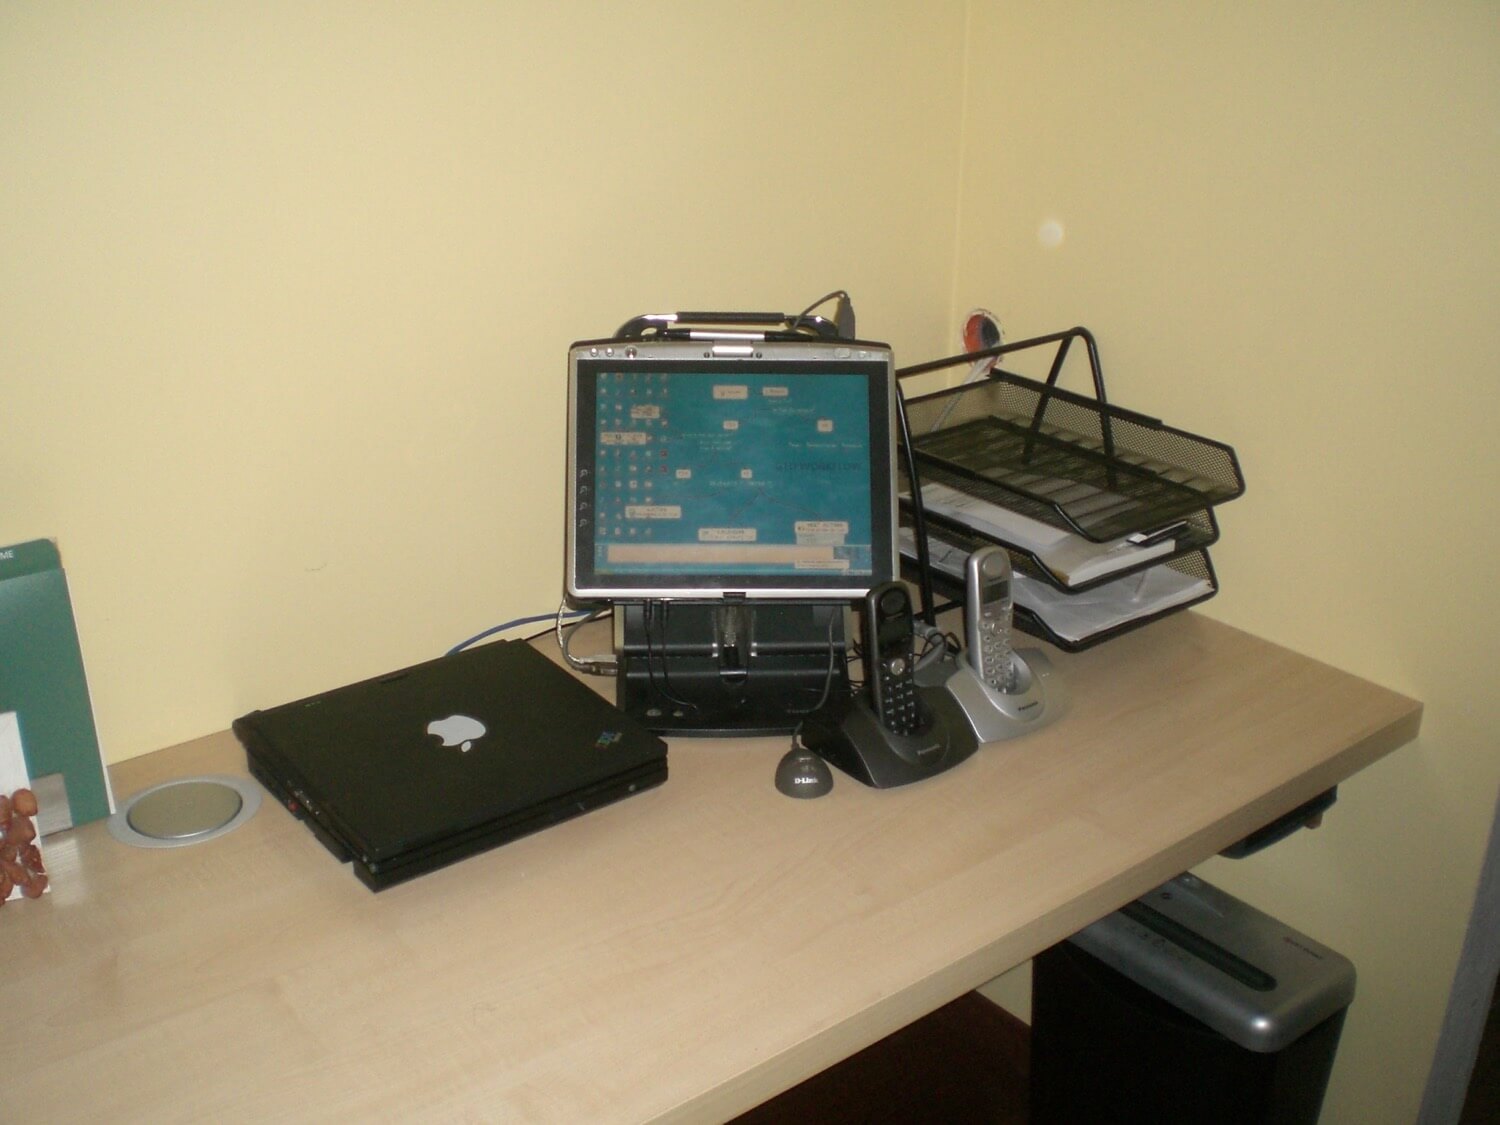
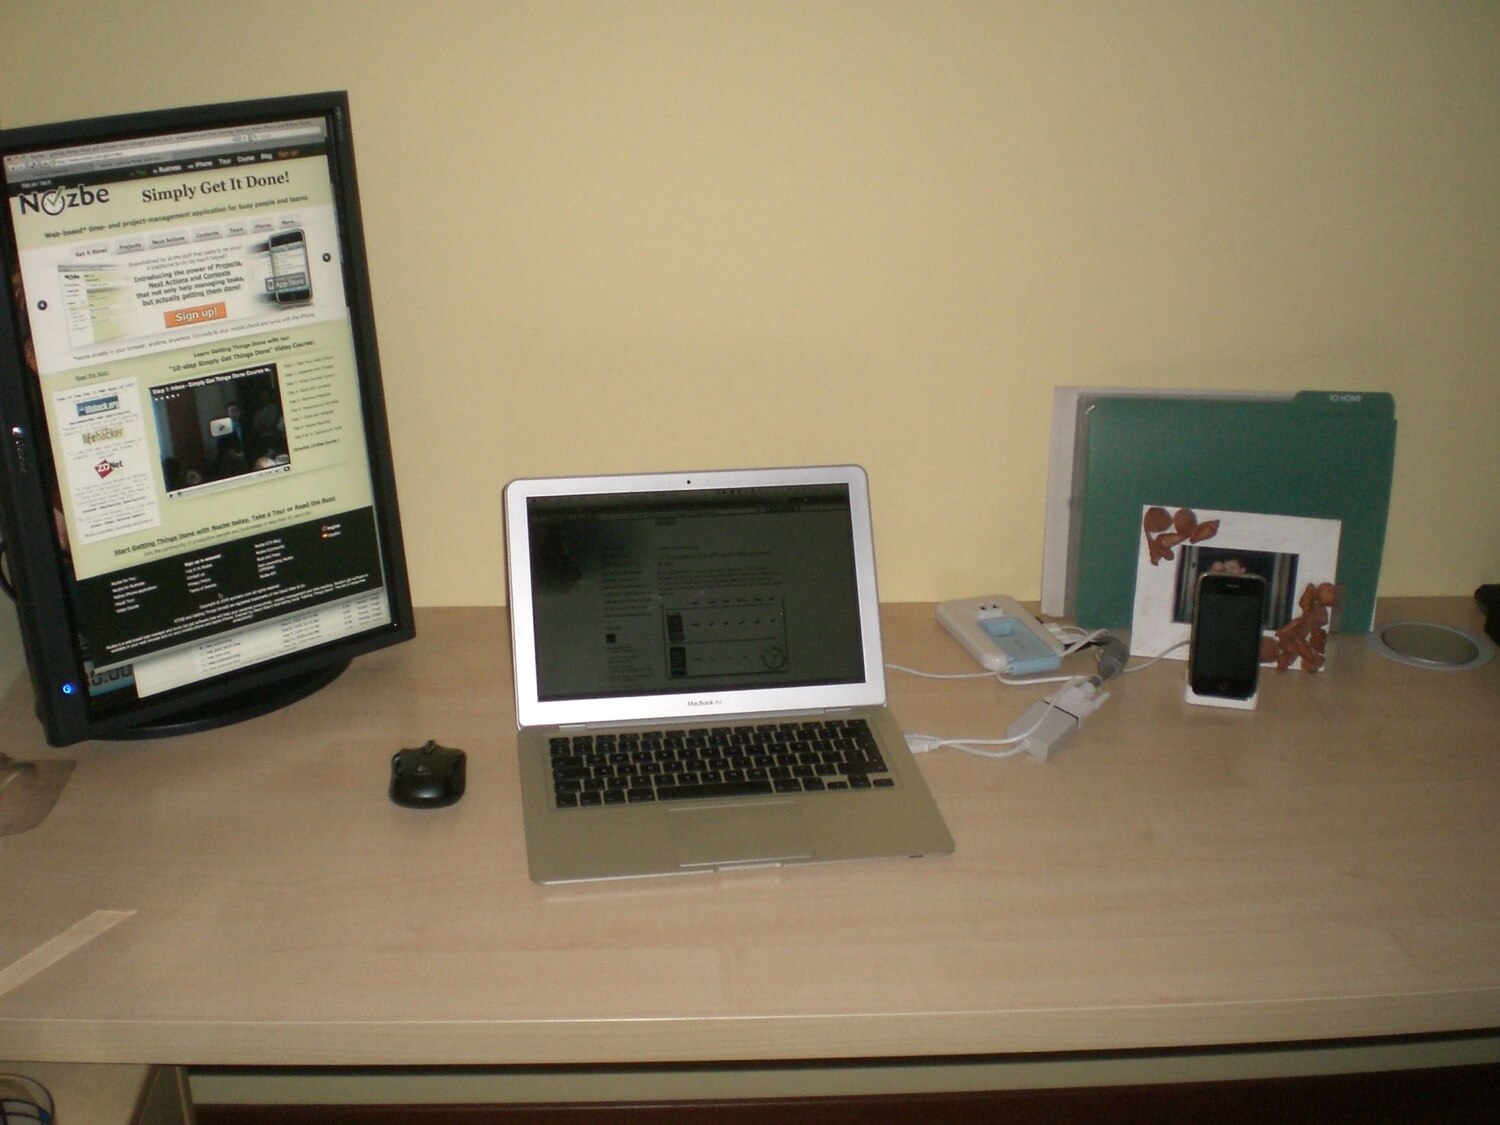
There you go, from the left there is my Canon MP110 Printer and scanner (it’s so far on the left that you can’t see it, but you’ll see it on the other photos), a 21-inch Gateway external monitor (aligned vertically - I prefer it that way), my Macbook Air, GTD-style folders and iPhone dock, my previous main machine: X60 Thinkpad TabletPC (docked) which my wife is currently using, my Toshiba M200 TabletPC (acting as my home server) docked and accessible only with Wacom active digitizer pen, GTD-inboxes and a document shredder.
Step 1 - big desk with lots of free space
I started out with a big desk Apple-style without anything on it or attached to it. It even doesn’t have any legs, sweet pure and beautiful place to work. So I started digging around it, making holes and putting first wires:
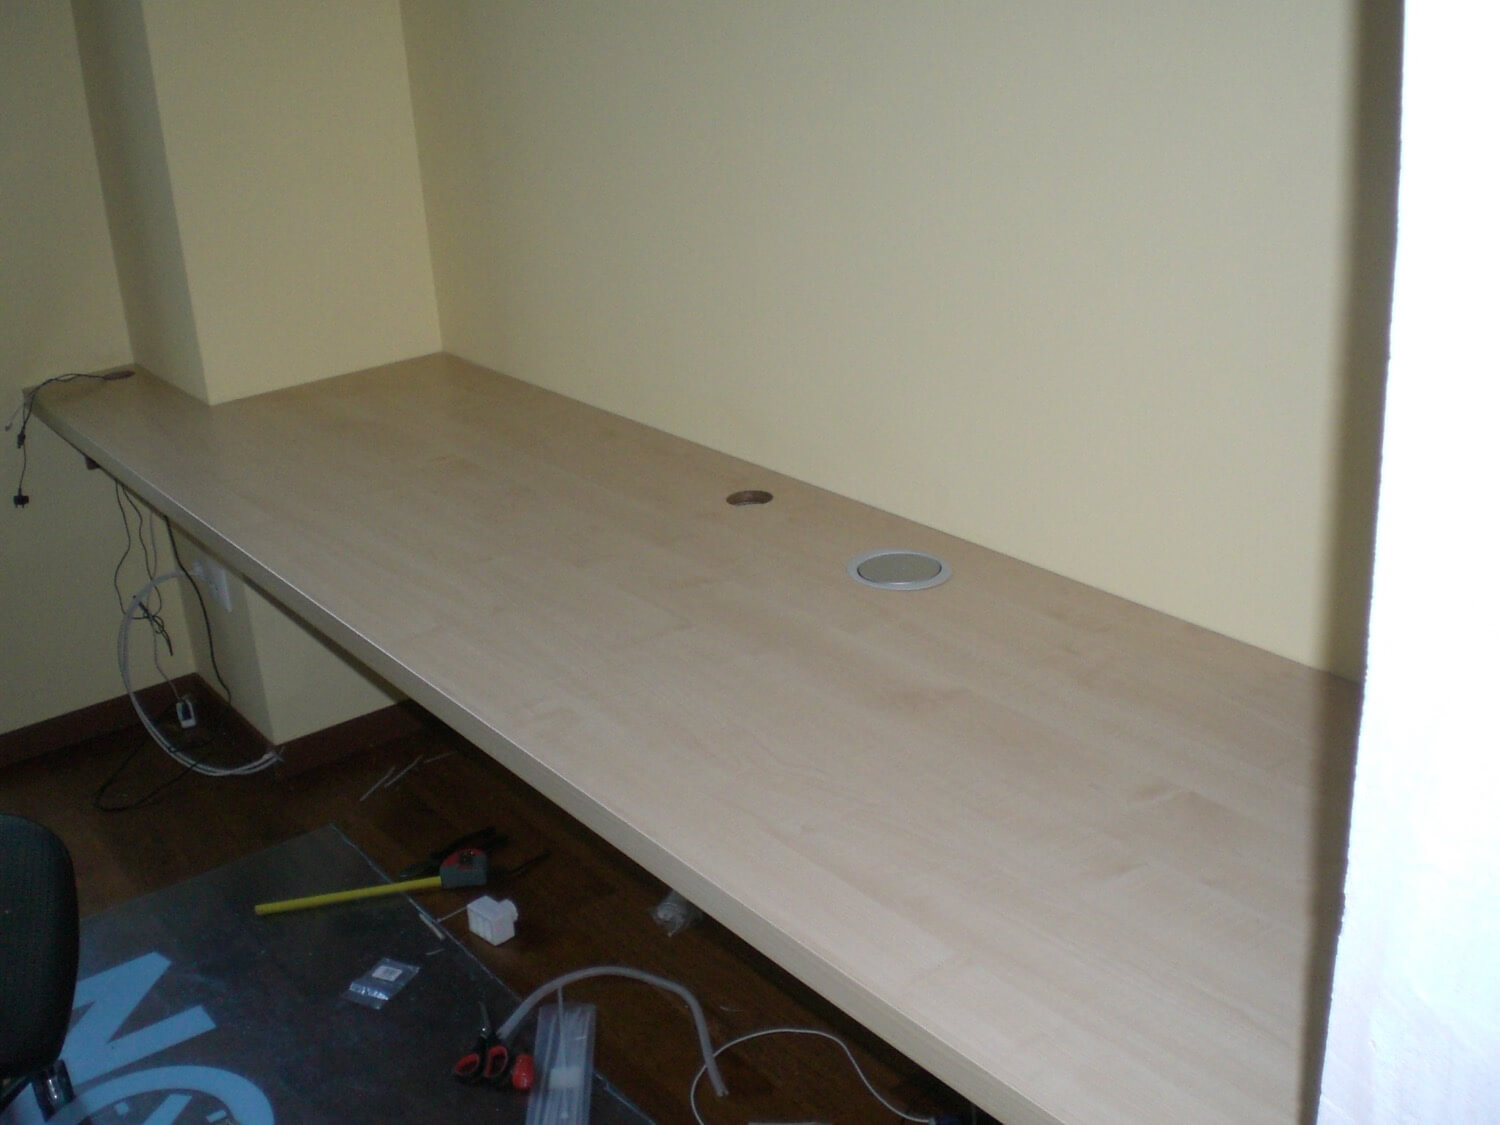
Step 2 - preparing “cage” to attach to the bottom of the desk with chargers inside
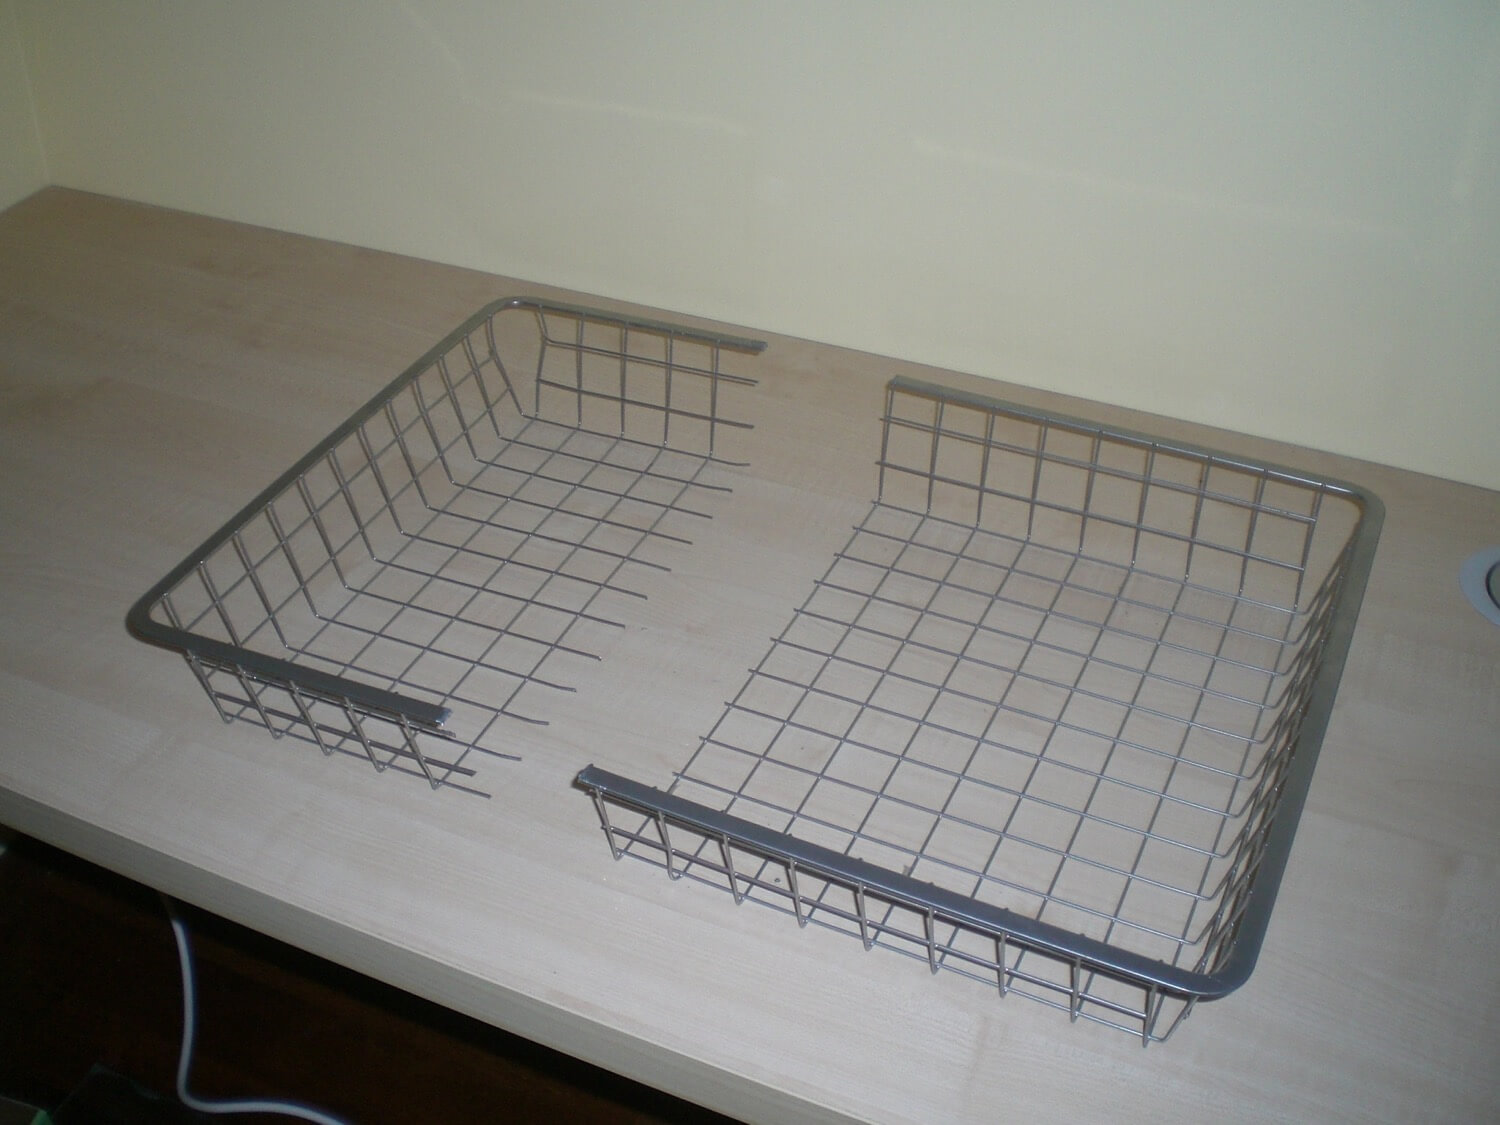
I bought a clothing drawer in a local superstore and cut it to fit my space below my desk:
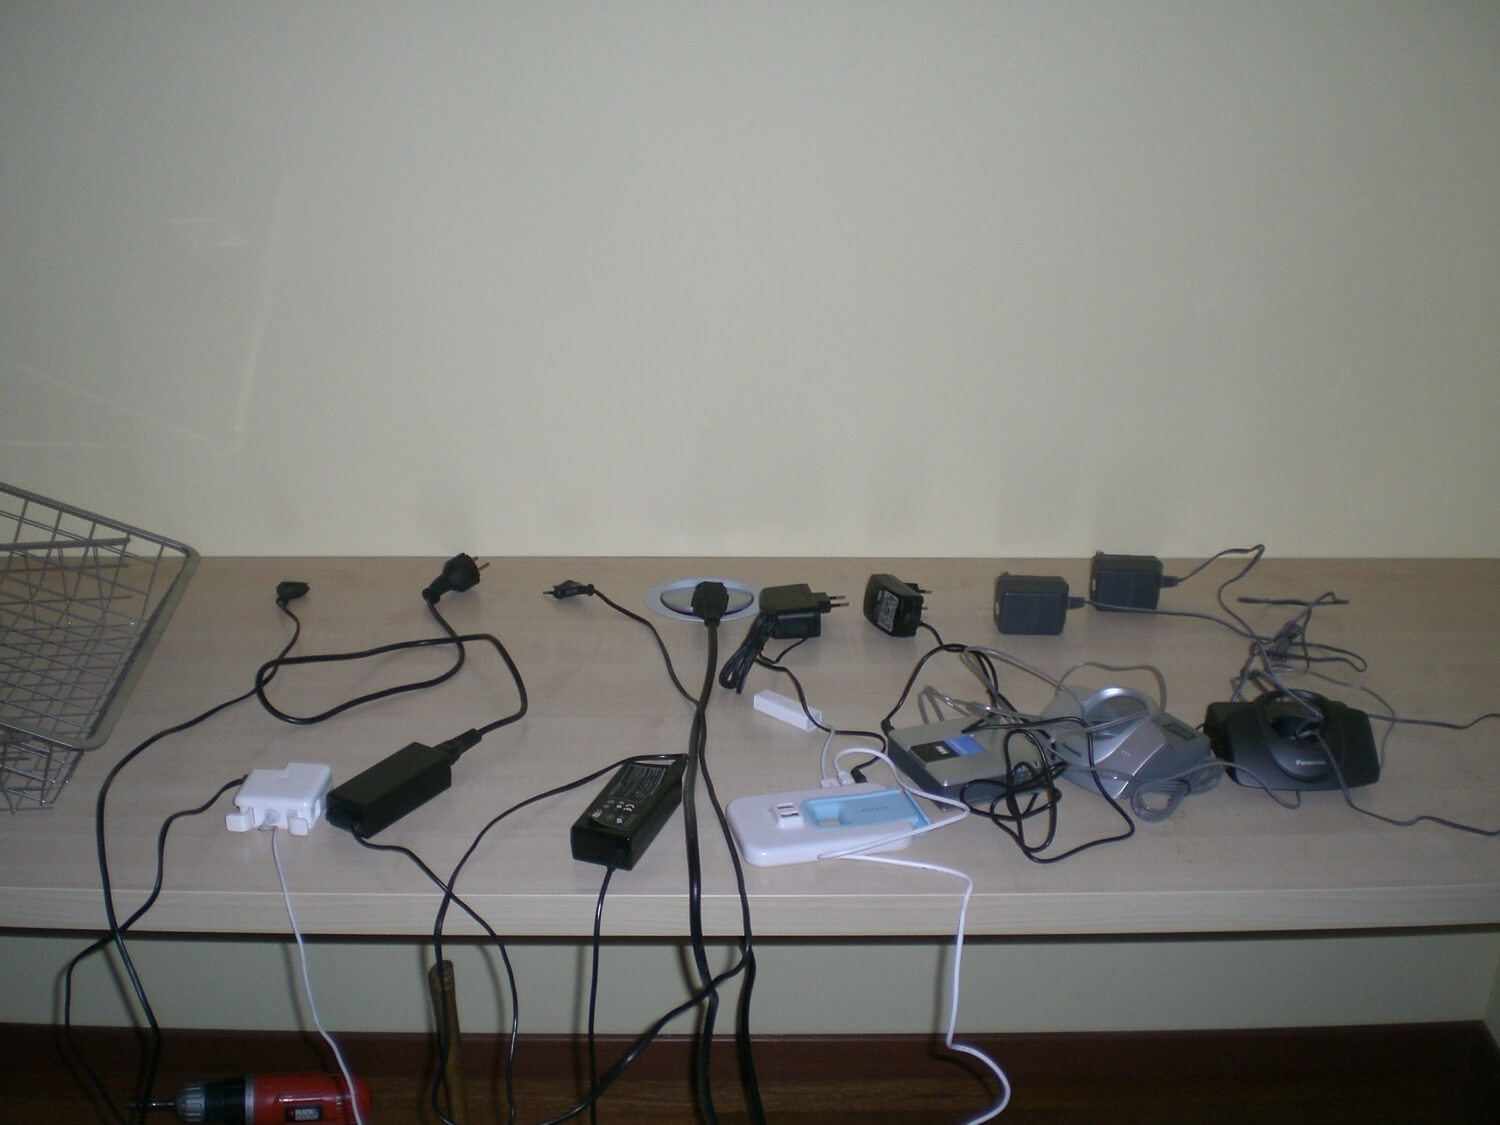
Step 3 - prepare the wires and chargers
There are lots of chargers and wires we need to prepare to put “below” our desk:
Step 4 - make sure you have enough “juice”
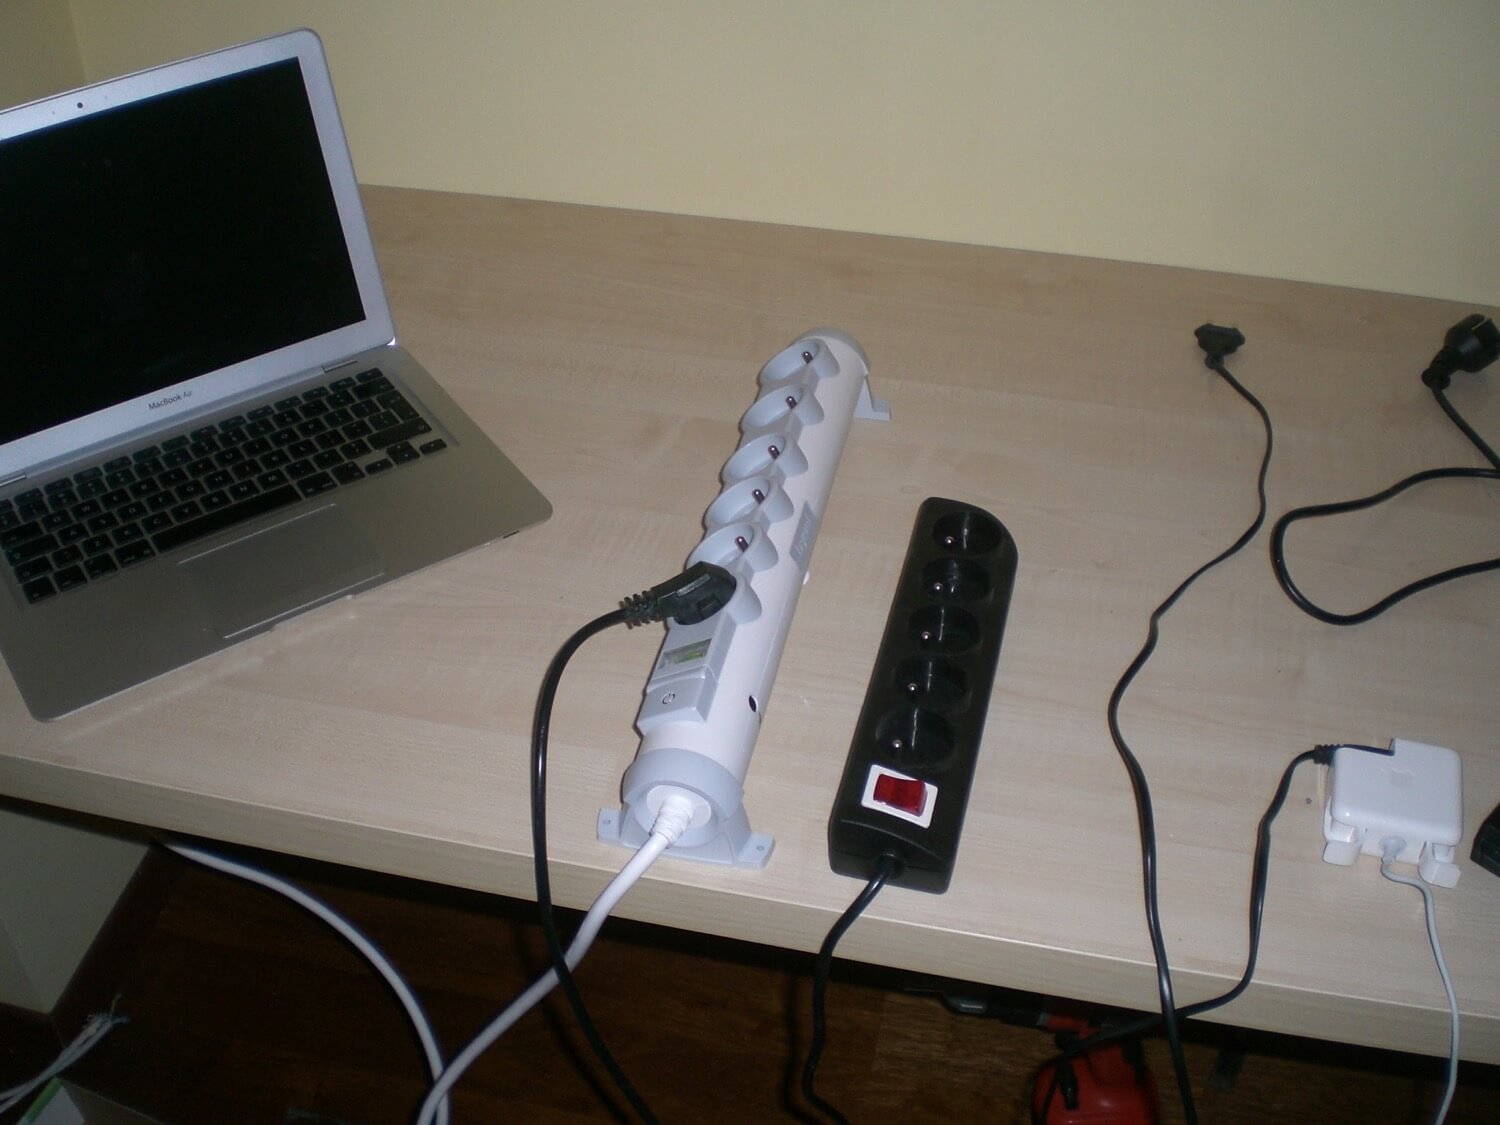
I need lots of “power sources” to power all these little tiny devices and all my computers, so here goes - two (eventually I ended up with 4 when I realized how many power outlets I really needed) power lines:
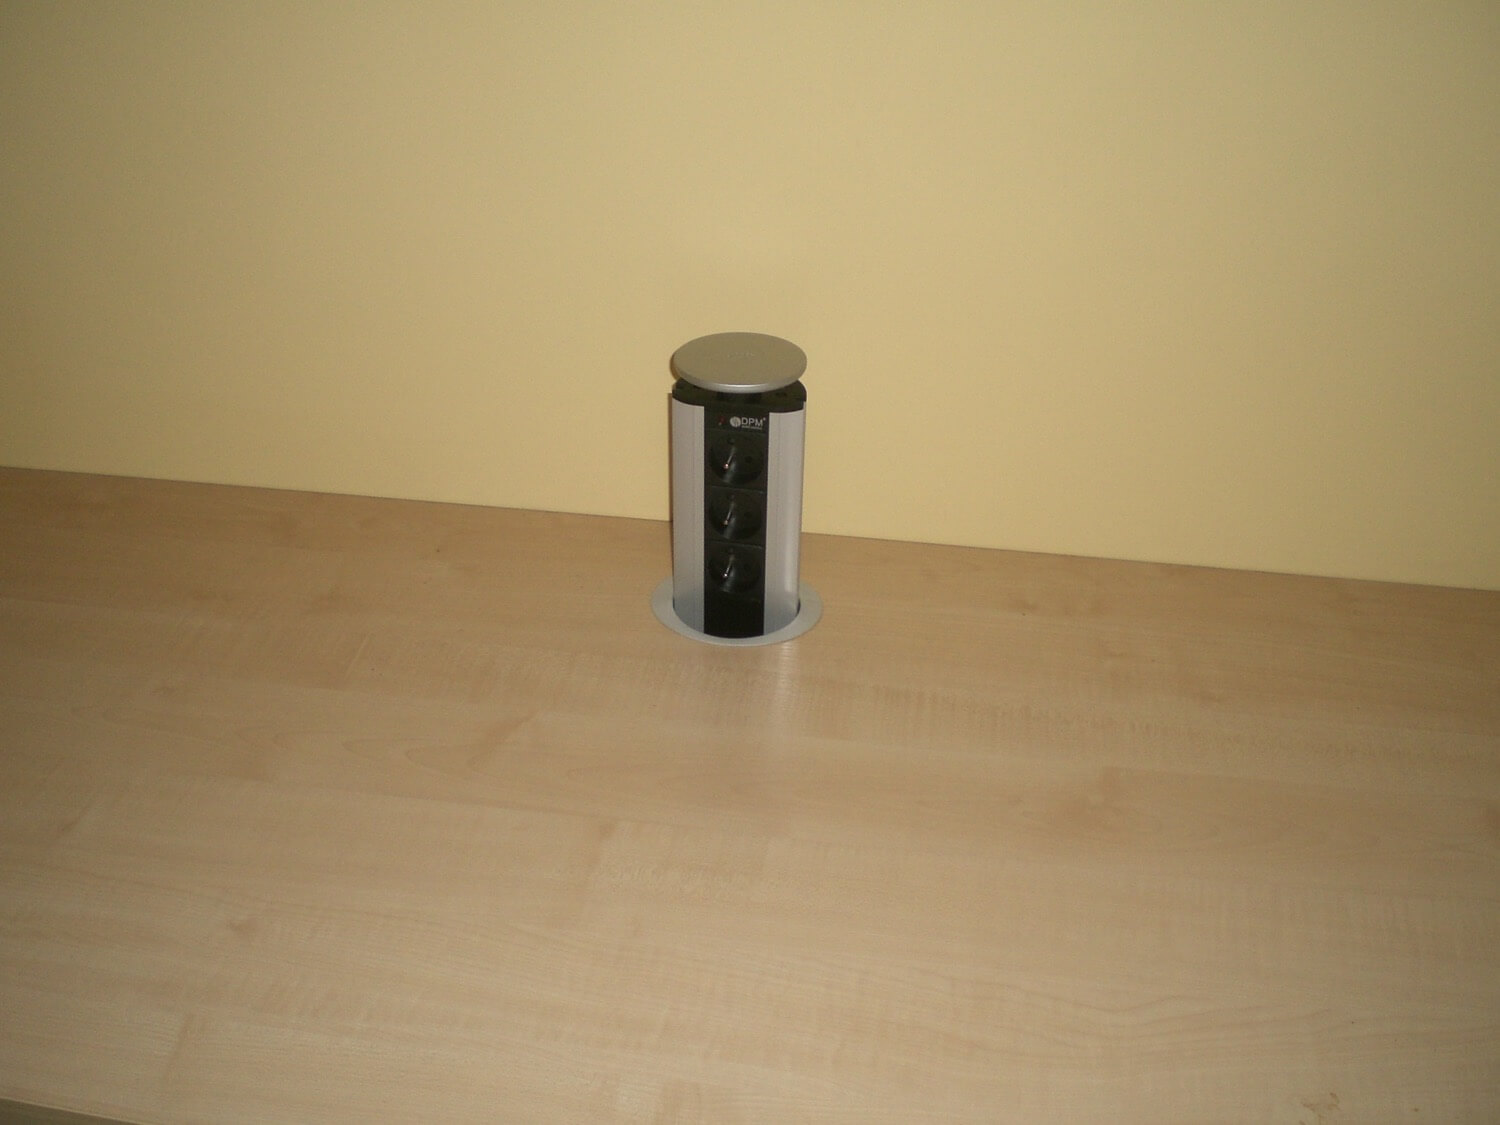
And additional “chimney” for ad-hoc power on the desk (clutter-free power):
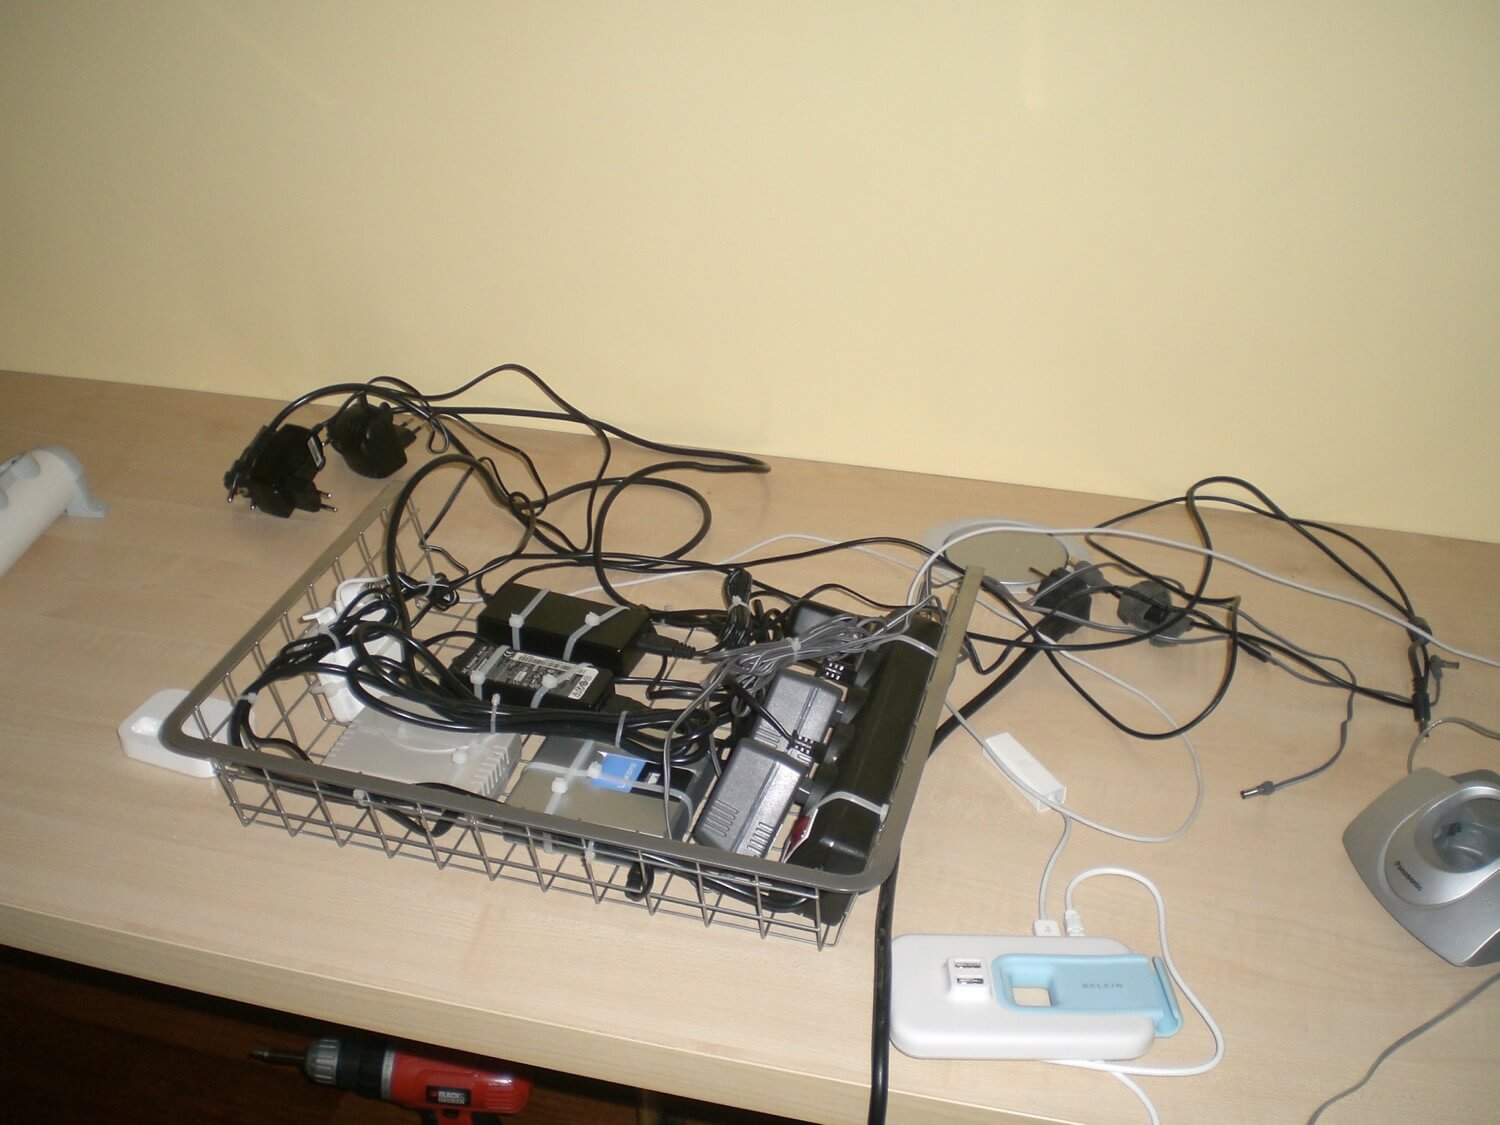
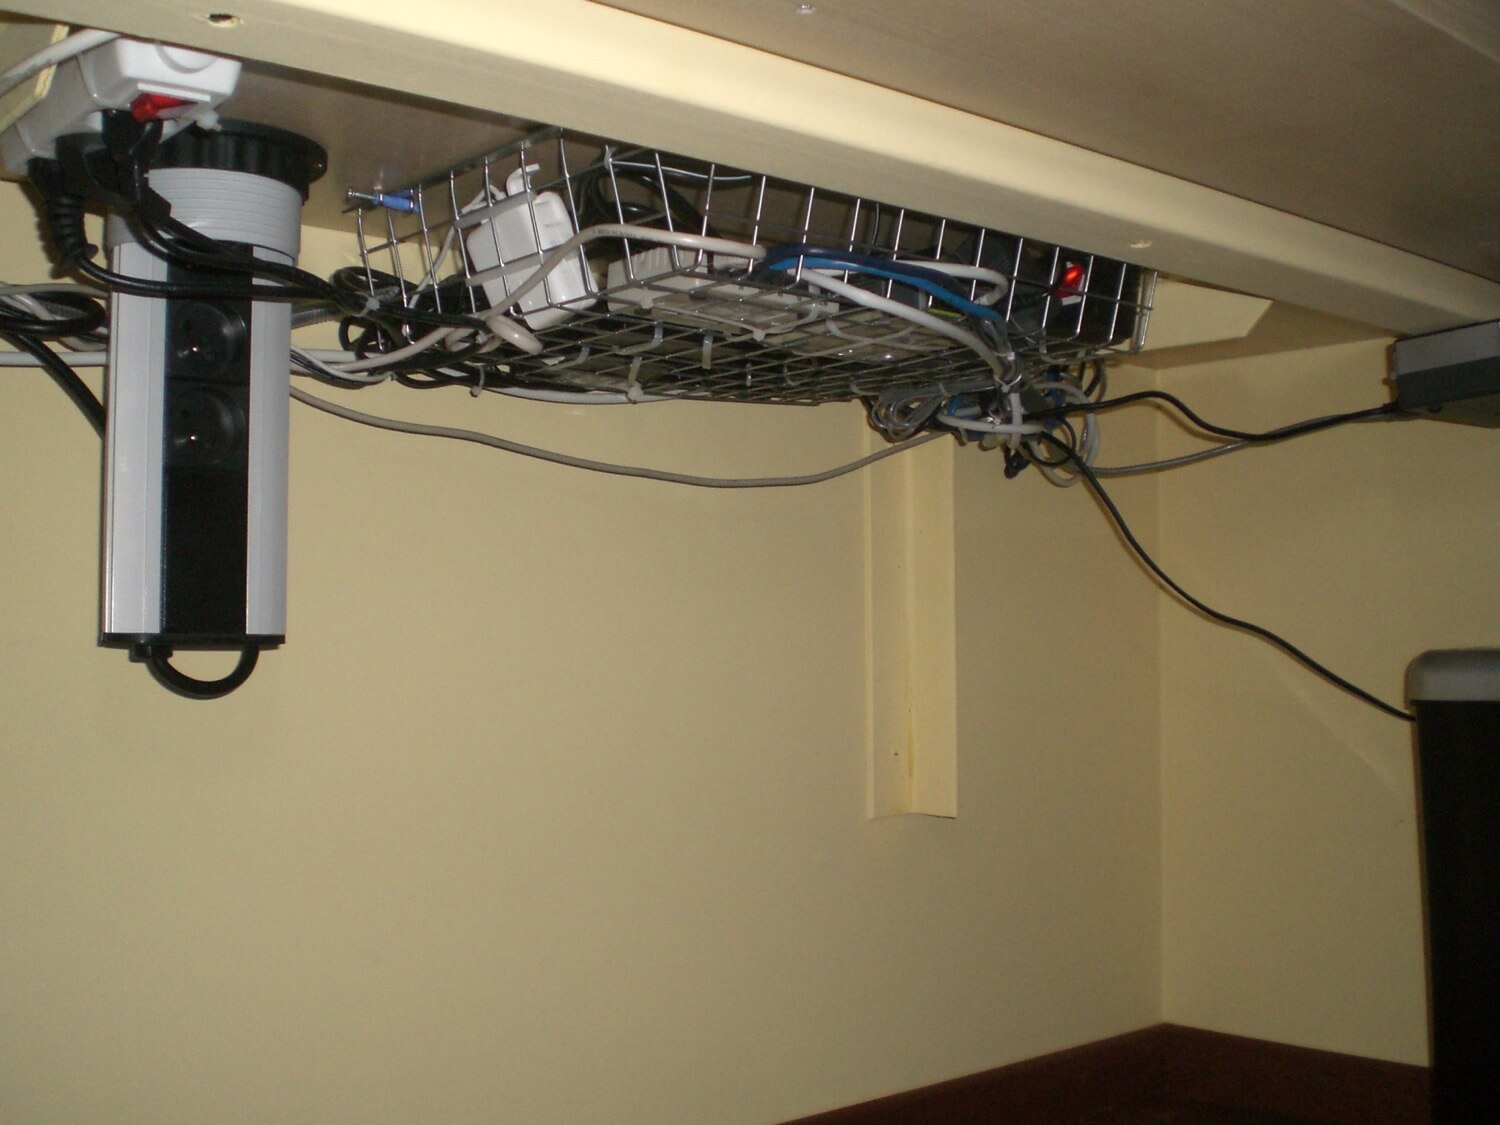
Step 5 - put the cables and stuff into the “cage” and attach them with plastic straps
Step 6 - install power juice and make sure all the cables are in place
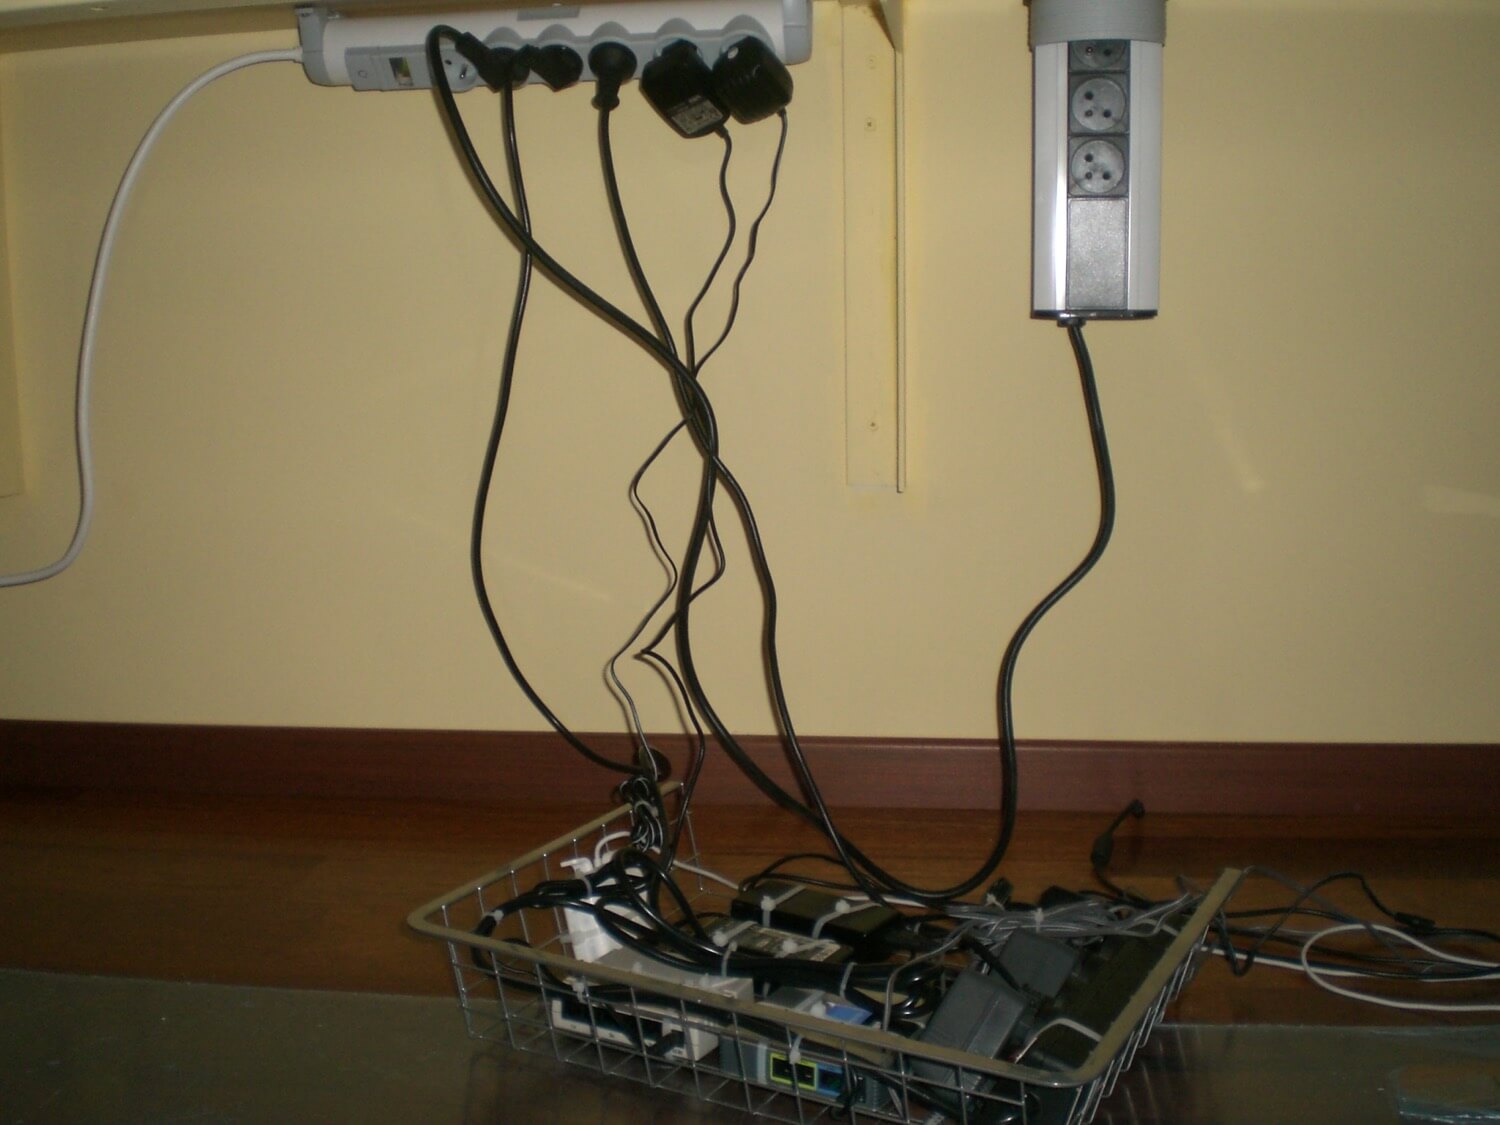
Step 7 - realize you have to few power outlets and install more, install cage
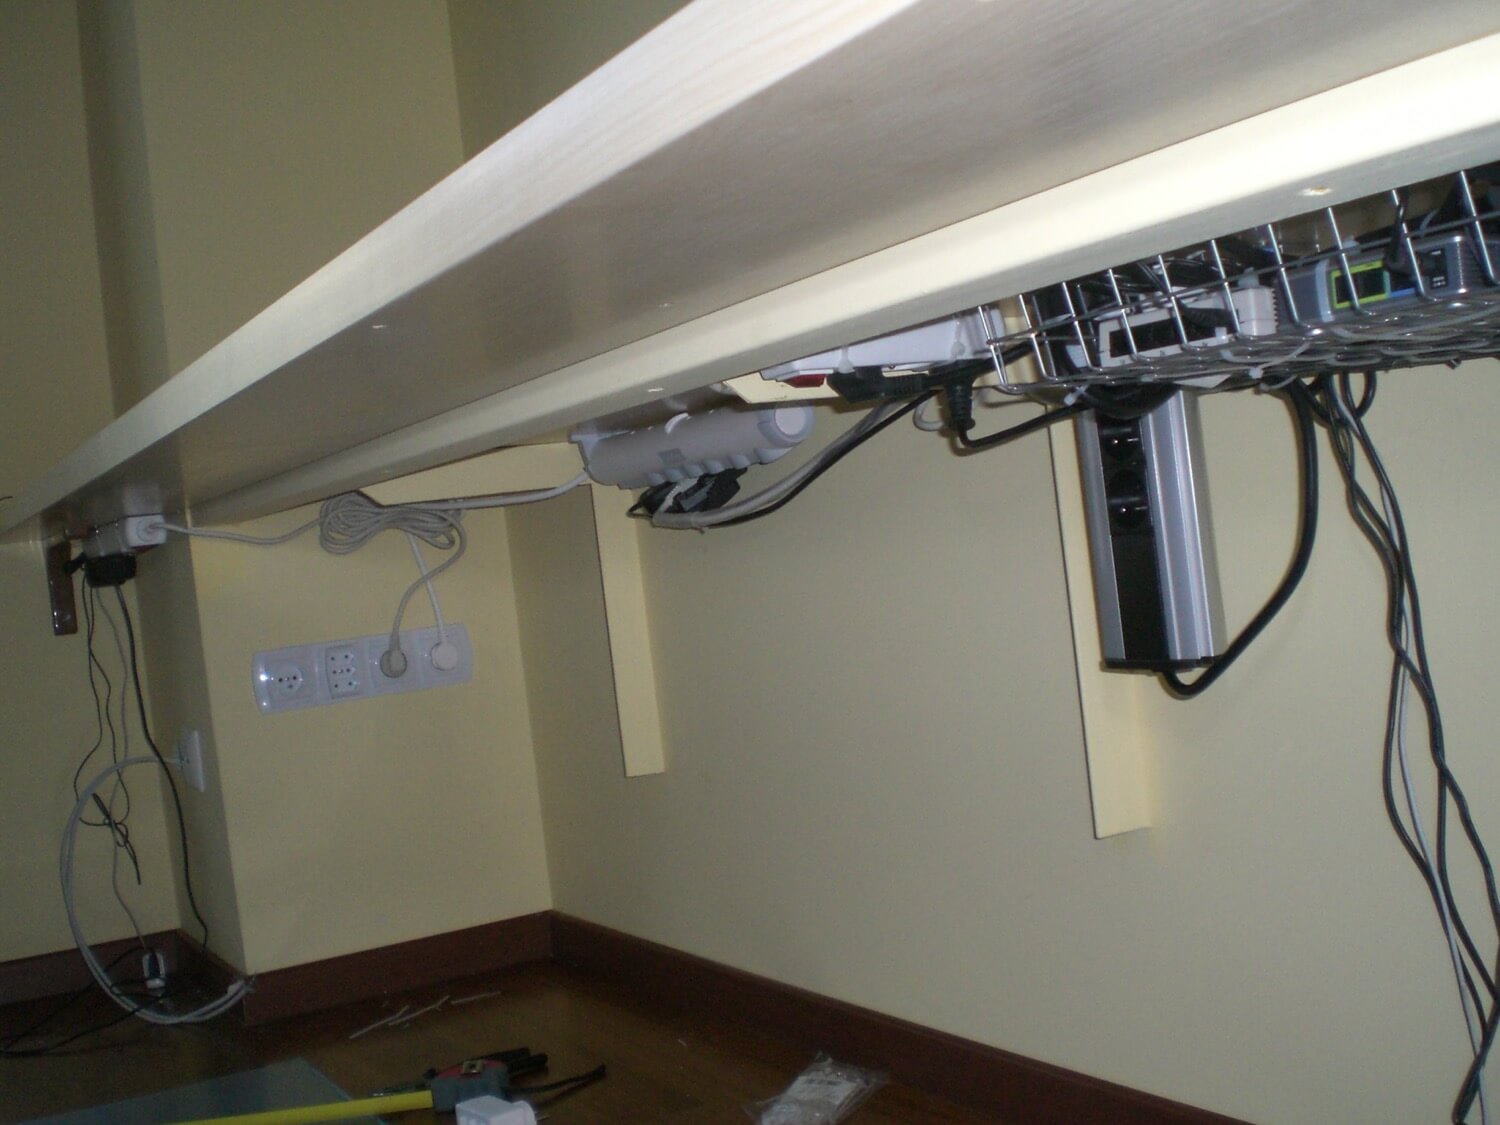
Some design details - how I attached the “cage” with all of my stuff:
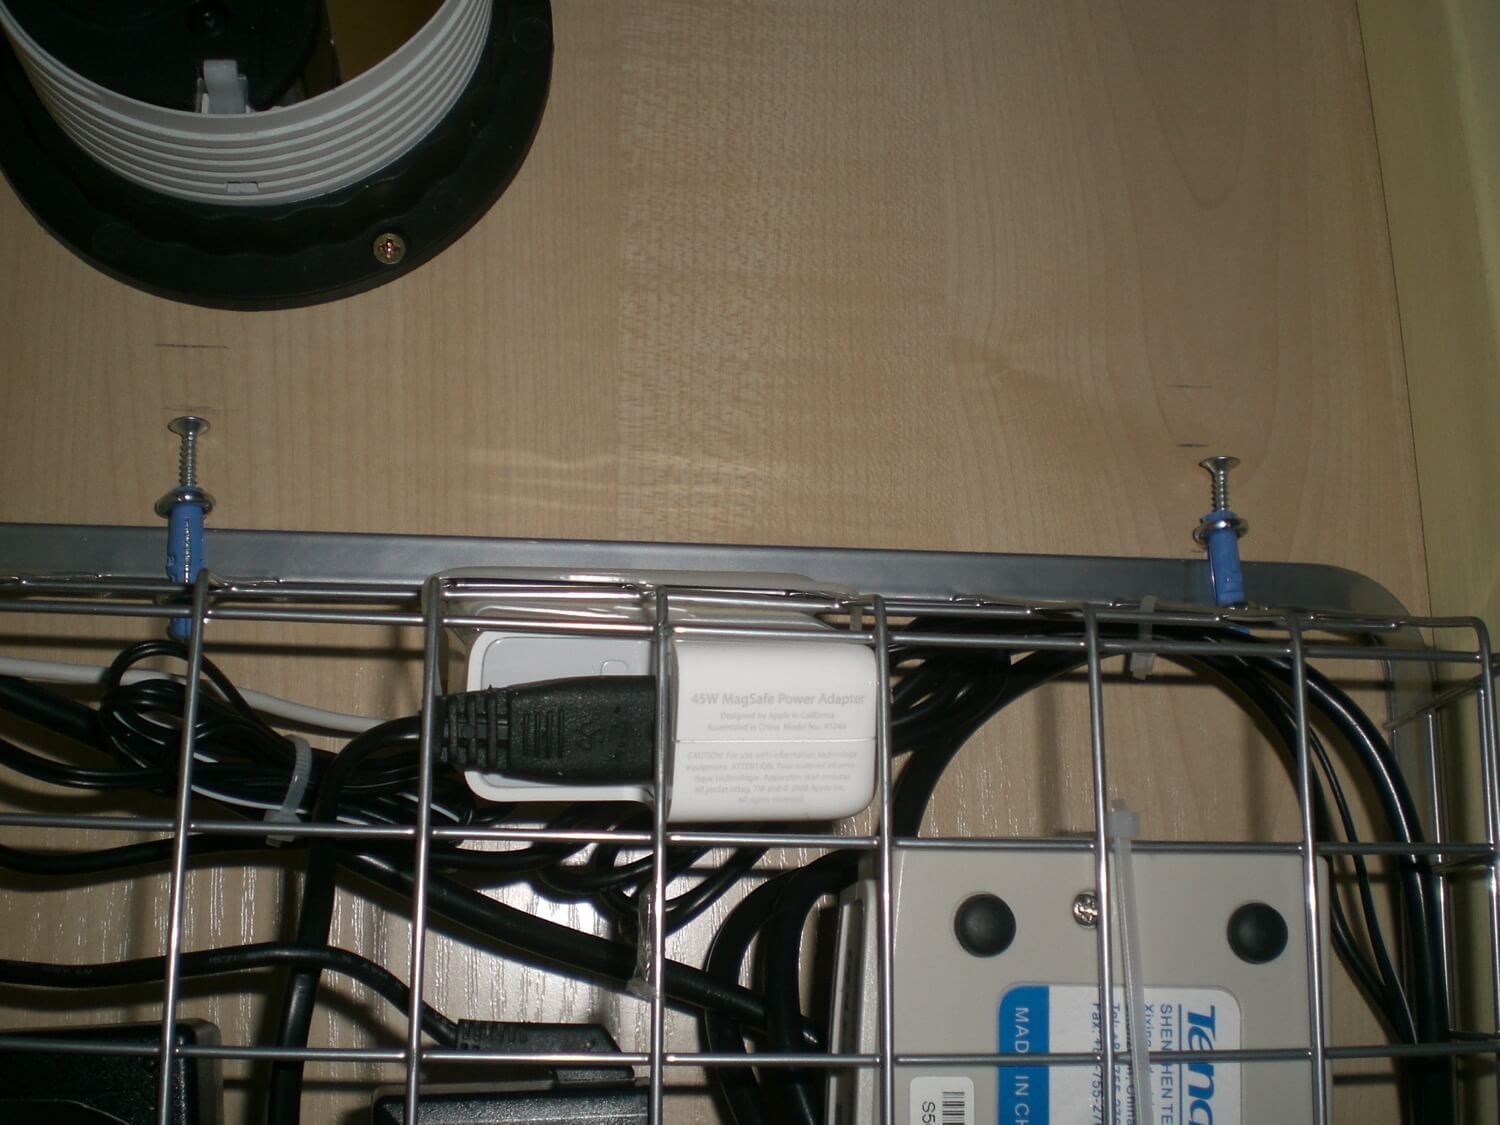
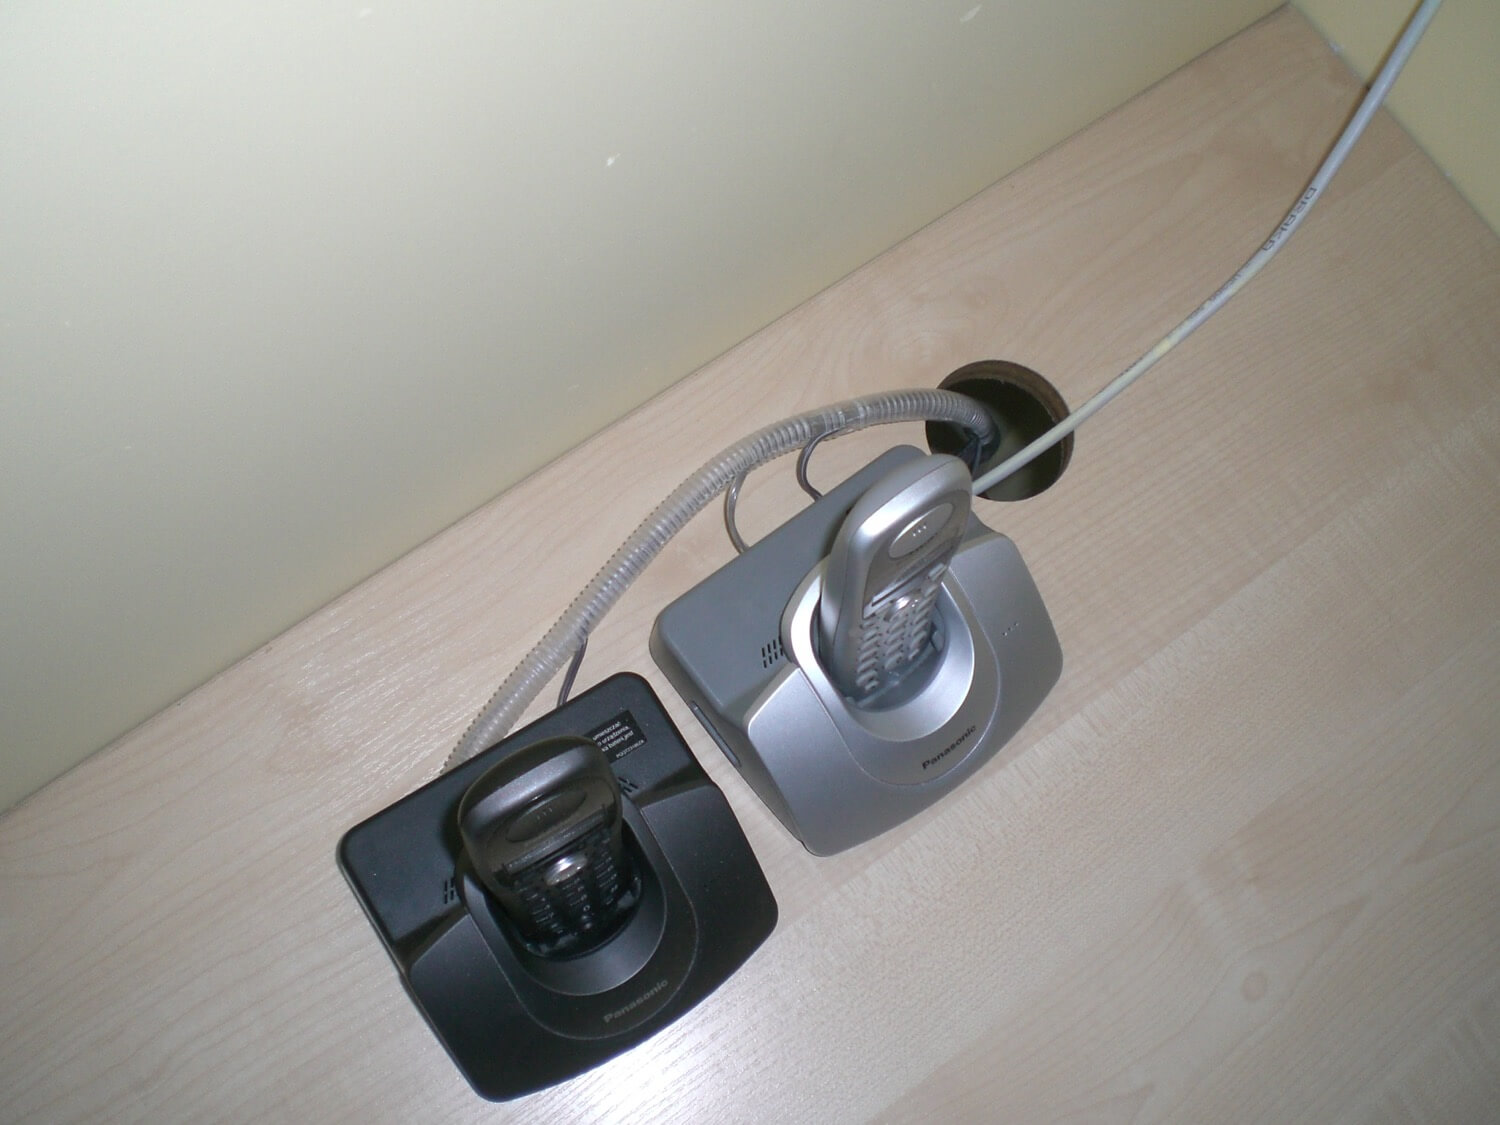
It’s nice to use a plastic pipe to make sure the details look really nice:
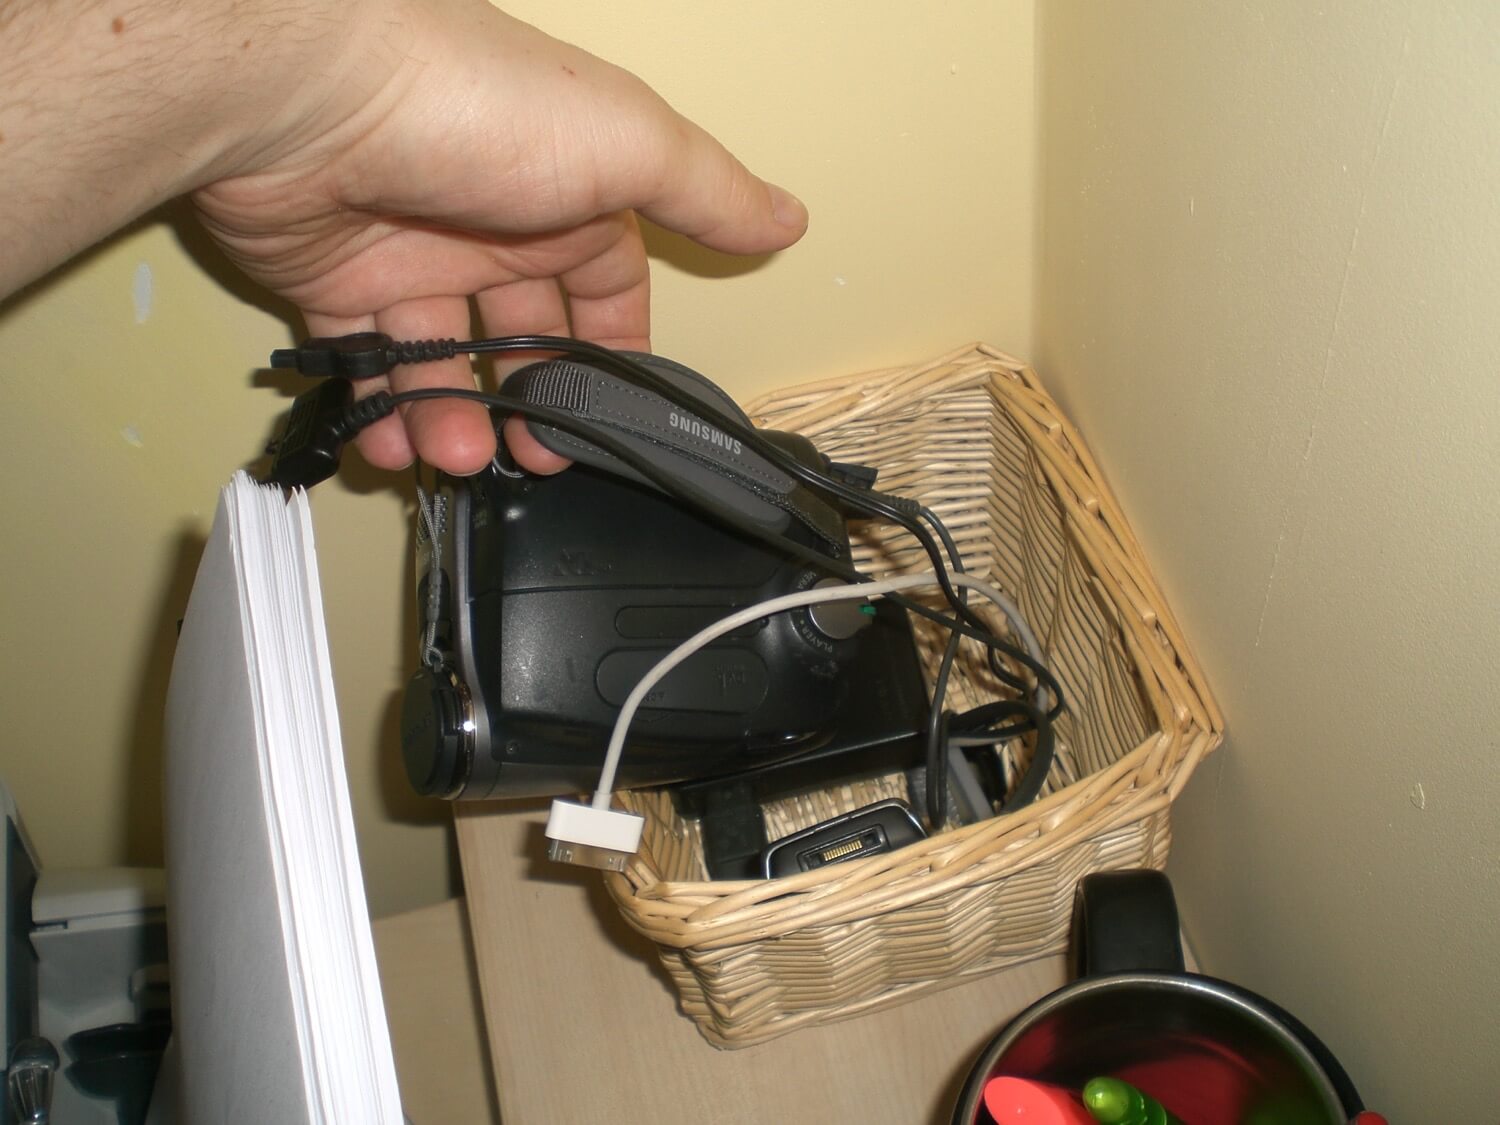
Step 8 - install a “charger basket”
I got this idea from unclutterer and I liked it a lot, here’s my basket with all the outlets for mobile phones, camera and digicam in one place:
Step 9 - move everything around and attach your last cables
After I’ve done my initial version I had to do it all over again to make sure everything is in the right place:
Step 10 - enjoy your new clutter-free and beautiful office space
Here’s my left side of desk:
And here’s my right side:
Here’s what’s in front of my eyes when working:
Hope you liked my very lengthy blog post and you got inspired to get a clutter-free place to work.
And there is one more thing….
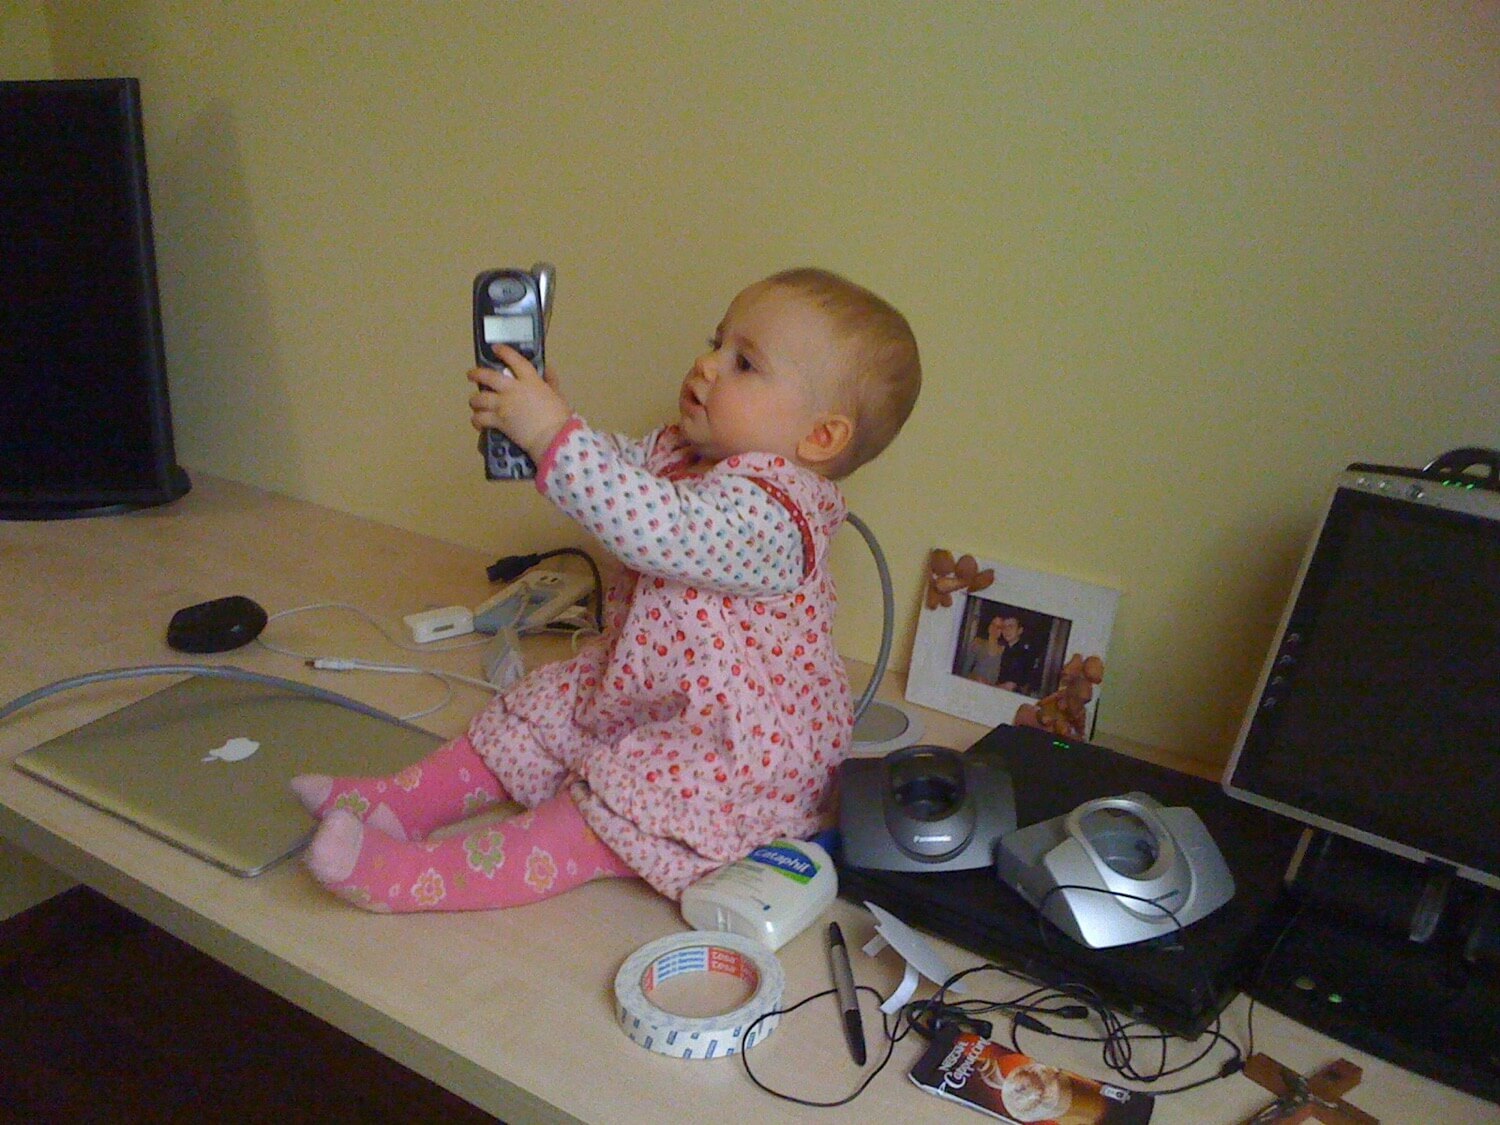
Don’t try to pull it off on your own! Always get help from someone qualified to help you with this kind of setup, luckily my daughter (11 months young) gladly helped:
How is your home-office? Do you work from home? How is your real office? Enough room to be creative?