Why I love my clutter-free cabinet as a 2008 home office
🏠Office
Any productivity guru you ask about some basic productivity tips for starters will tell you this - you need to have a clutter-free place to be able to work efficiently and focus on your work. My personal experience has taught me the very same thing. Clutter-free desk makes all the difference and helps me really concentrate and get things done. But what if I’m a computer geek? Chances are you’re a computer geek like myself and you’ve got lot’s of computer gear… which basically means = lot’s of cables, charges, and the like… Well, you can still work in a clutter-free environment! Read this blog post to find out how. (before I start, I’d like to thank Van Mardian of Decluttered.com for his great article and inspiration!) First of all - I love cabinets. Some like desks, especially these ultra-modern glass ones, Apple-style… but in this regard I’m more of an old-school guy and I like cabinets. Especially that me and my wife live in a very small appartment (one bedroom, one living-room and a kitchen). When I work at home, I have to do it in the living room and having a cabinet lets me just close this thing and all of the sudden my work area is not visible to anyone. What’s in my home-office cabinet?
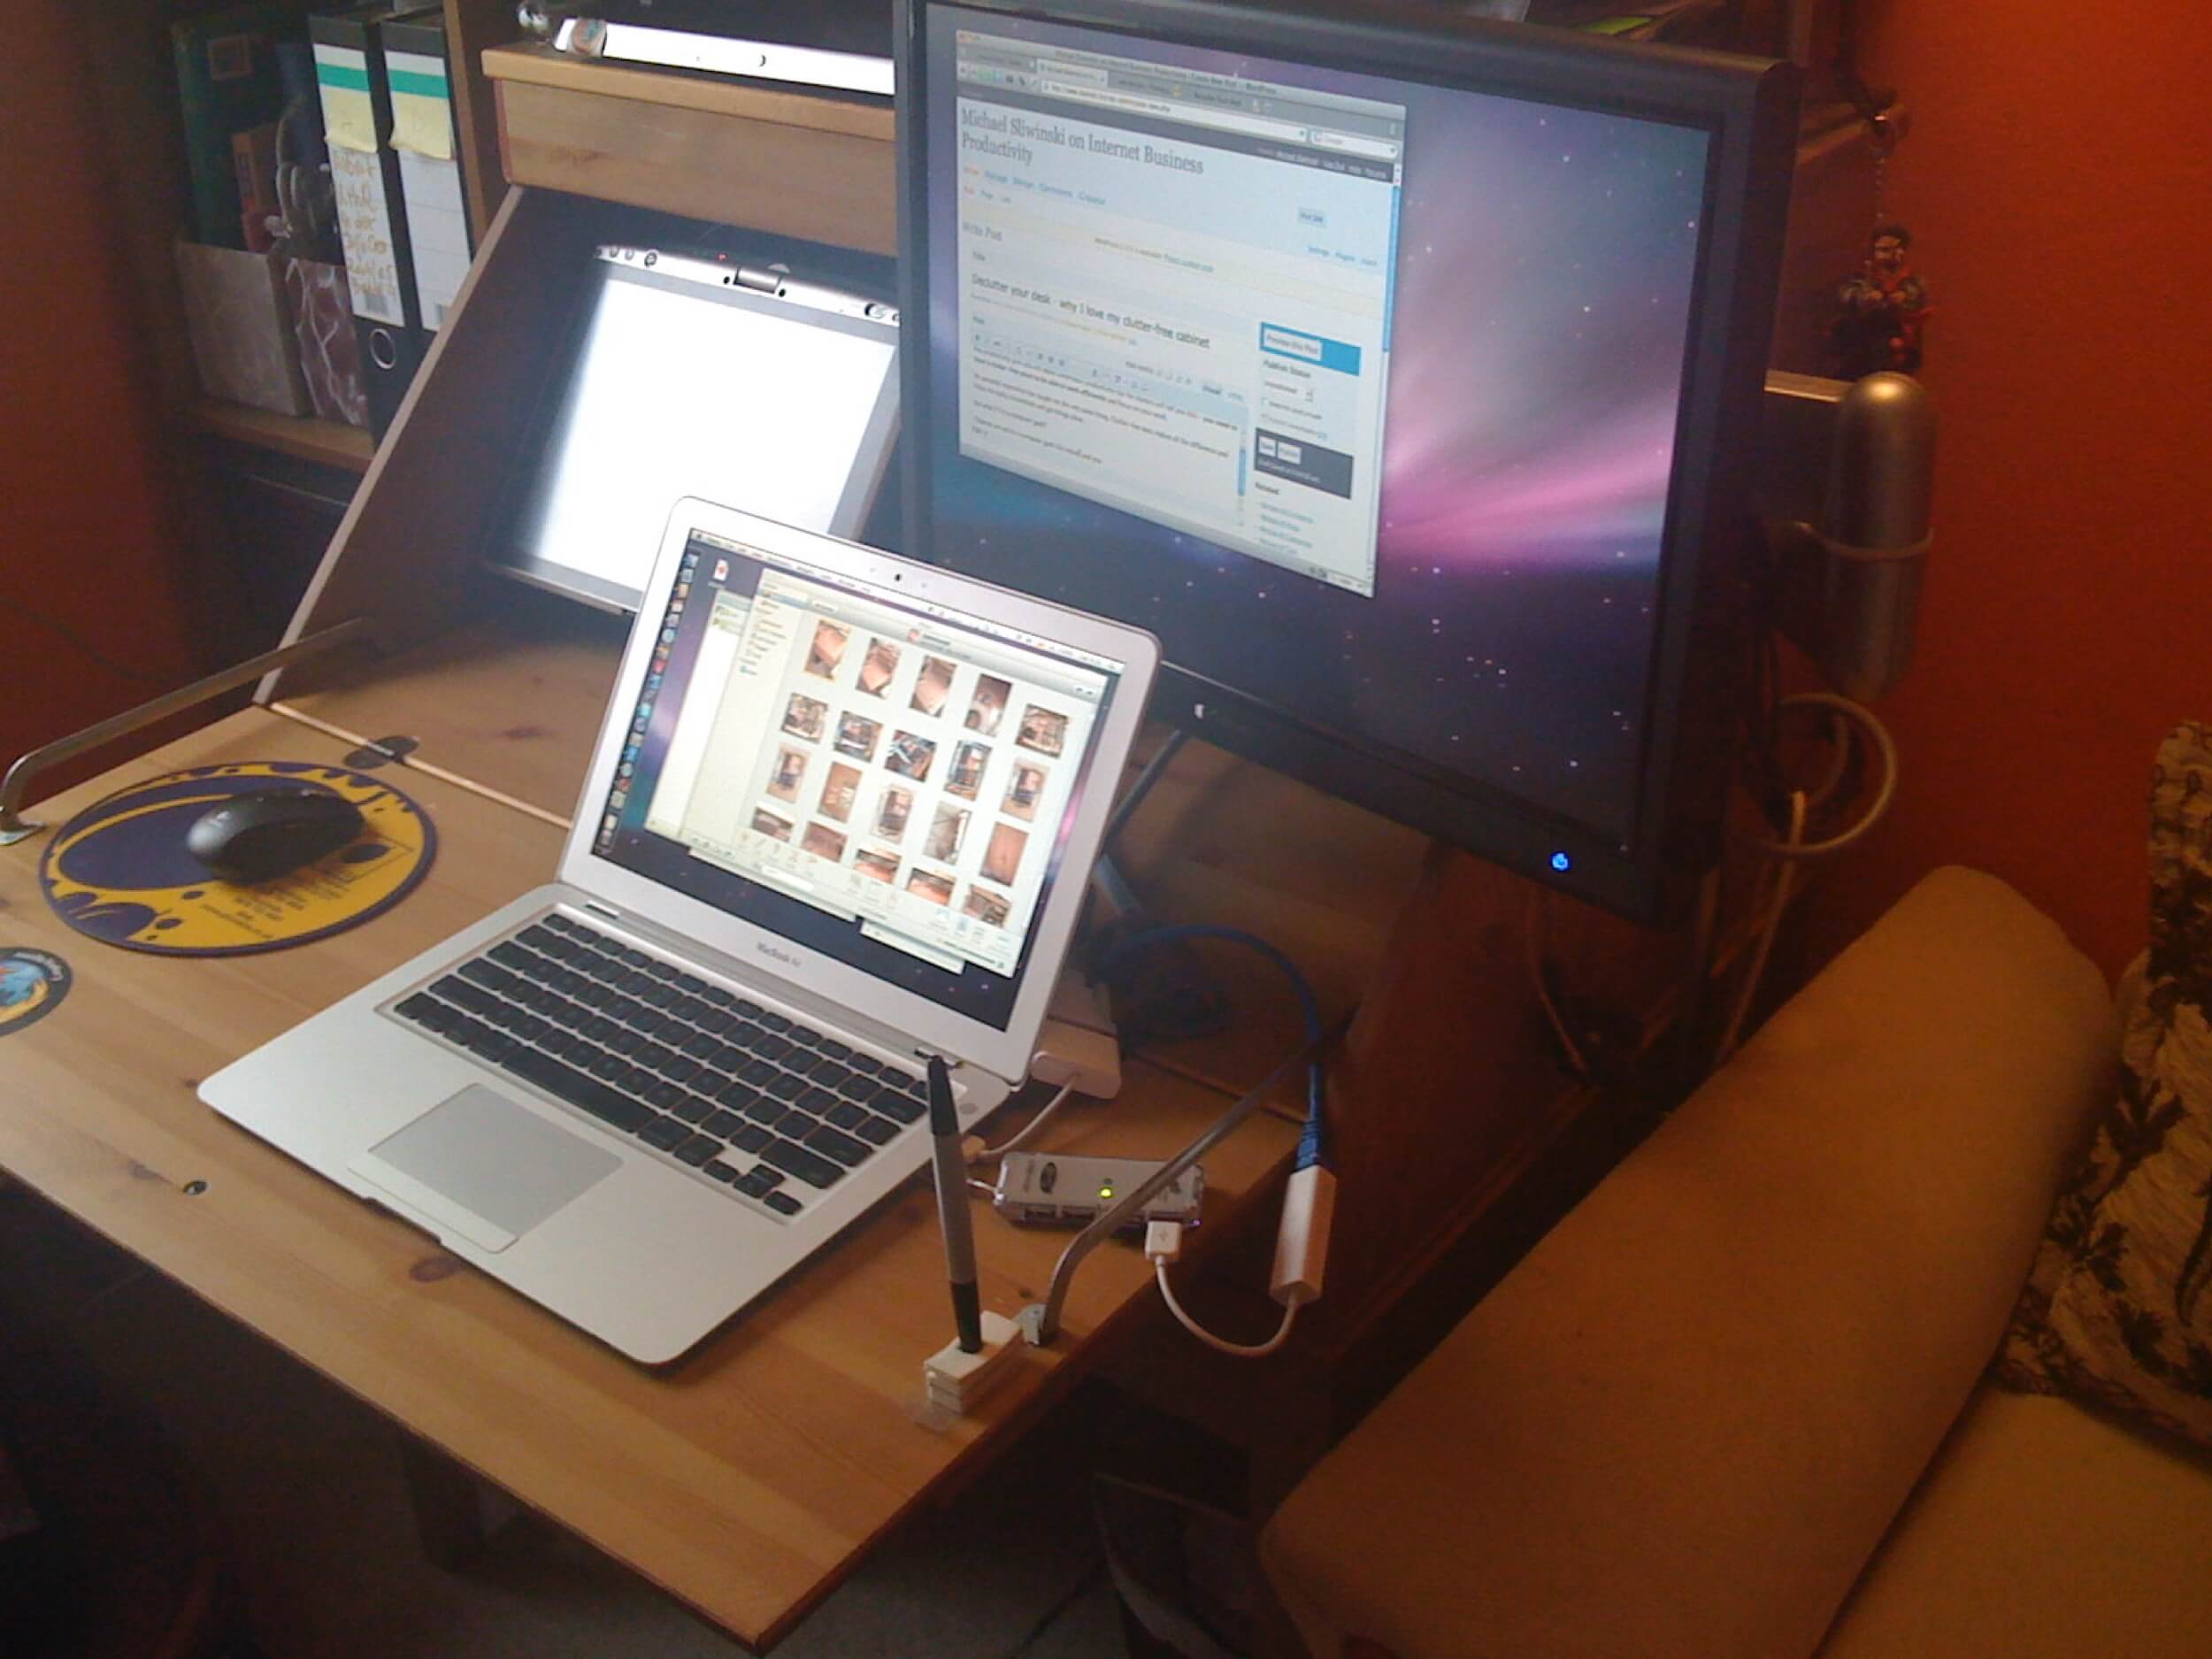
A lot… you wouldn’t believe me so I’ve got photos to prove. My guests don’t believe me when they see this small IKEA-cabinet in a corner of our living room. Here’s what’s inside:
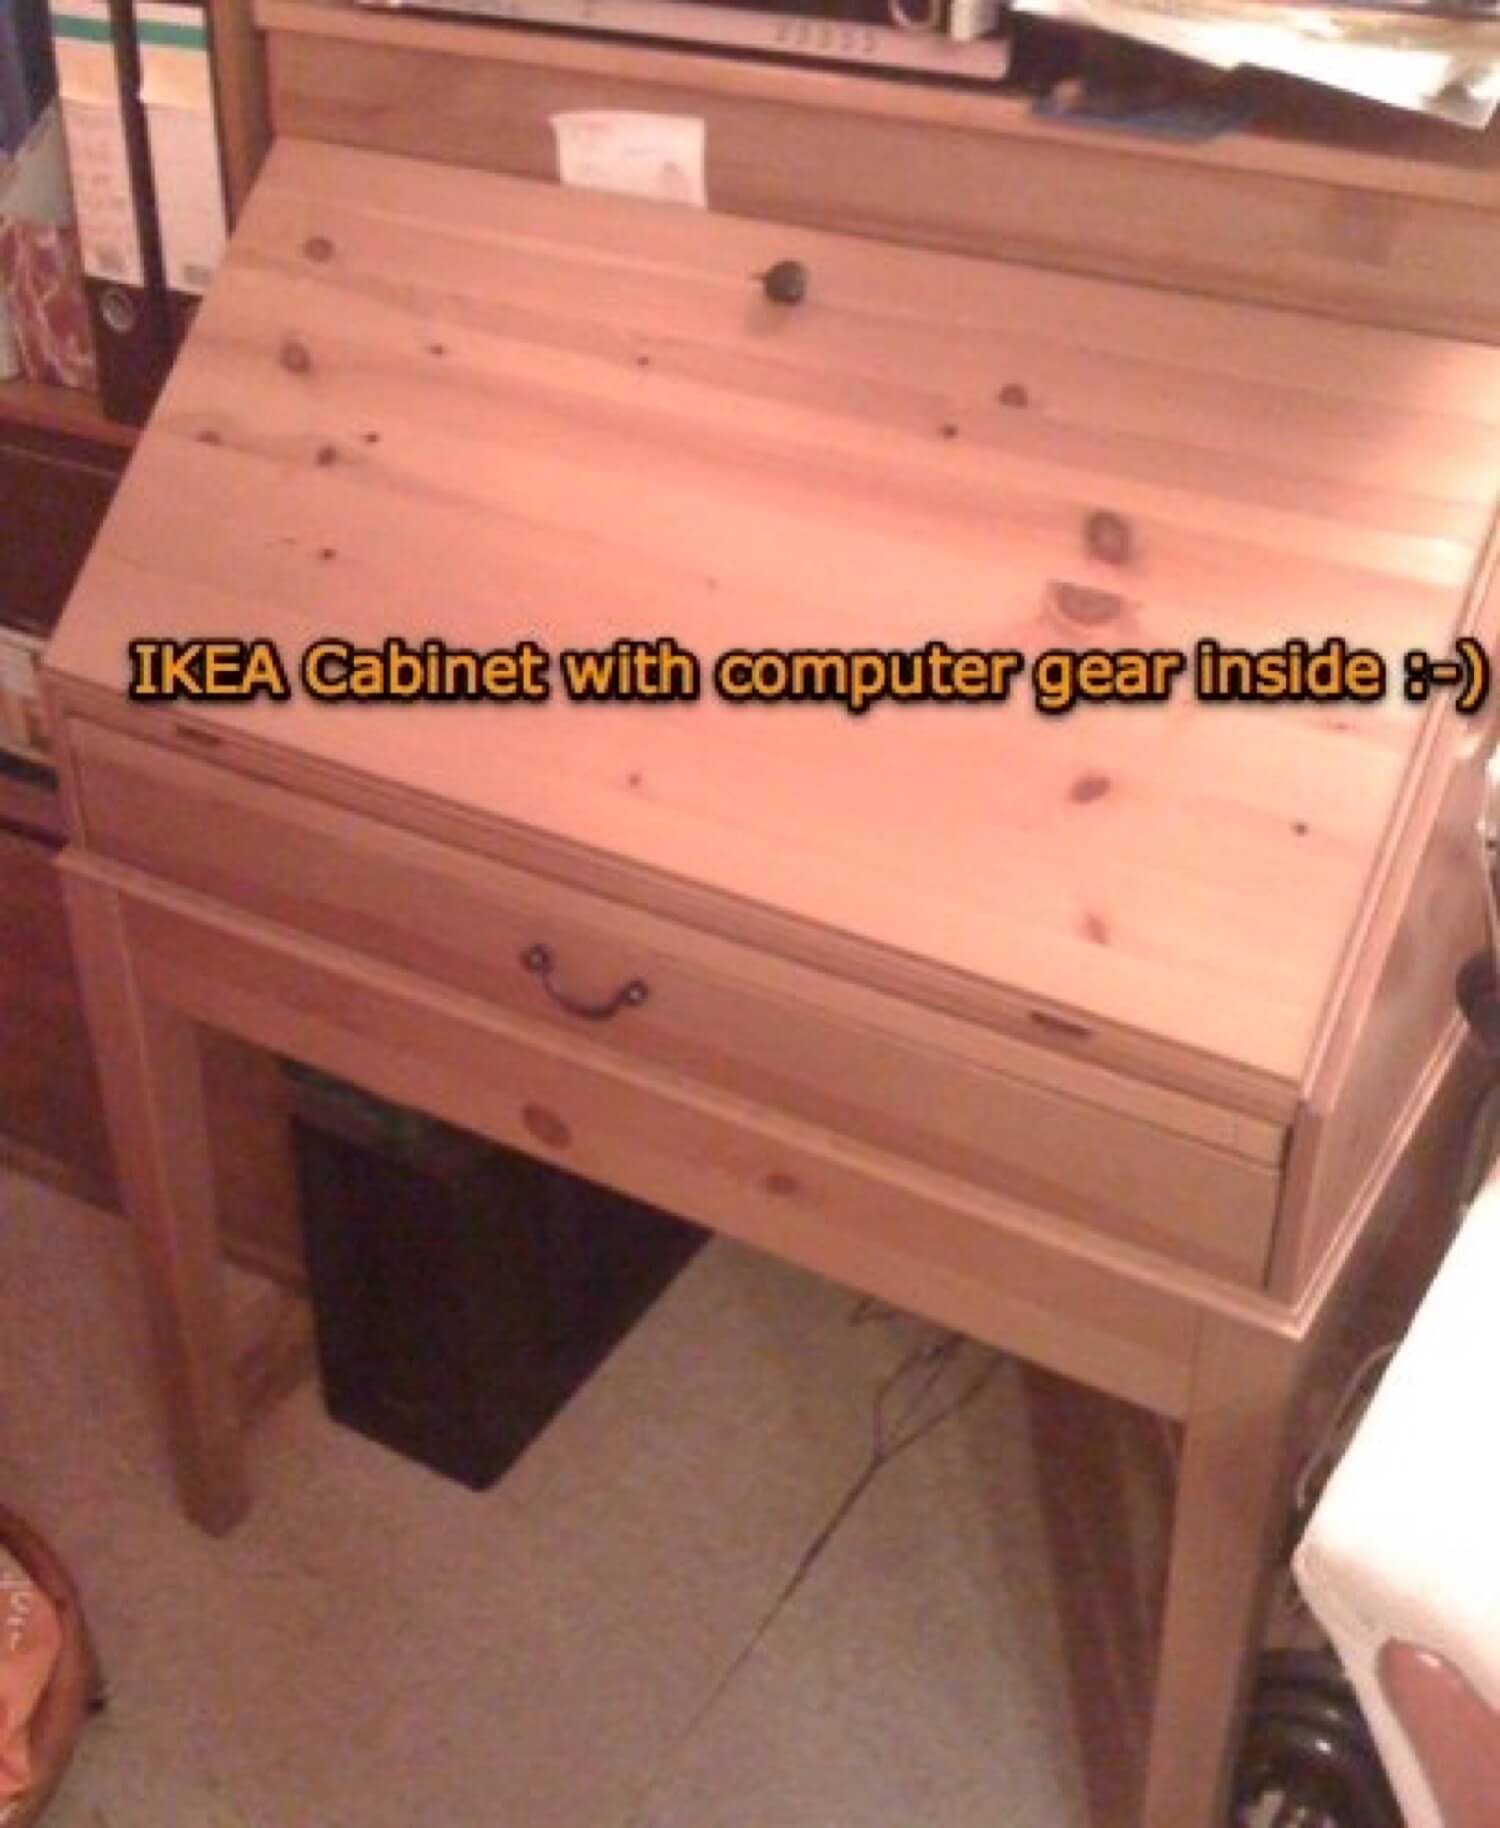
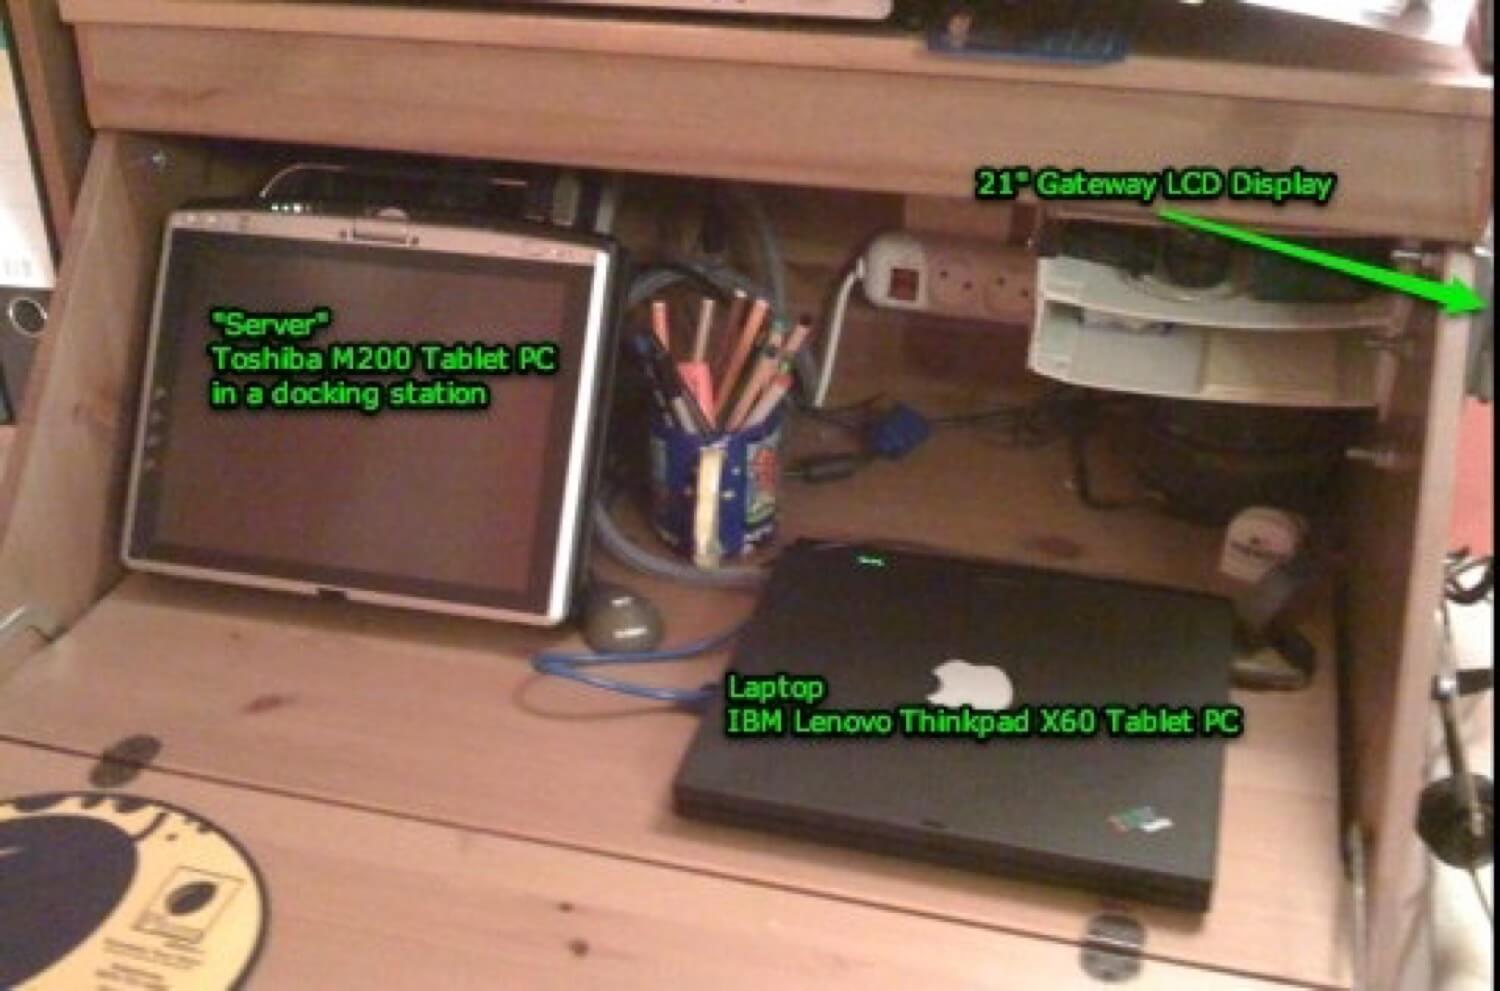
- My primary work computer: IBM Lenovo Thinkpad X60 TabletPC (update: I’ve just switched to the Macbook Air)
- My “home server”, which is actually another laptop: Toshiba M200 TabletPC
- External 21” Gateway LCD display
- Two USB2.0 Hard Drives: 750GB for storage and 250GB for backups
- External DVD RW drive in a USB enclosure.
- A network switch, lot’s of cables, chargers and power cords.
Below the cabinet you can see a black box - it’s a subwoofer for my Home DVD Movie Theater setup which is… (you gussed it) on the cabinet. As you can see, it’s plenty of stuff to fit into one small cabinet. Decluttering my cabinet The idea is simple:
Put all the gear below the cabinet, with only 3 cables to connect to 2 computers and one power outlet. That’s it. All the rest of the cables stay below the cabinet.
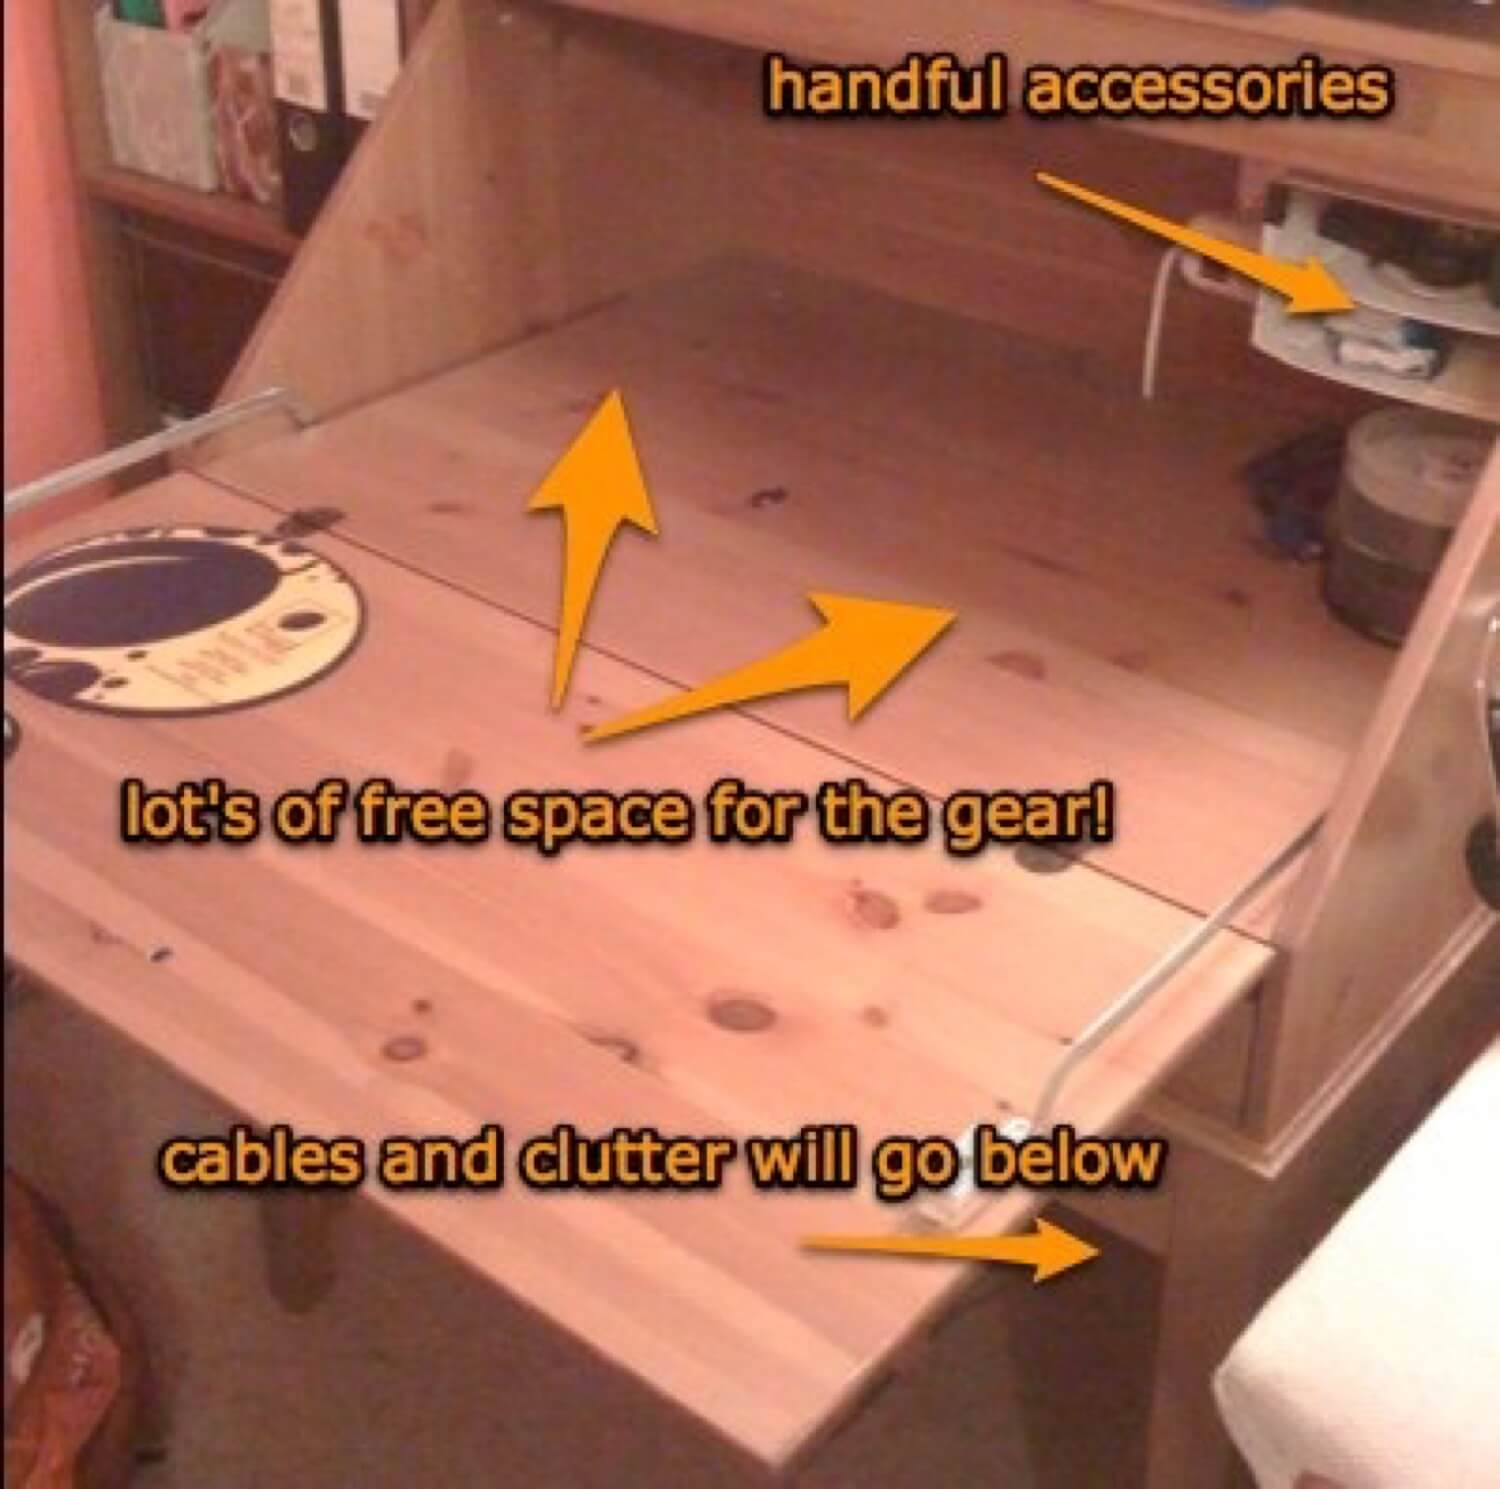
So where how do I put these cables below the cabinet? Easy, I found this metal drawer in a local furniture store. This drawer is normally used to store socks, pants and other clothes… in my case it’s perfect for my cables:
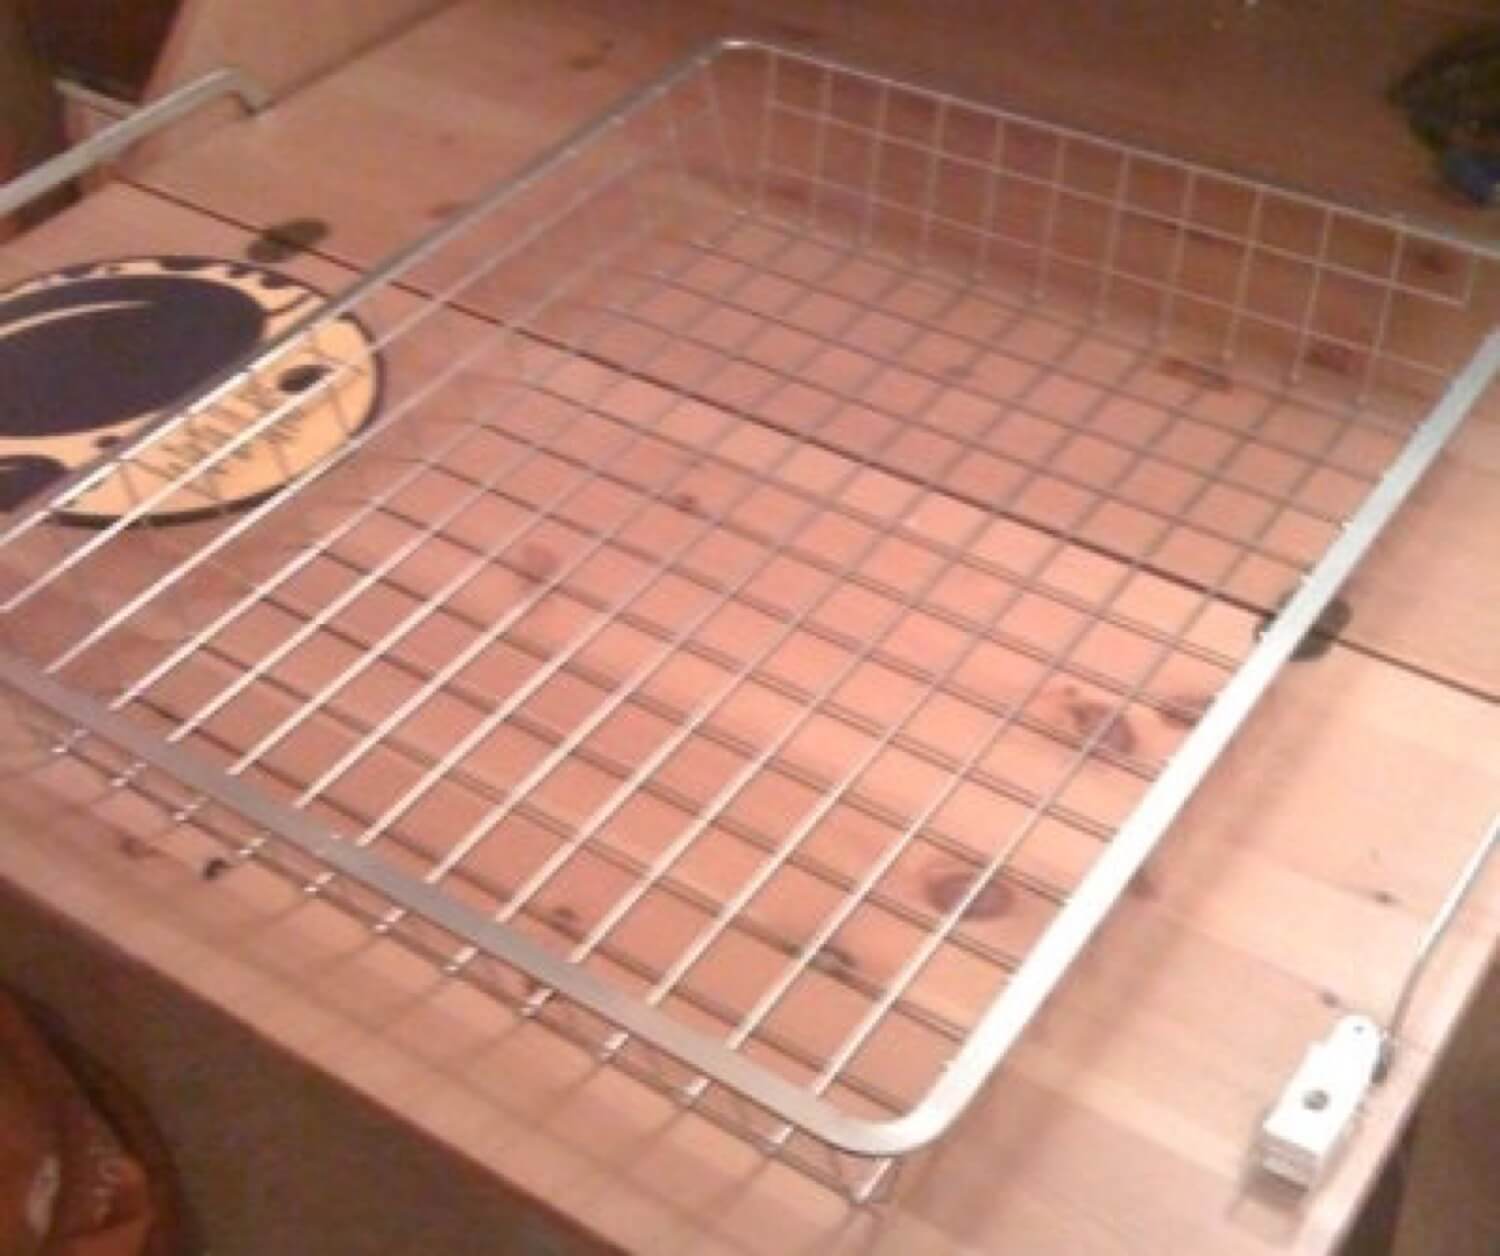
The cool thing about this drawer is the fact that it’s made of aluminium and has lot’s of “holes” for the air to circulate and cool down all the devices that are supposed to fit in there. Apart from the drawer, I’d also need cable ties and cable pipes:
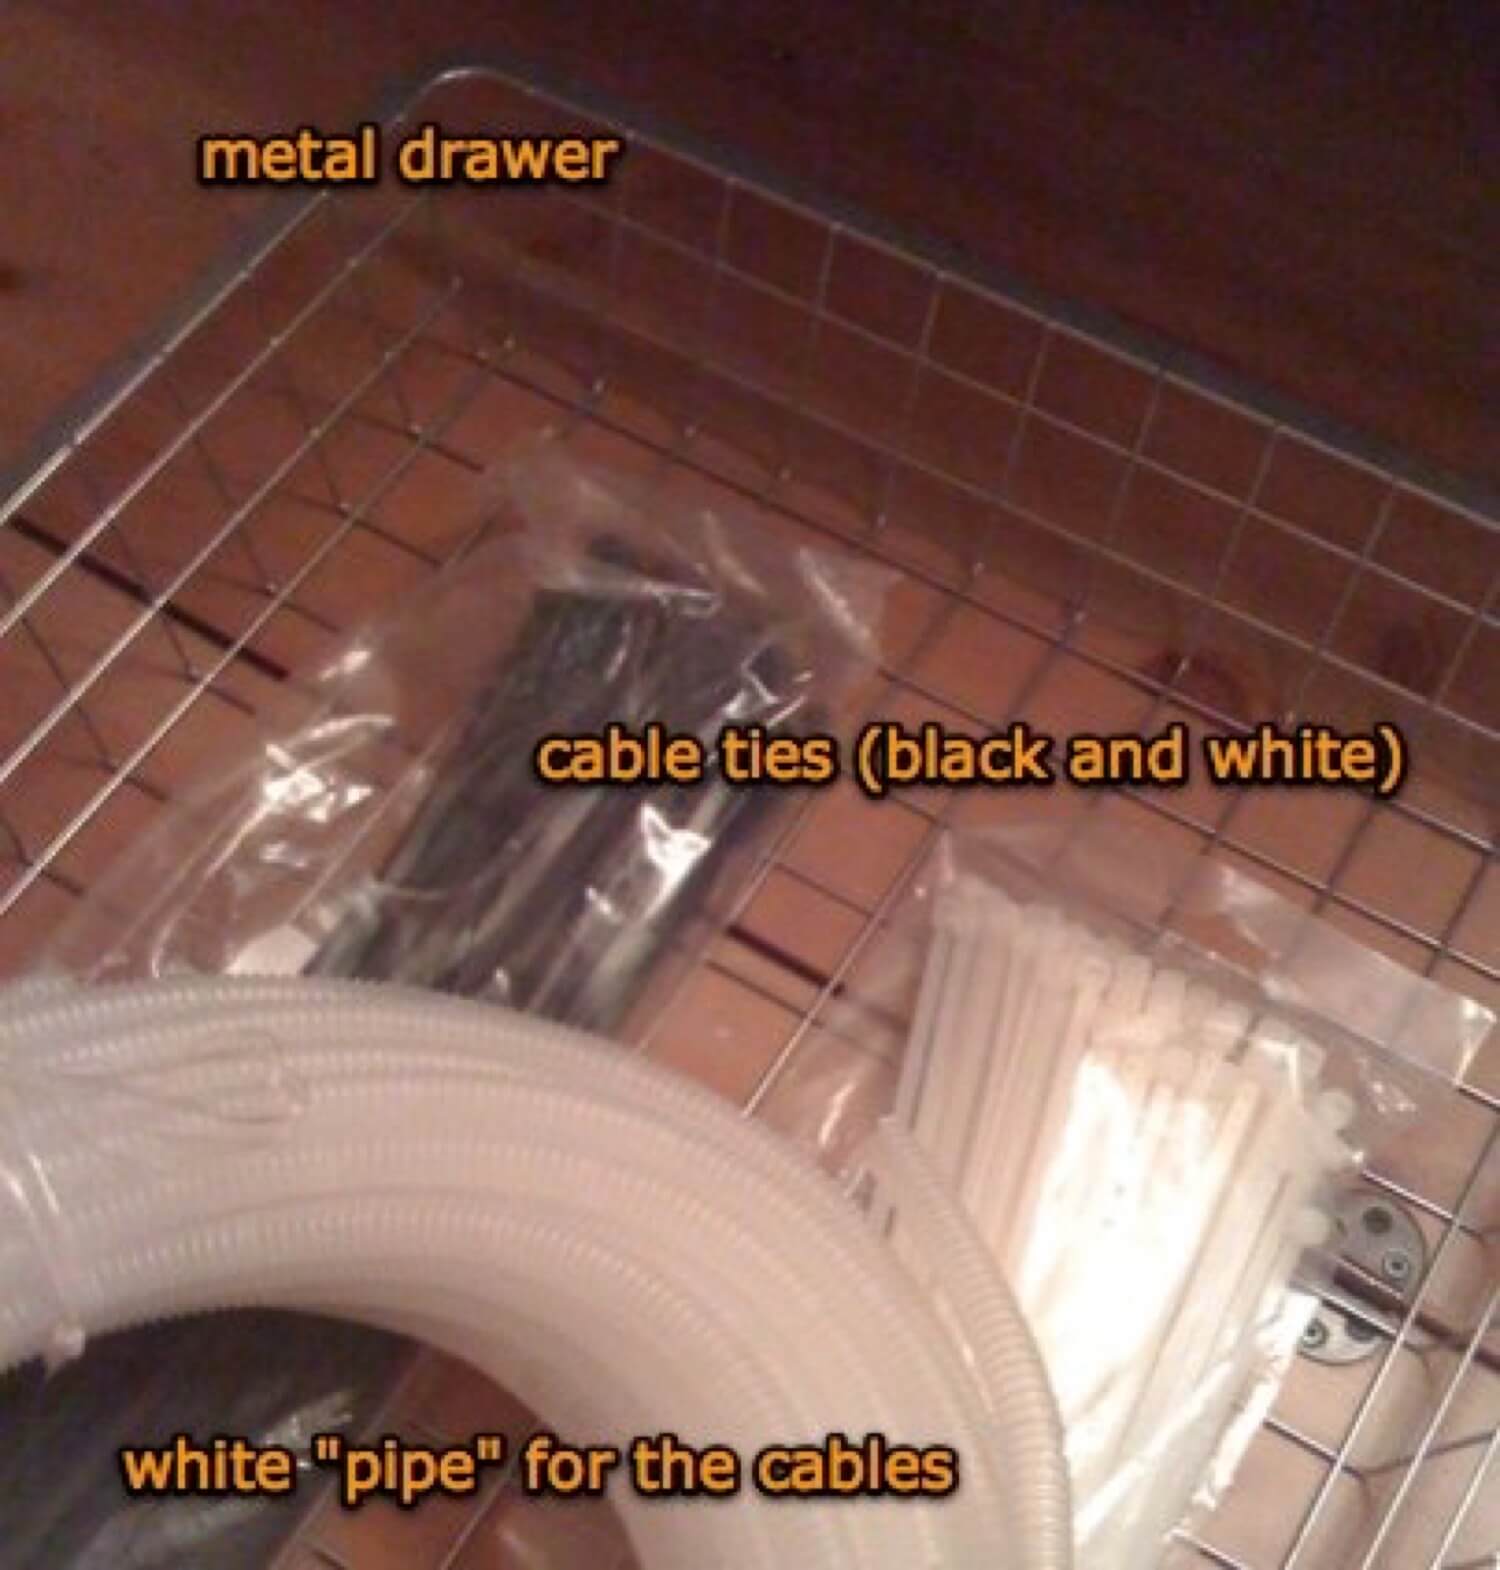
The “pipes” for cables are mostly intended to combine cables together, you’ll see later. Let’s get to work - here’s how the clutter will be placed in the drawer:
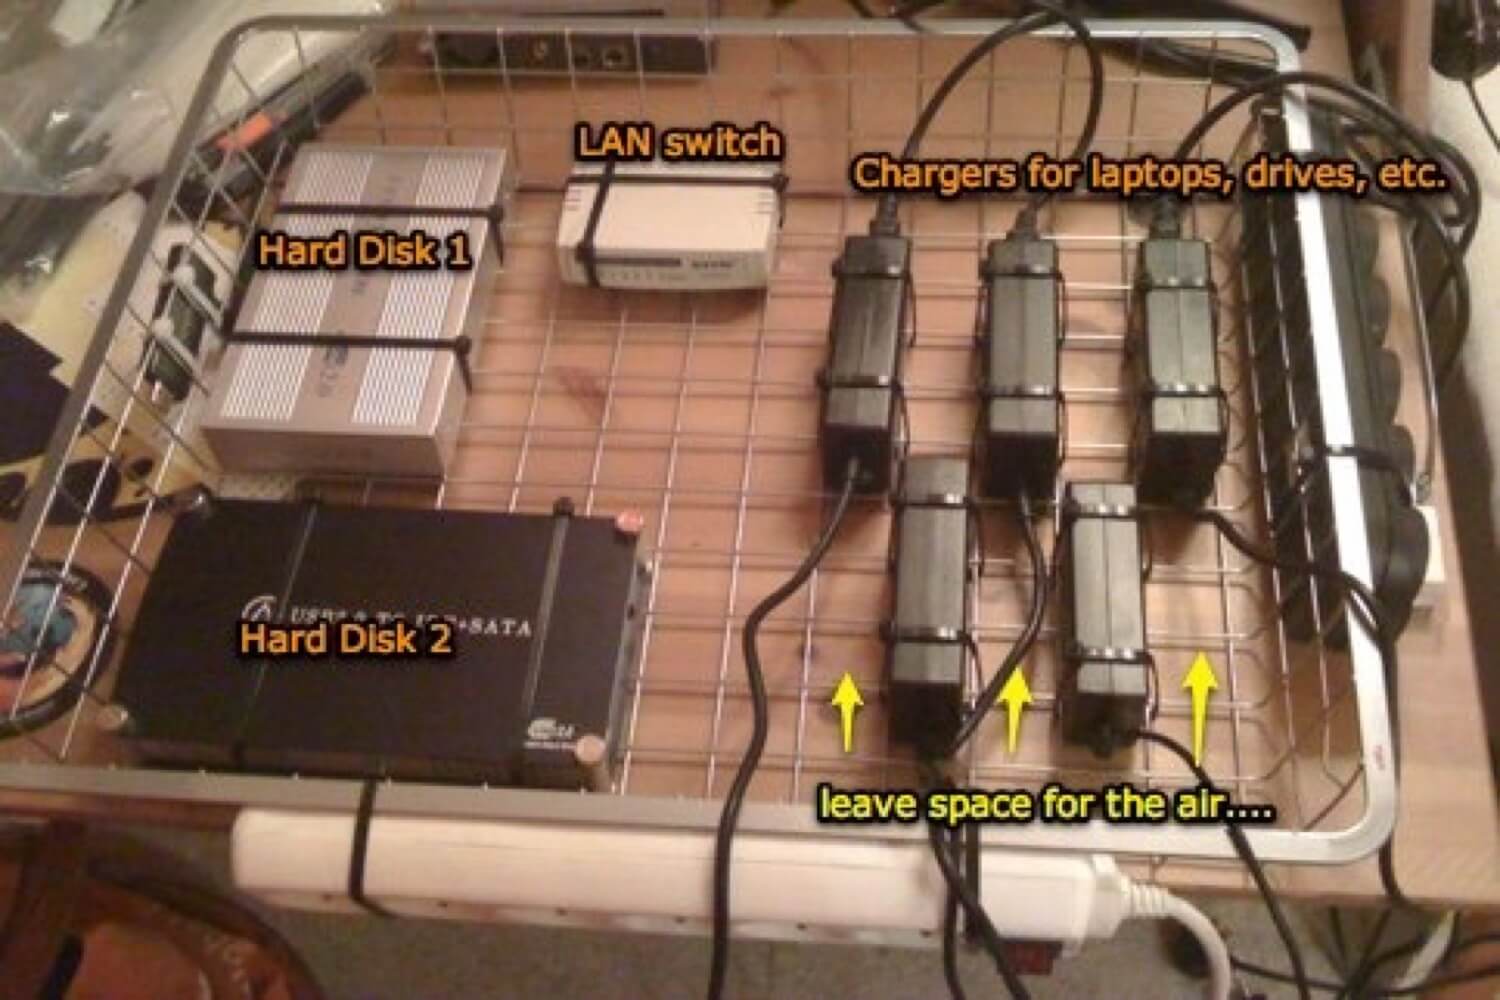
It’s important to put the chargers on a different side than the hard disks, as the chargers generate lots of heat. Please note I’ve put an extra space between the chargers. When I added the cables and two USB hubs, the clutter started to show up:
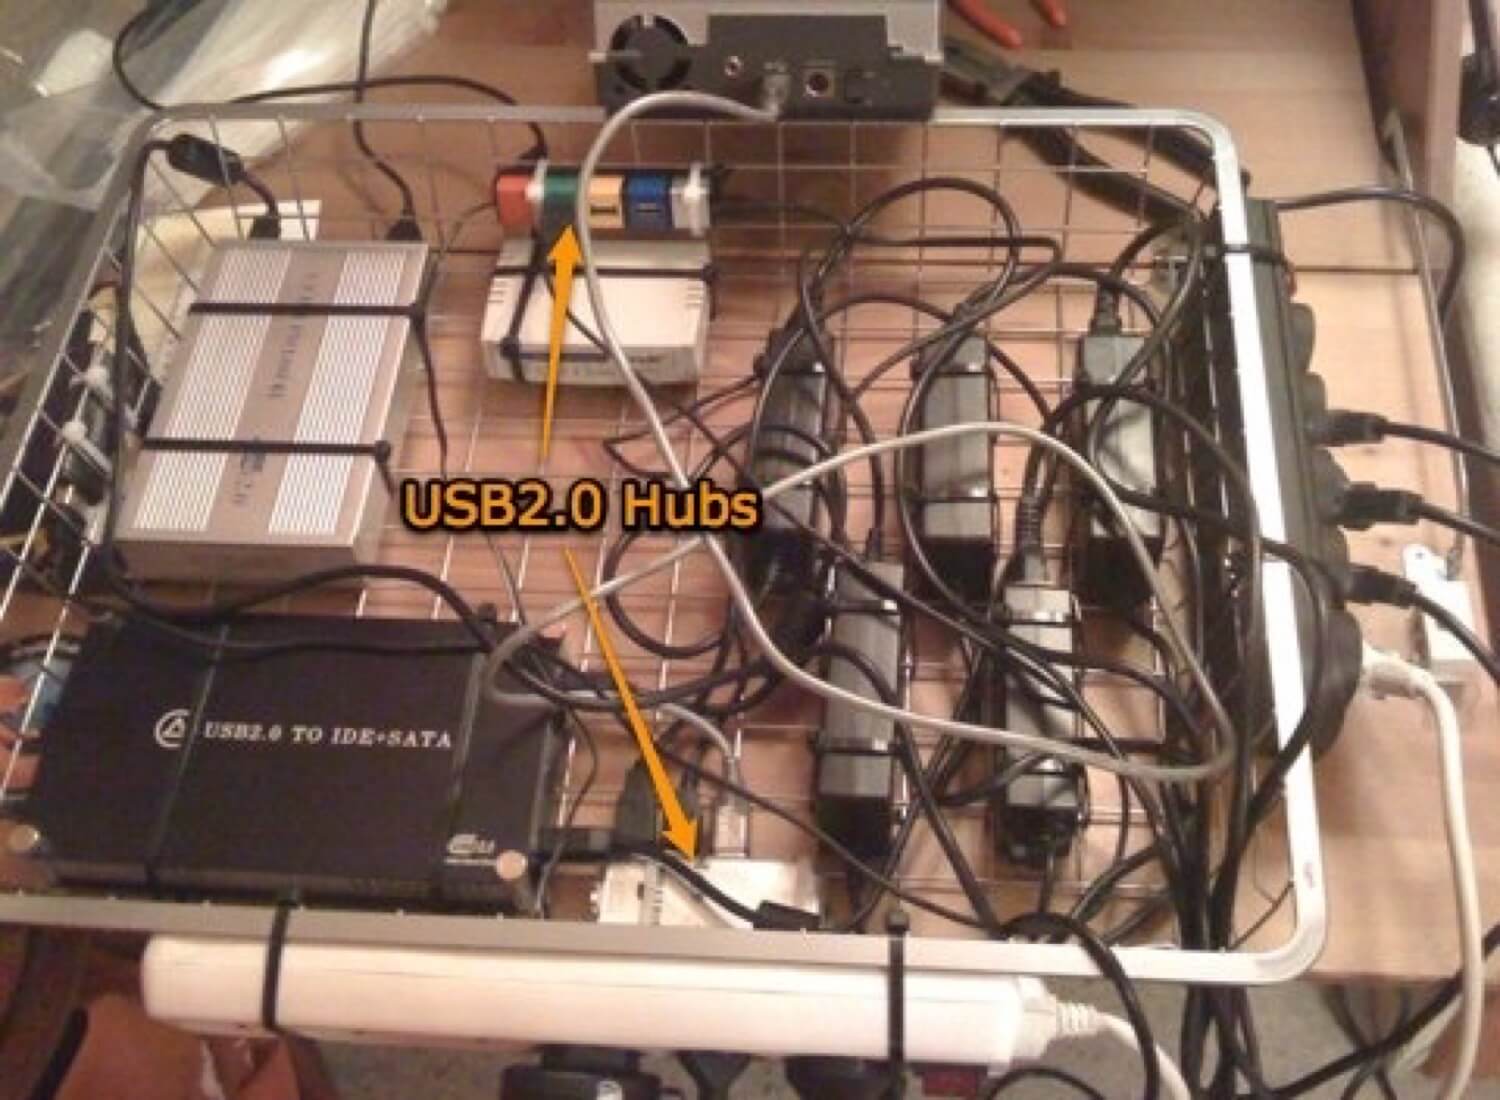
I’ve also added power outlets to actually power up all of these devices. After that I started to organize everything using the cable ties and the outcome is more less like this:
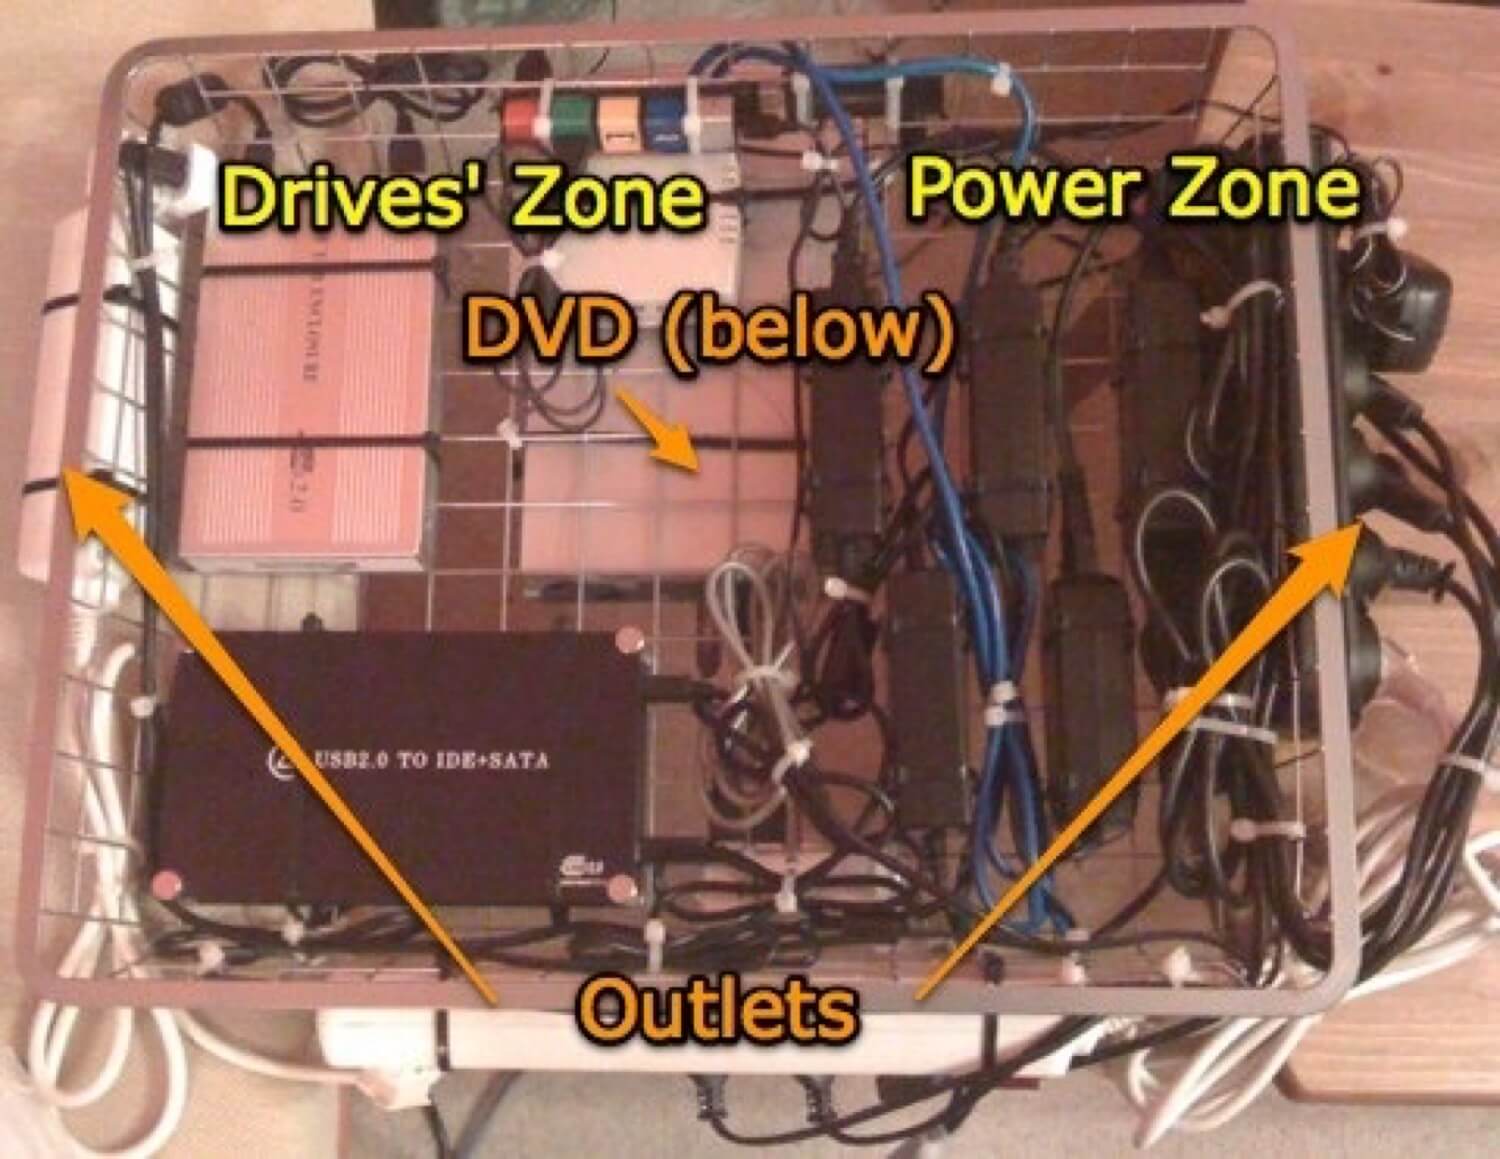
As you can see, there is a “Drives’ Zone” and a “Power Zone” in the drawer. And there is space between. On three sides of the drawer there are power outlets. The black power outlet (on the right) is the one that will eventually charge the whole thing. Where’s the DVD drive? Below the drawer, here’s why:
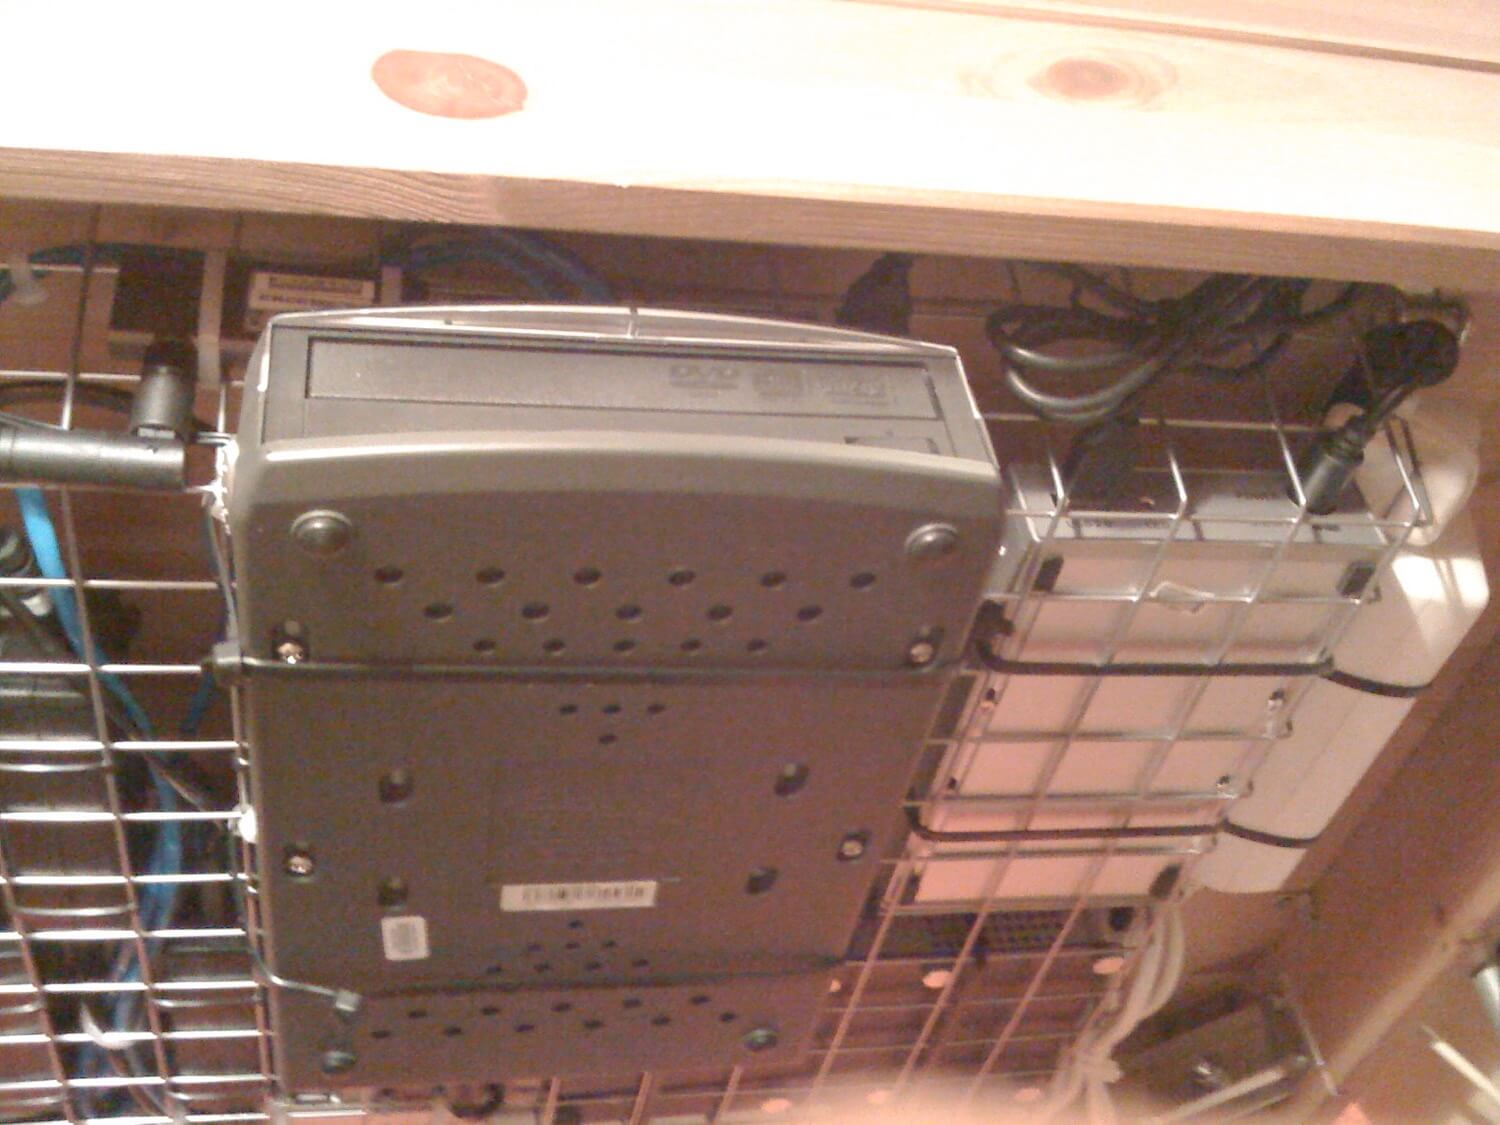
This way I can access the DVD drive anytime, right below the cabinet. Now, how did I actually mount the drawer to the cabinet? Quite simply, here’s what I used:
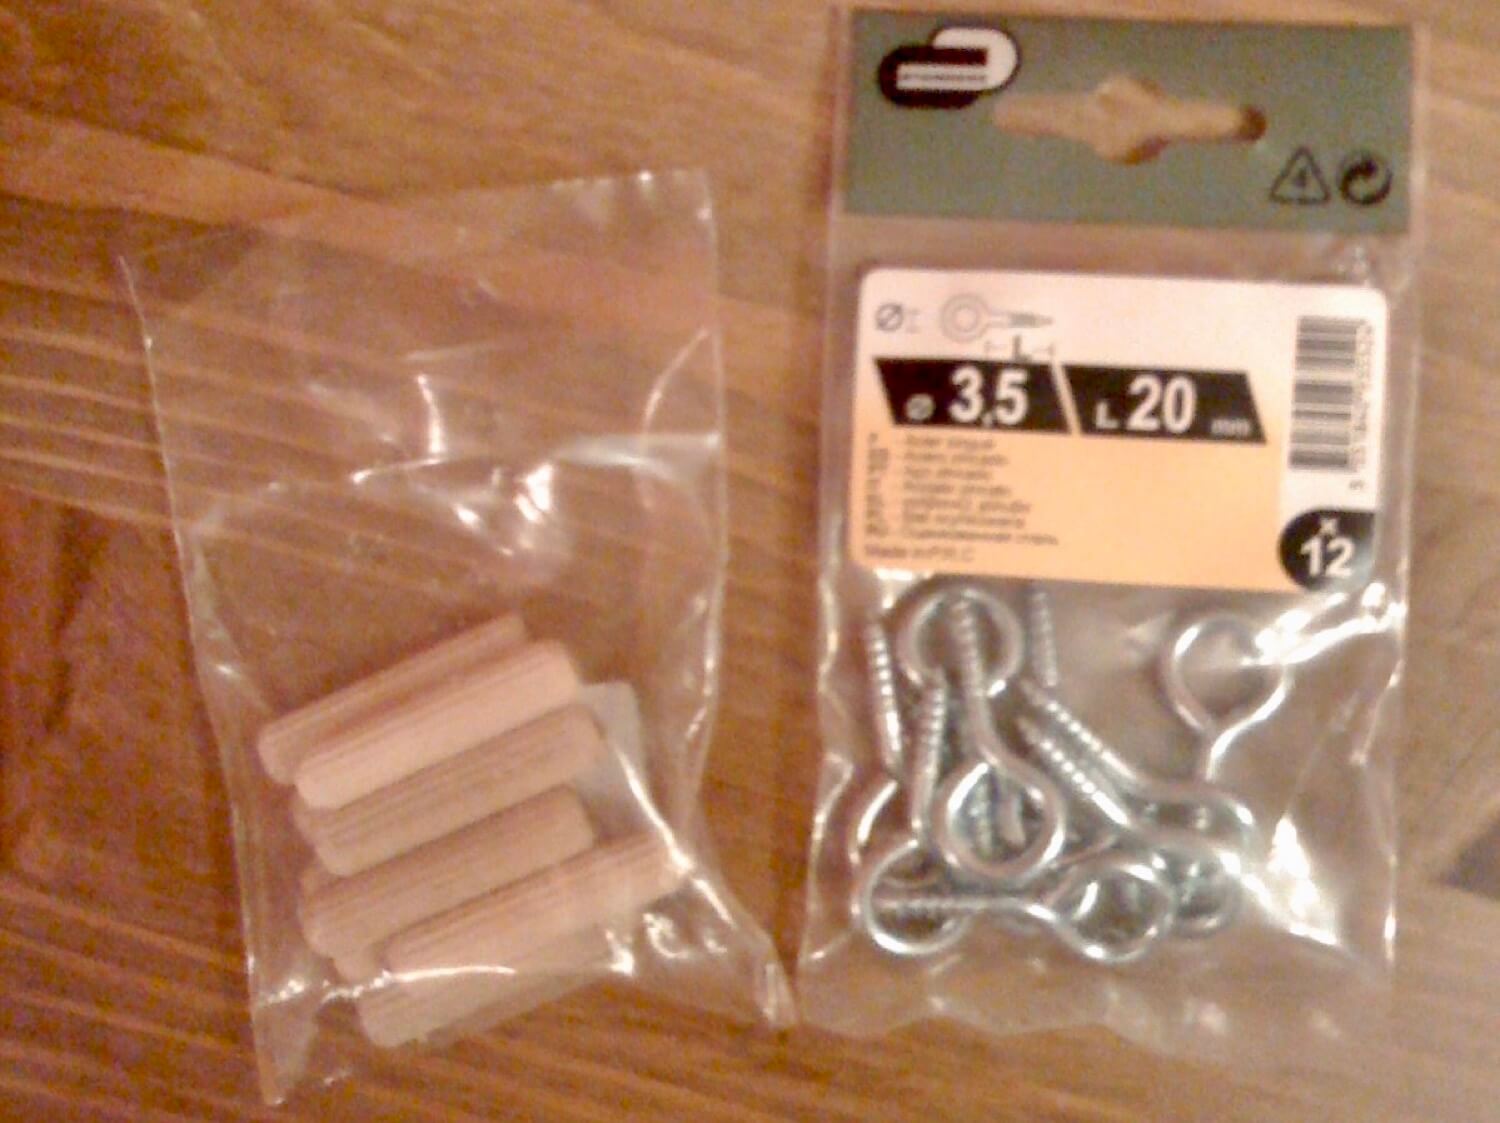
Just screw the hooks to the wooden bottom of the cabinet like this:
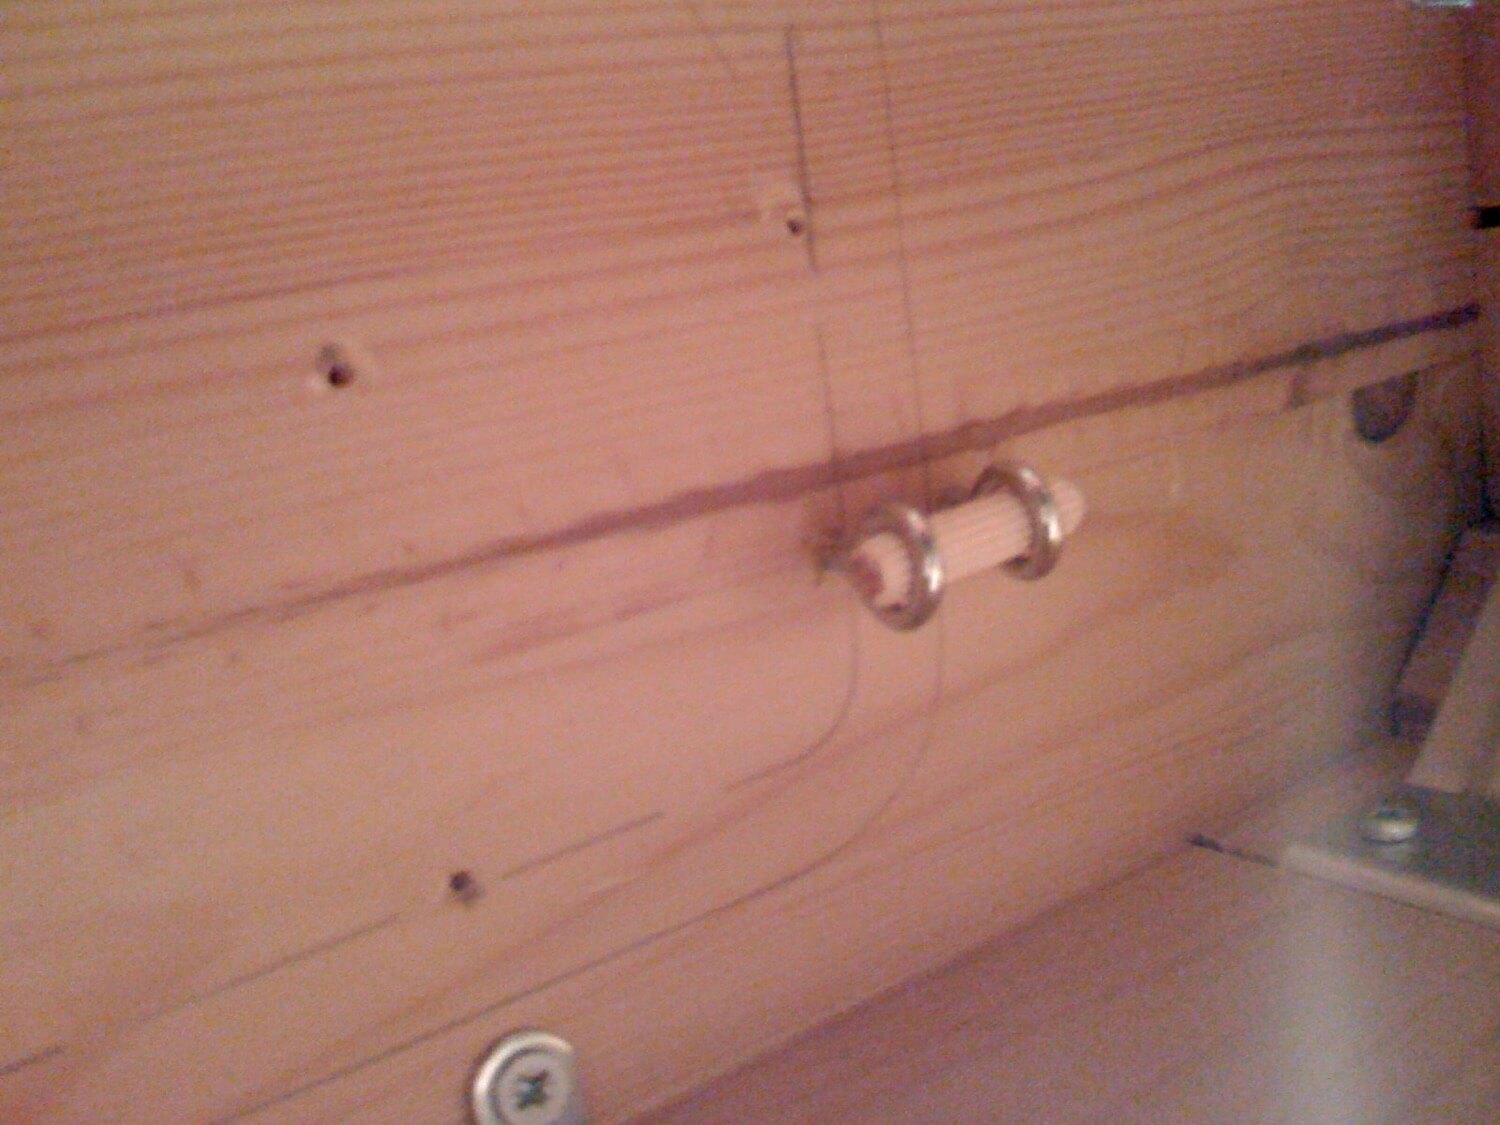
Now I just use a wooden dowel to hold the drawer. I need 4 mounting points like this one to ensure the drawer holds well and will not fall out. It’s a great way of mounting the drawer since I’ll be able to dismount it whenever I want to. Now, before I mount the drawer, I need to make sure there are just three cables going out of it. Actually there are more cables, but thanks to the pipes, this looks like this:
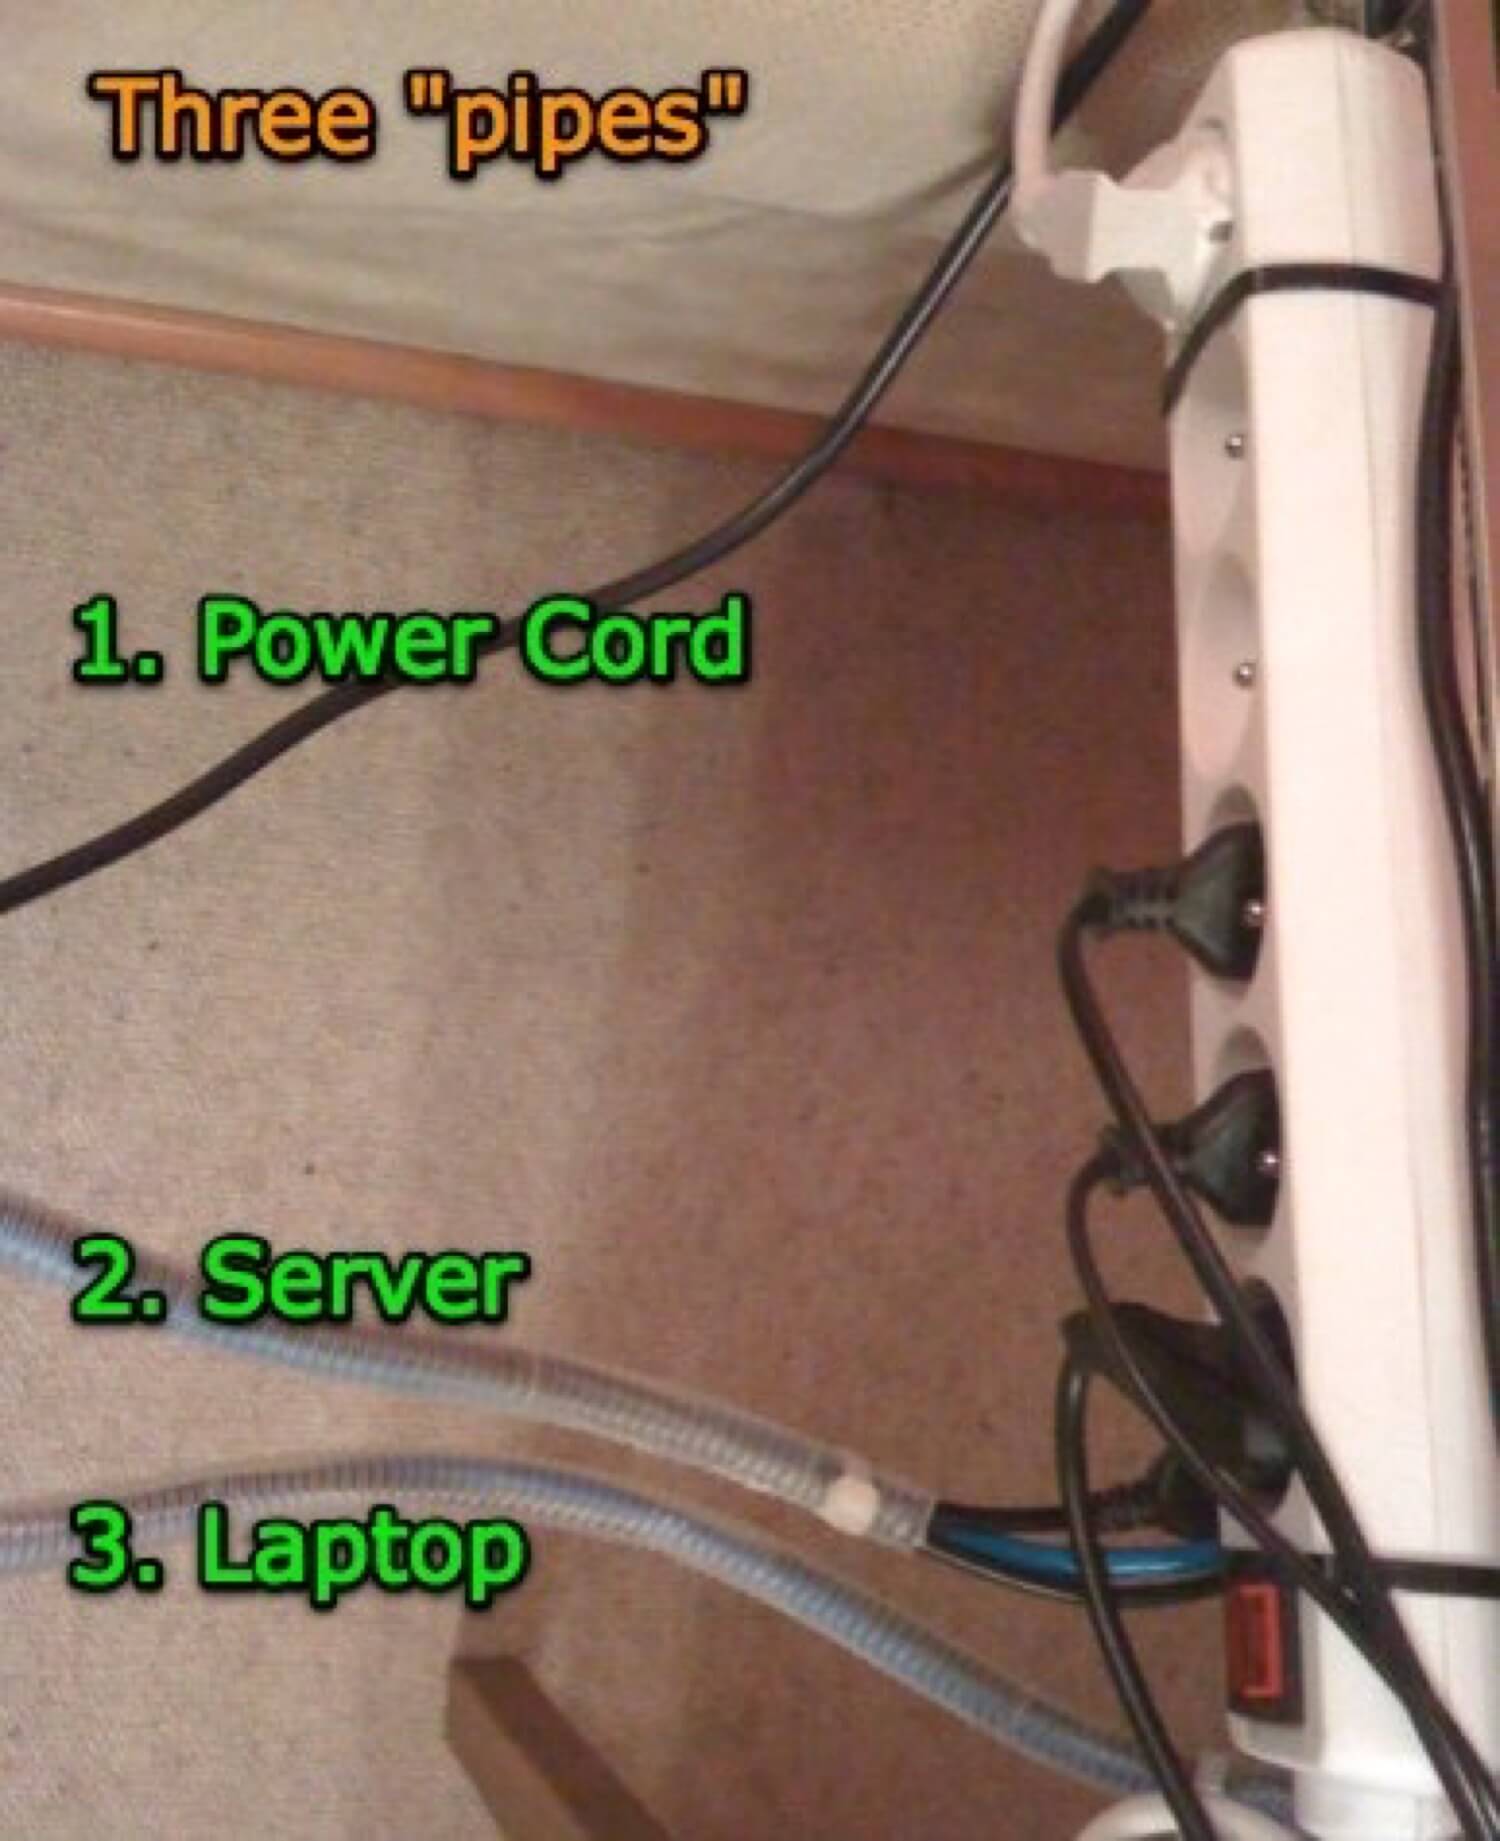
Only 1 power cord, one “pipe” with power, USB and LAN going to the server and another pipe with power and LAN going to the Laptop.
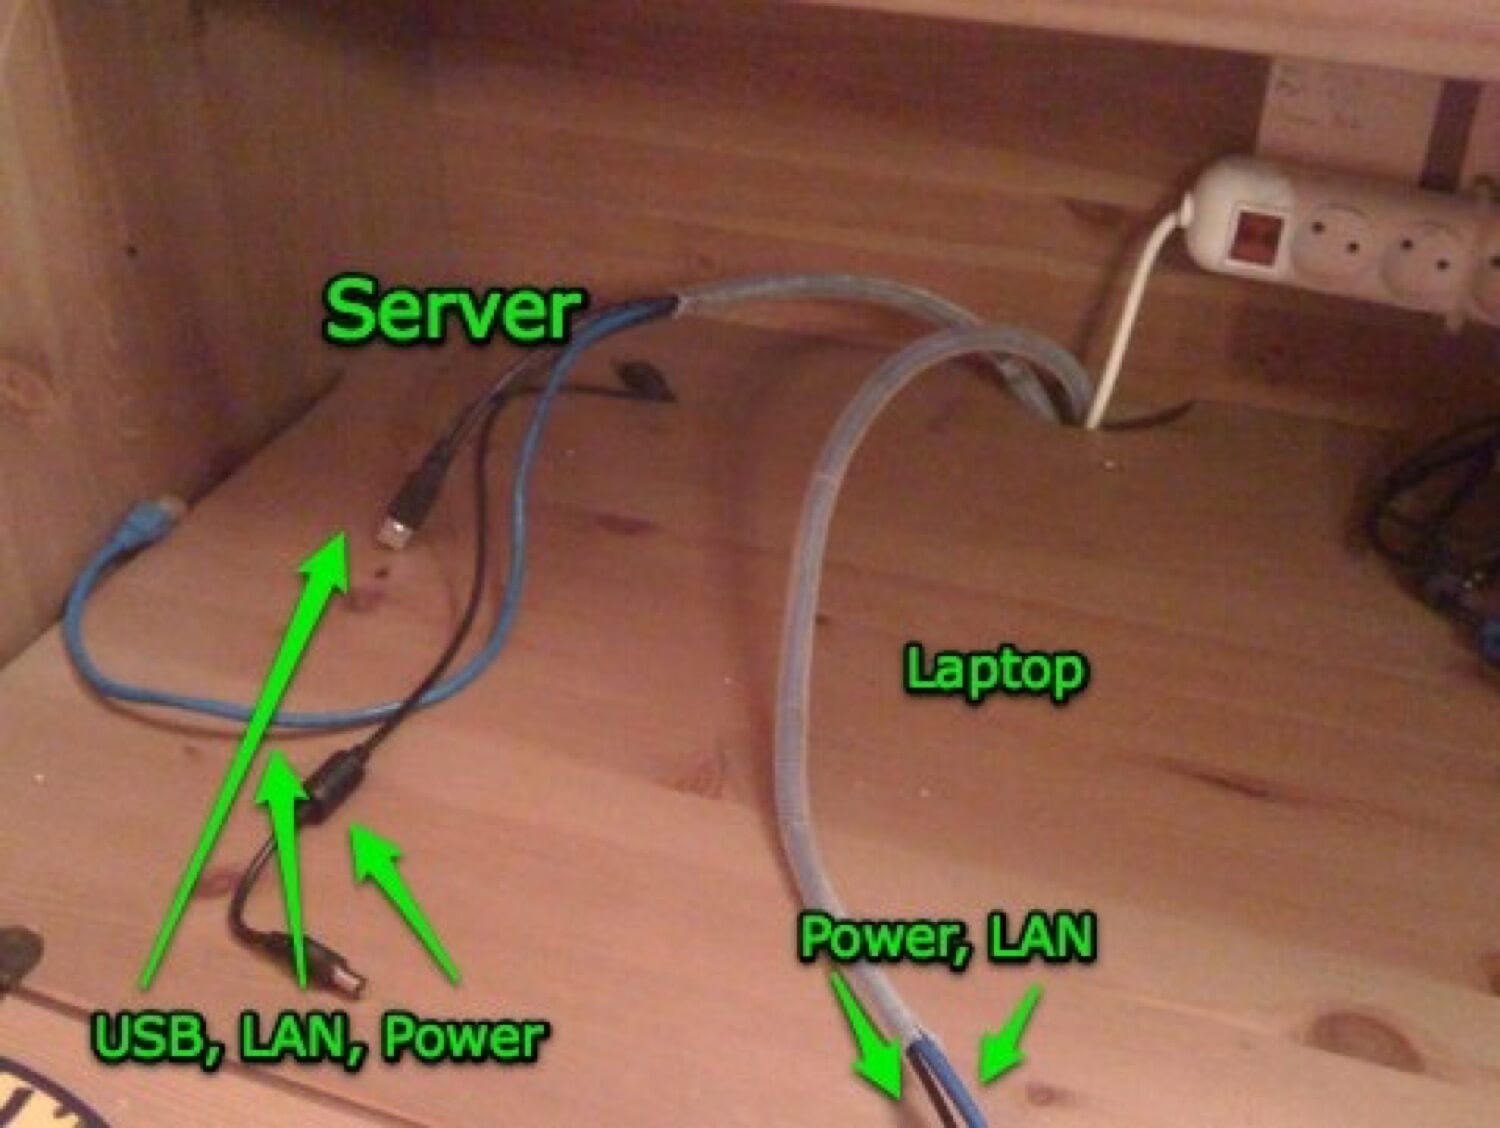
As you can see the pipes look really nice and professional and make it easy to connect to the computers. Mounted Drawer below the clutter-free cabinet Here’s how the drawer looks below the cabinet:
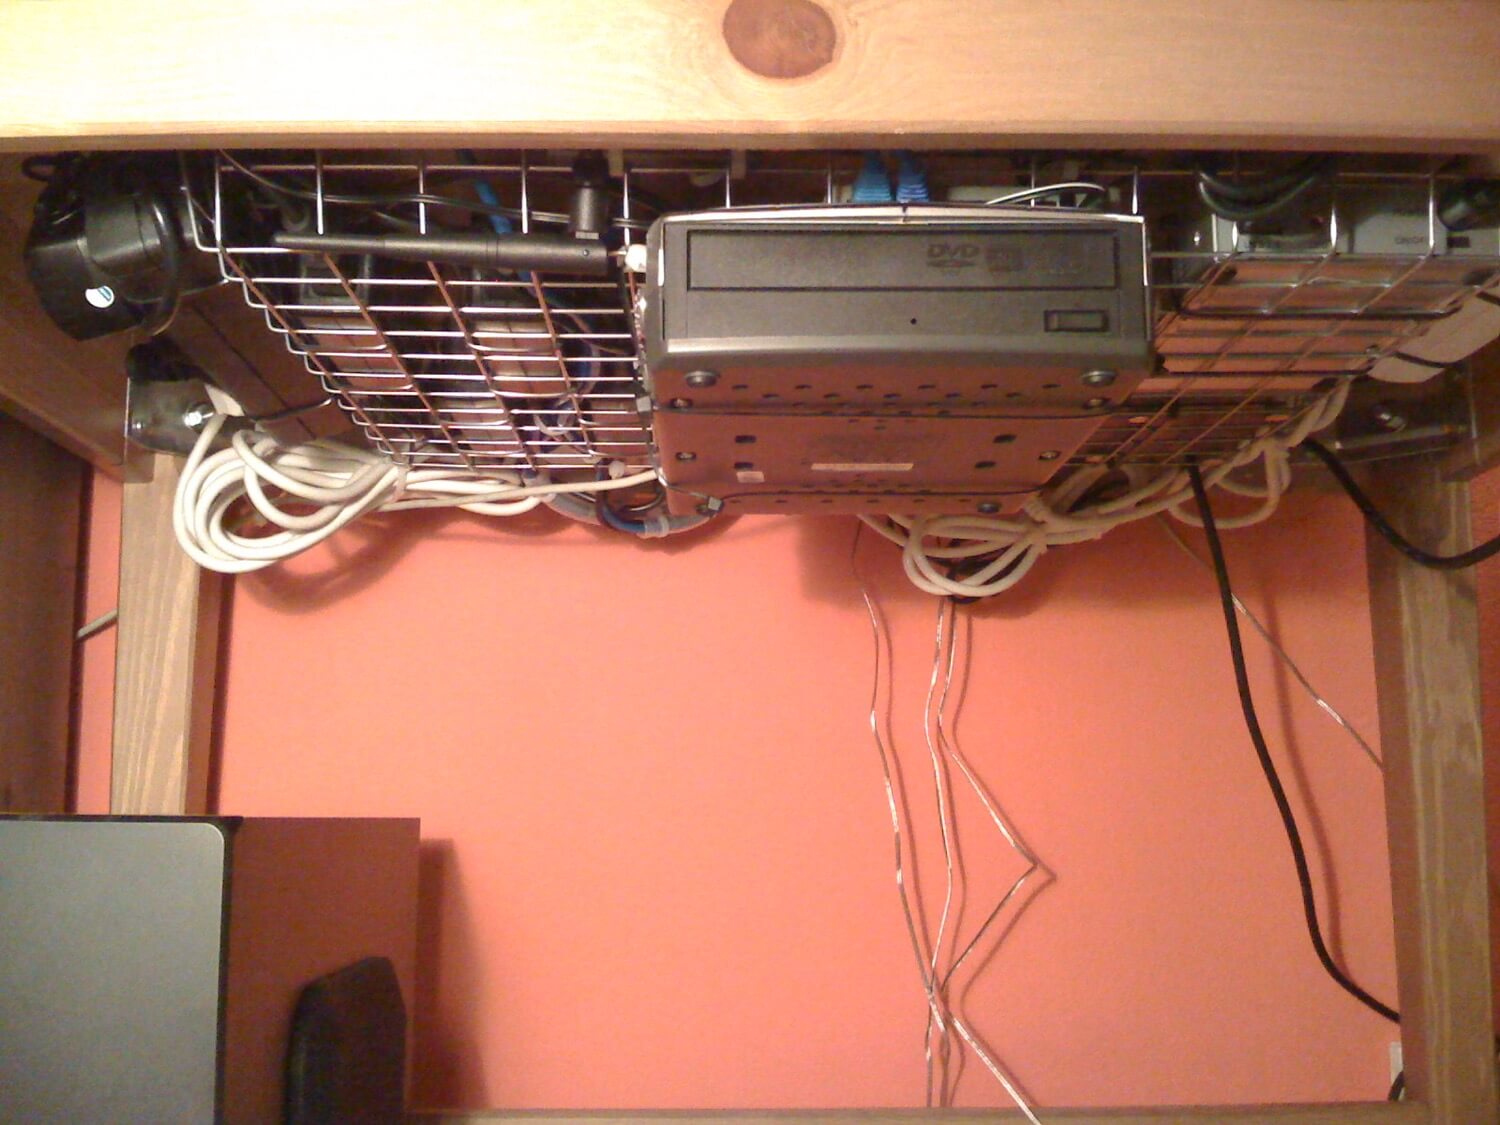
Everything nicely mounted to the bottom of the cabinet. The DVD drive can be used at any time and ther is only one Power cable going to the power outlet. (the grey cables you’re seeing in the background are the cables from my hi-fi set and they’ll need to be taken care of as well). Presto! Here’s my home office environment:
Update: Actually after one month of working like this I got a new Macbook Air and now the updated home office looks like this:
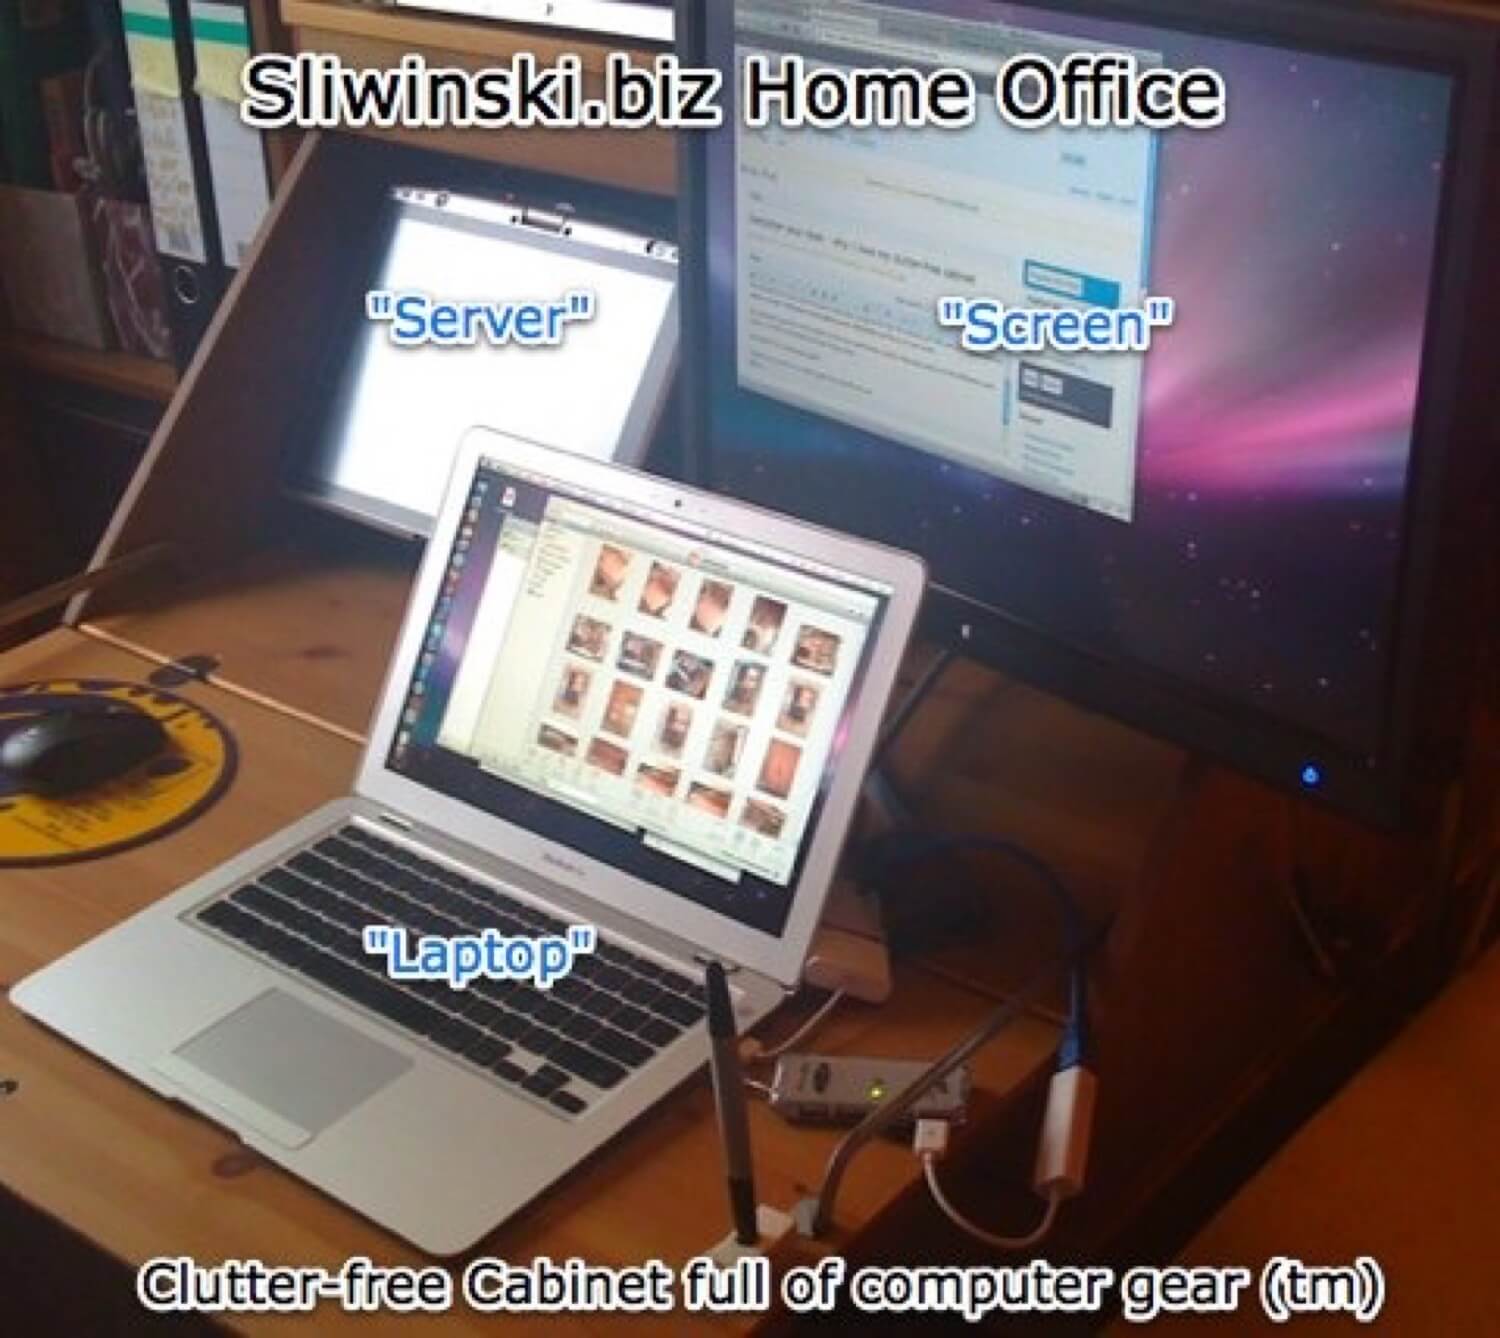
There you go. Here’s my home office. Now, whenever I need to work at home, I’ve got a perfect work environment and I can always put the screen to the side, close the cabinet, and nobody would notice there is so much great computer gear inside… and so many cables… all totally clutter-free. Hope you like my setup and hope it inspires you to do the same for your home office (and real office). Now I can get my stuff done in a nice clutter-free environment.